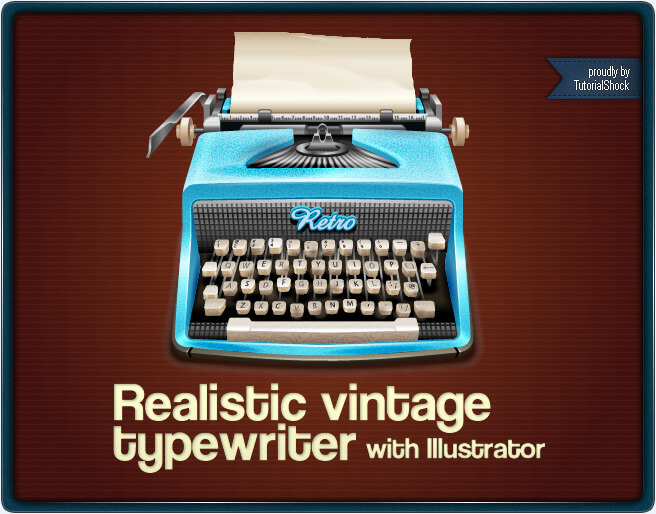
Hello friends, did you guys enjoyed our programming tutorial on how to make a nice typewriter contact form?, well if you nailed that one now you’re probably wondering about the design itself, because it’s useless to have the code if you can’t apply it to a truly brilliant design. Don’t panic because now the second part of the tutorial has arrived and we’re about to show you how to make a great realistic typewriter with Adobe Illustrator, so fasten your seat belts and let’s go.
Gather references
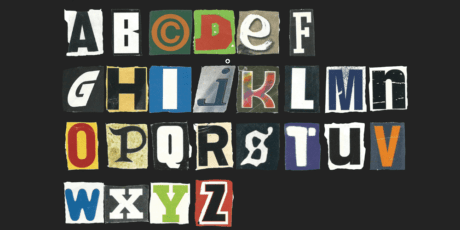
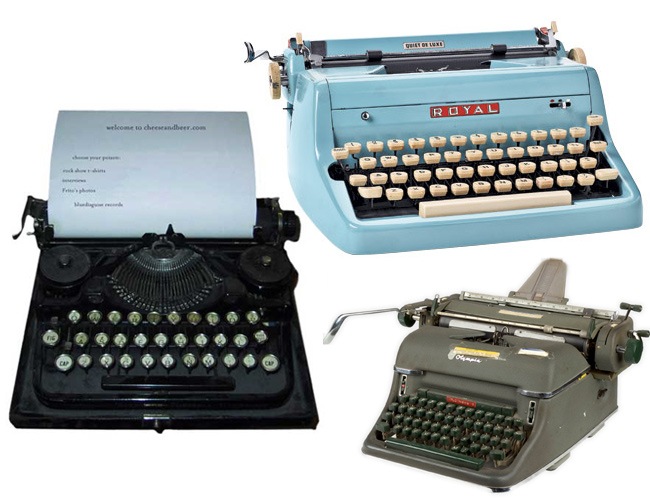
Before we start to count step after step, there are certain phases that are very important inside any design process that should be always considered. One of this phases is the reference grabbing, which is the period where the designers stare at some similar designs and begin solving his own design.
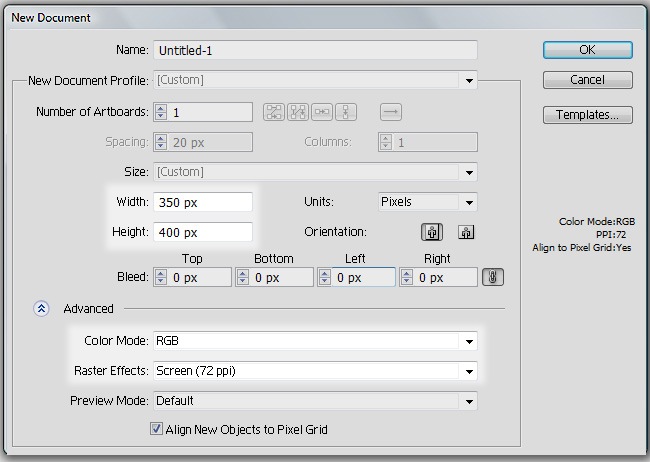
Step 1: Make the document
Once you have decided the look that your typewriter will have, open your Illustrator and create a new document with the following properties:
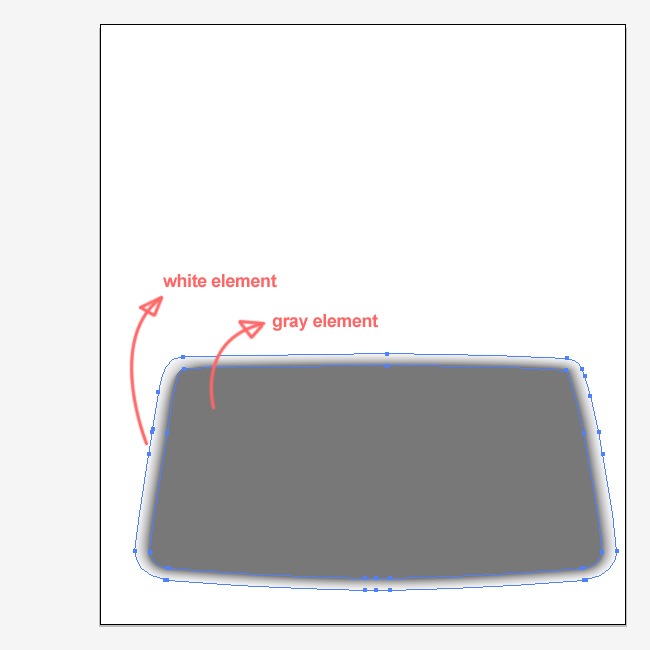
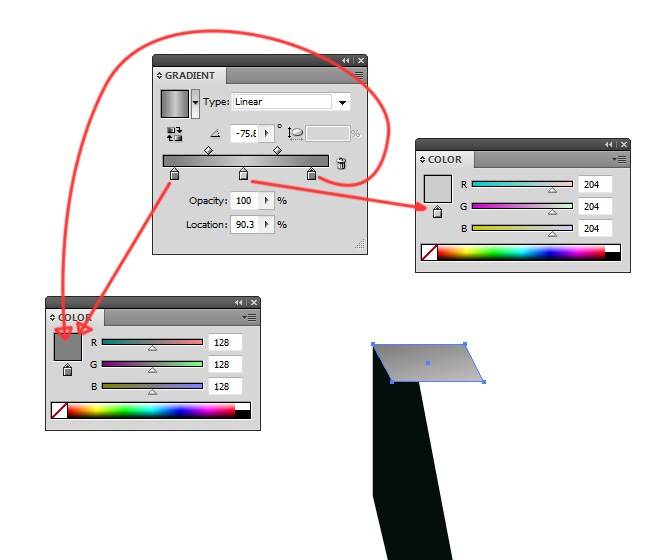
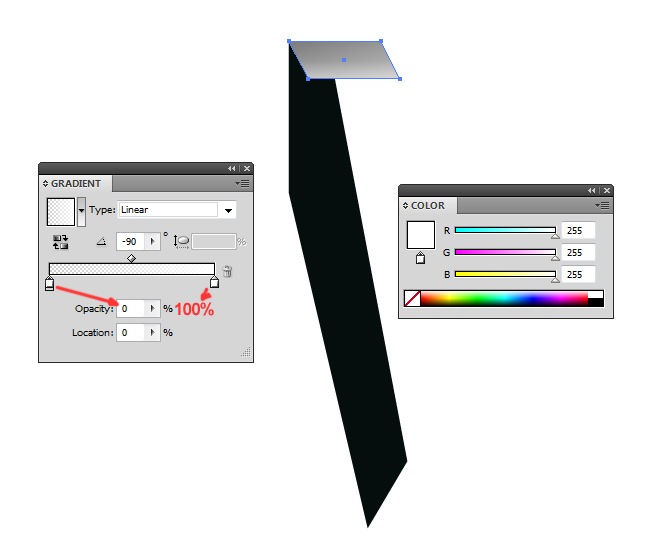
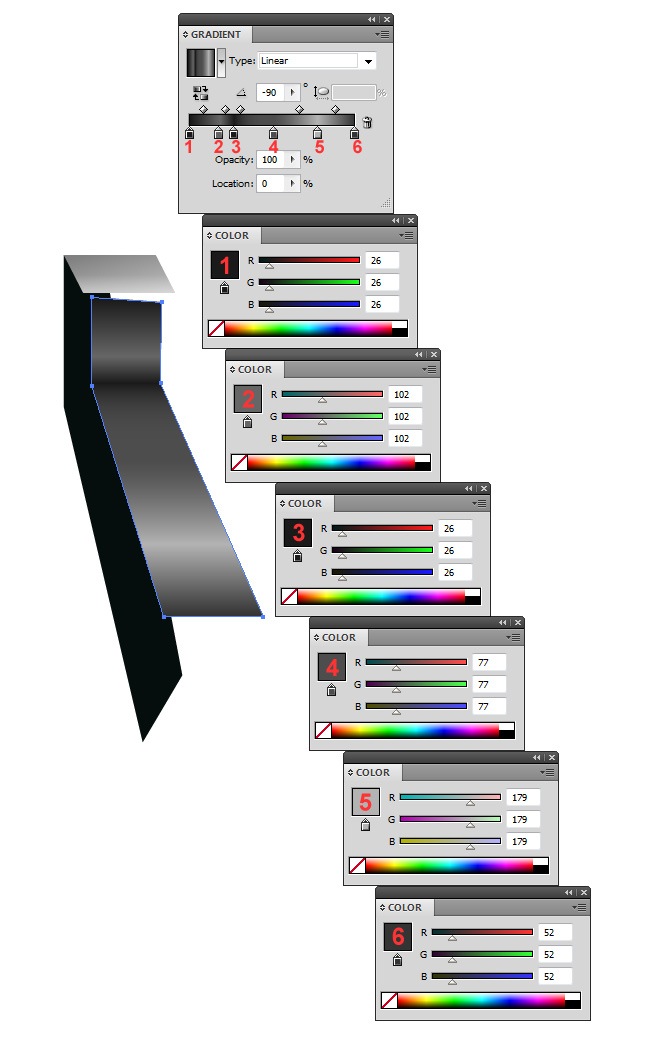
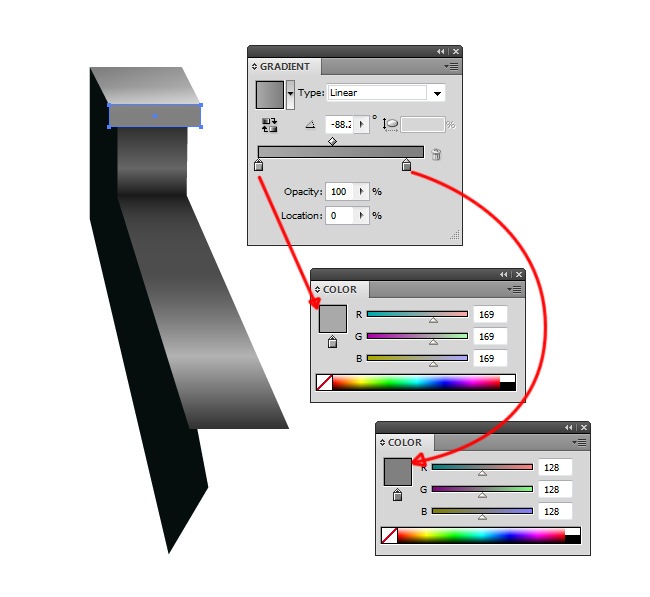
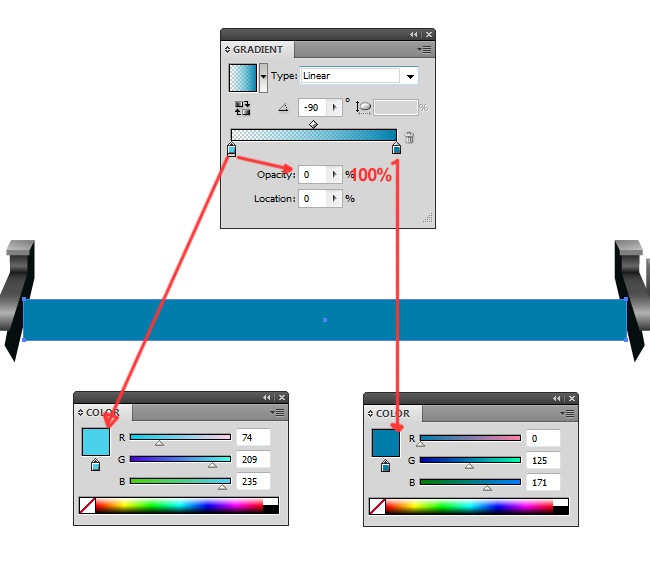
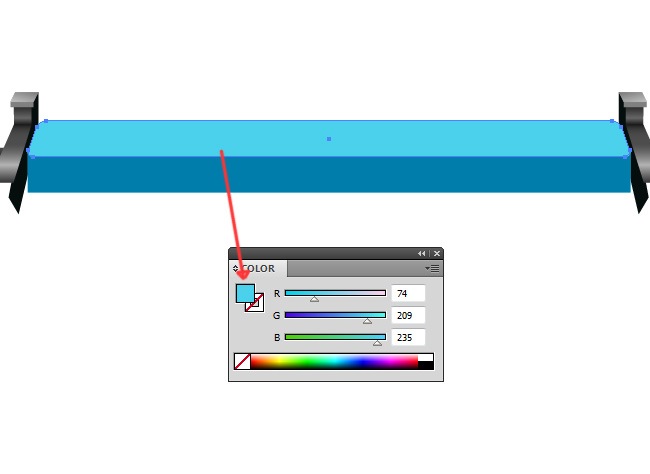
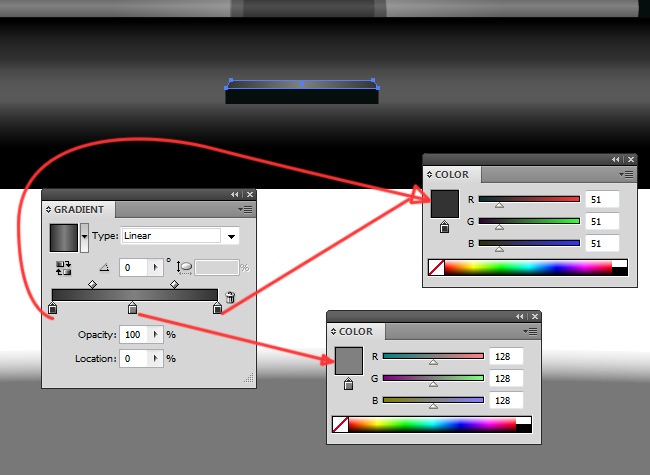
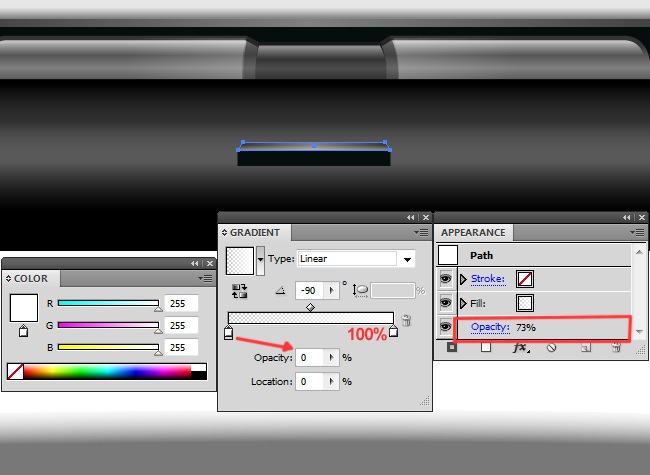
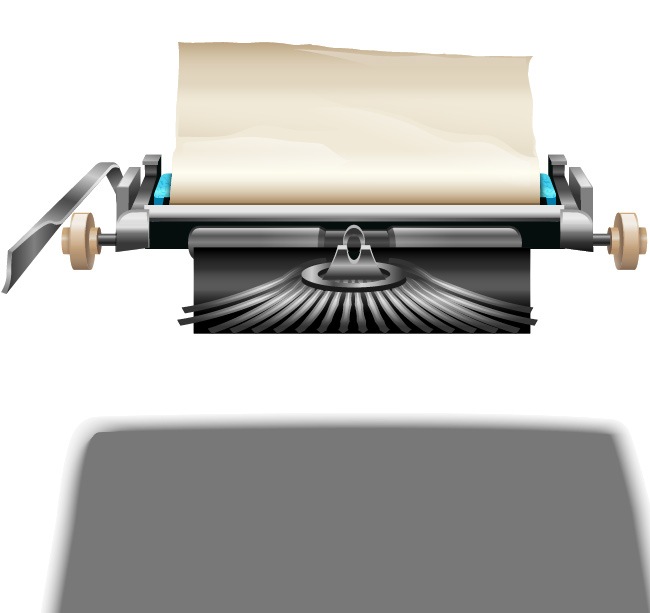
Step 2: Place the typewriter’s shadow
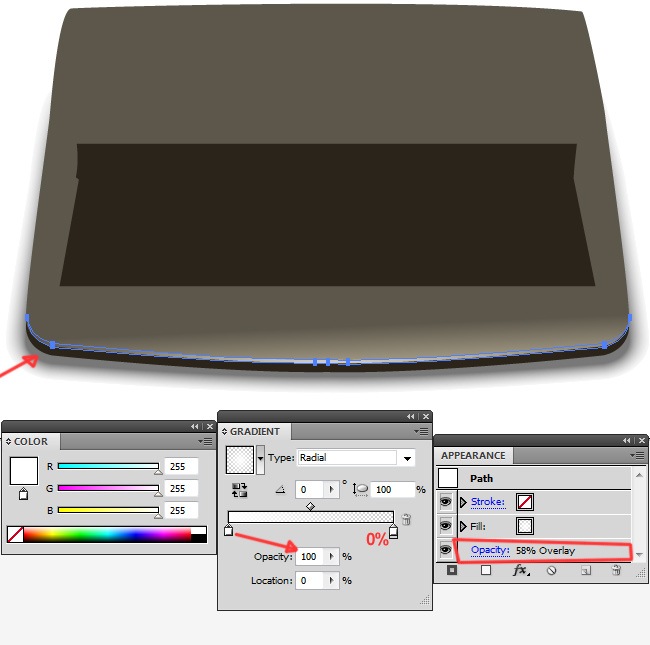
We’re going to start with the shadow in order to define the area that our illustration will occupy in terms of width. To make this shadow you only have to make a white shape, then duplicate it and while reducing its size a little bit you also have to switch its tone to gray. Finally, using the Blend Tool (W), combine these two in order to obtain something like this:
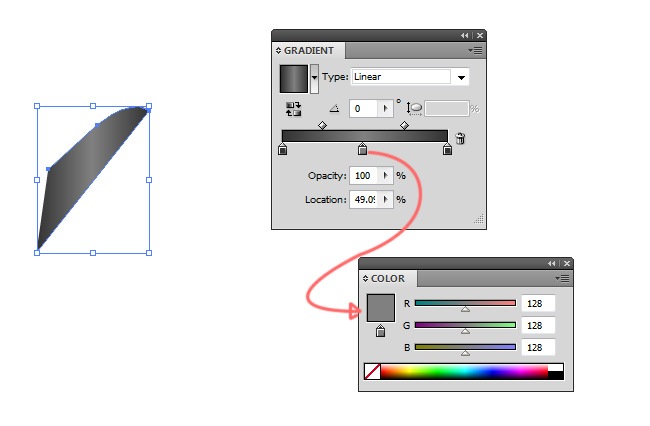
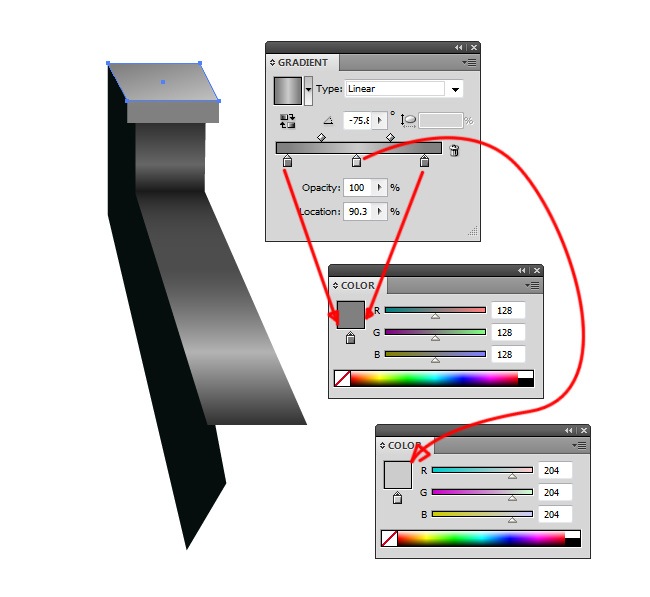
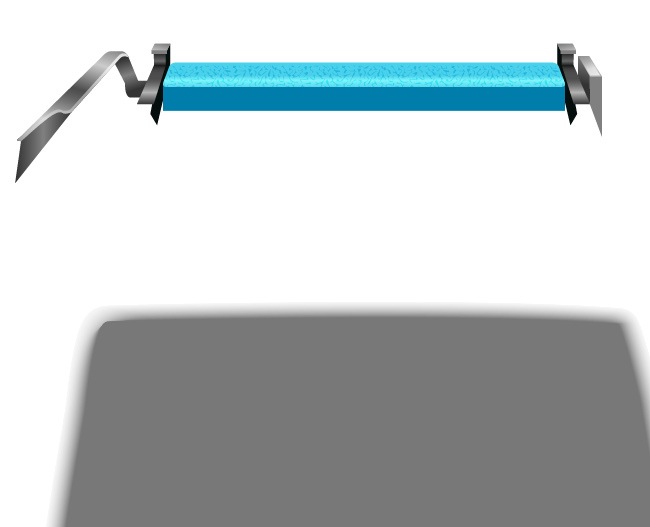
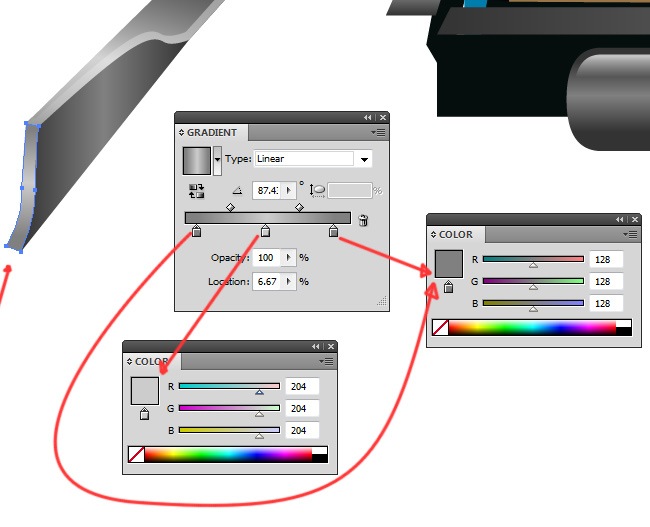
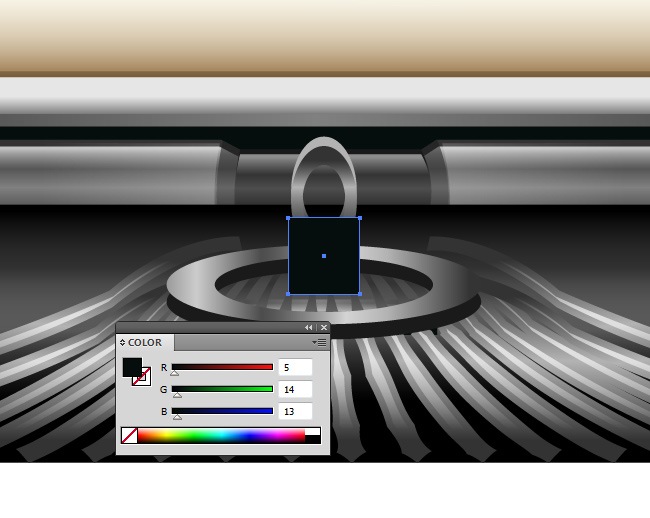
Step 3: Make the release lever
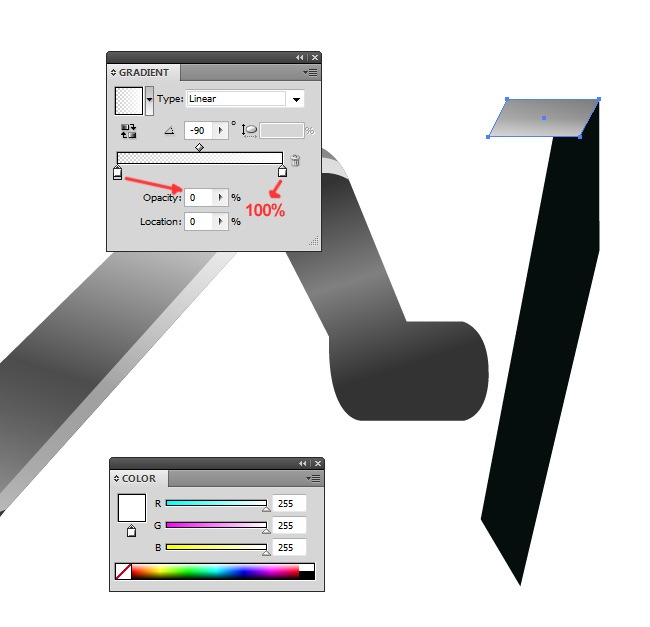
We will try to classify each step according to the different parts of our typewriter; we will begin with the release lever. As if we were making an actual typewriter, we’ll have to make each part at a time, so this one is the first object that you must construct:
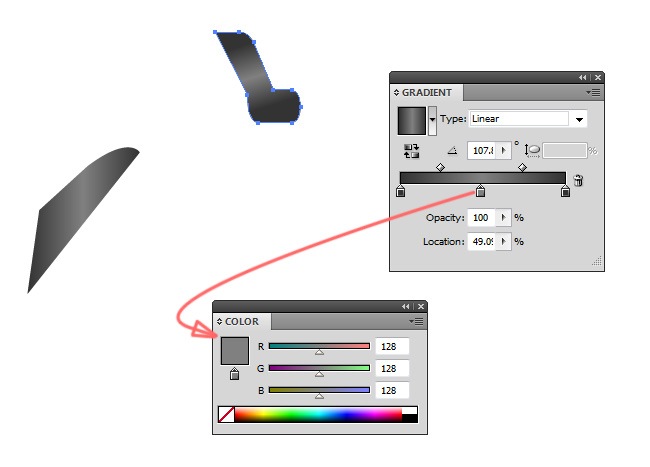
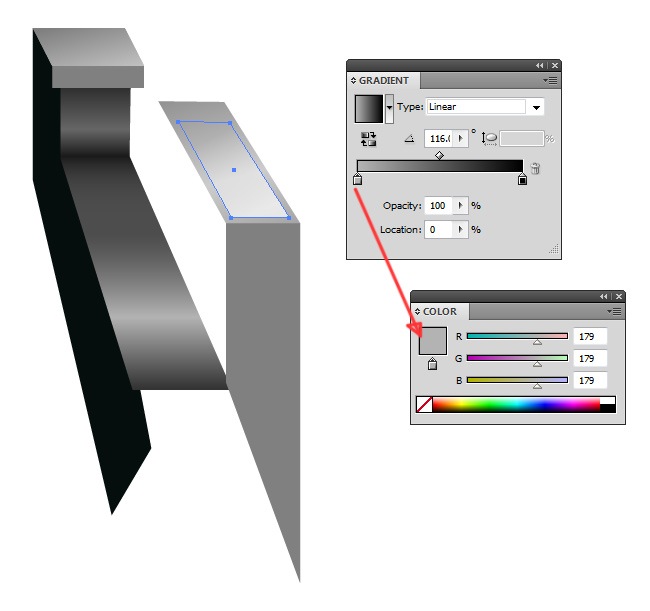
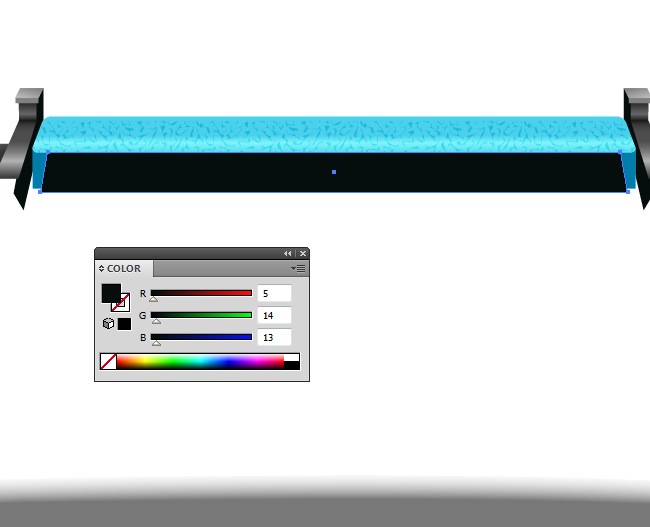
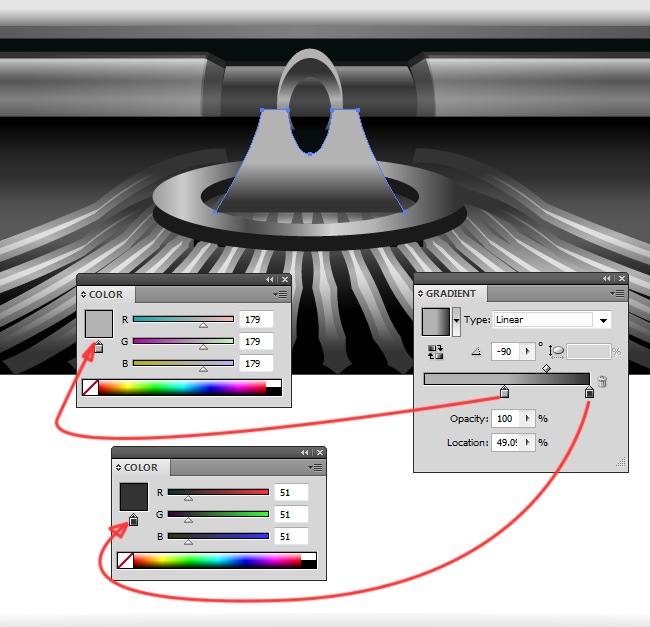
After this, make the next object that will later be part of our typewriter’s lever.
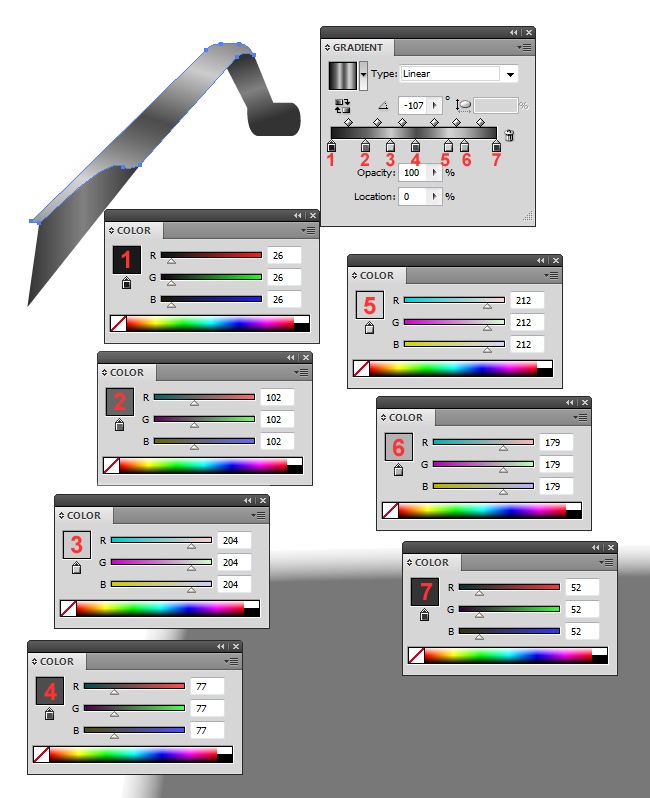
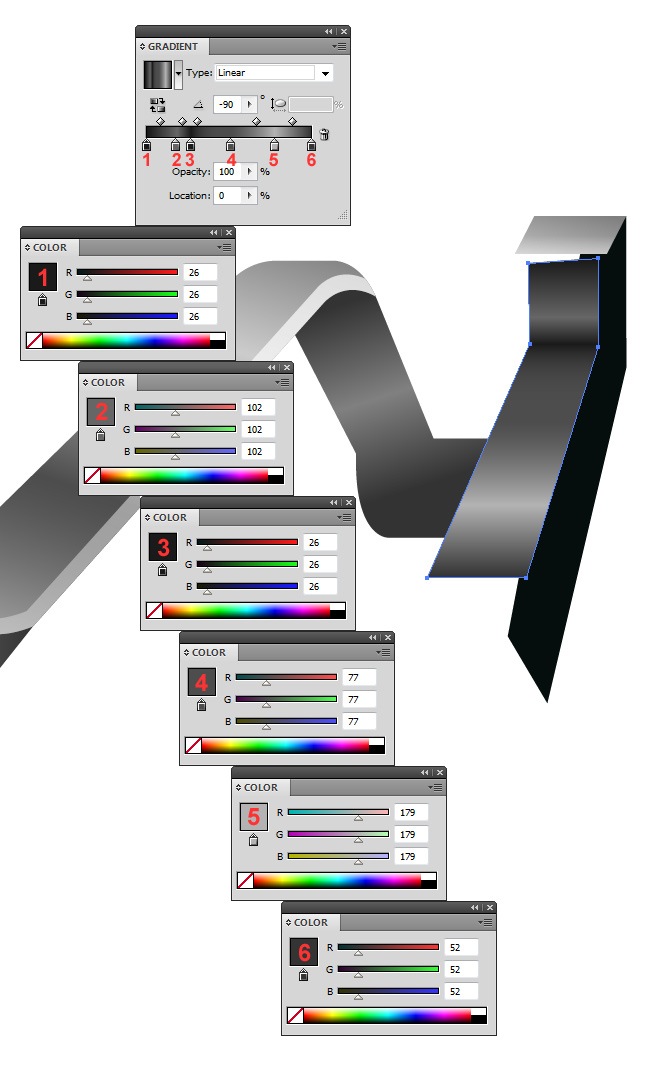
Now the next object, this one is filled with a more complex gradient that the one used on the previous two objects.
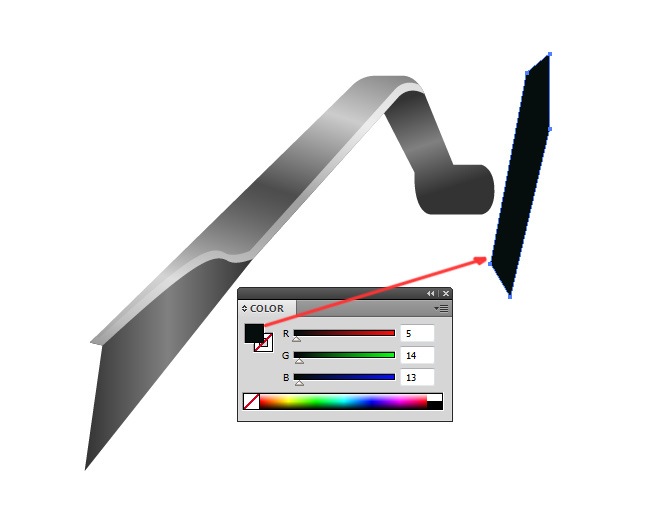
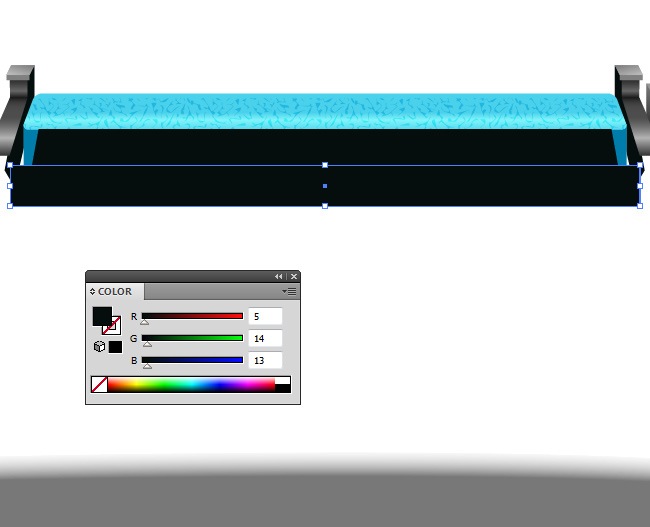
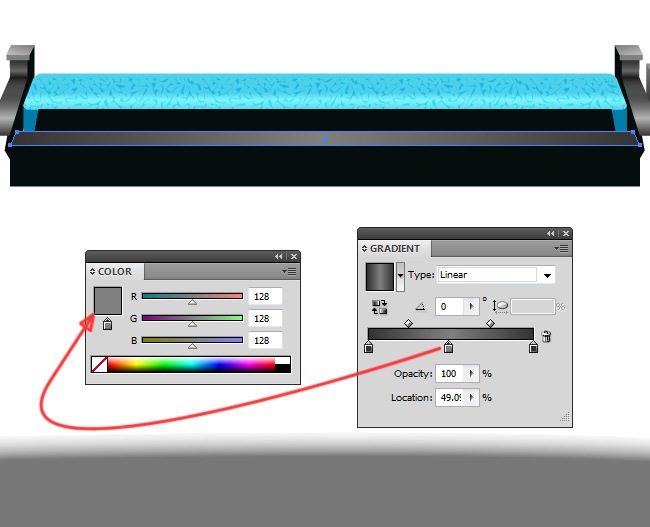
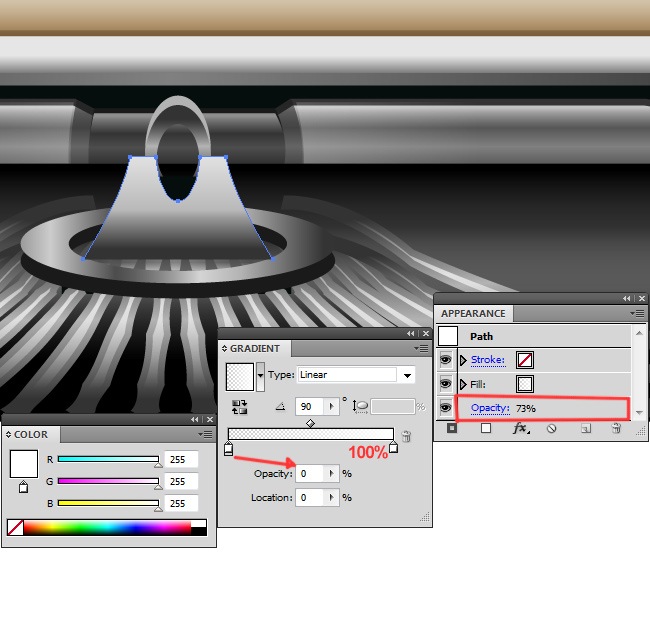
And now we place a subtle highlight object.

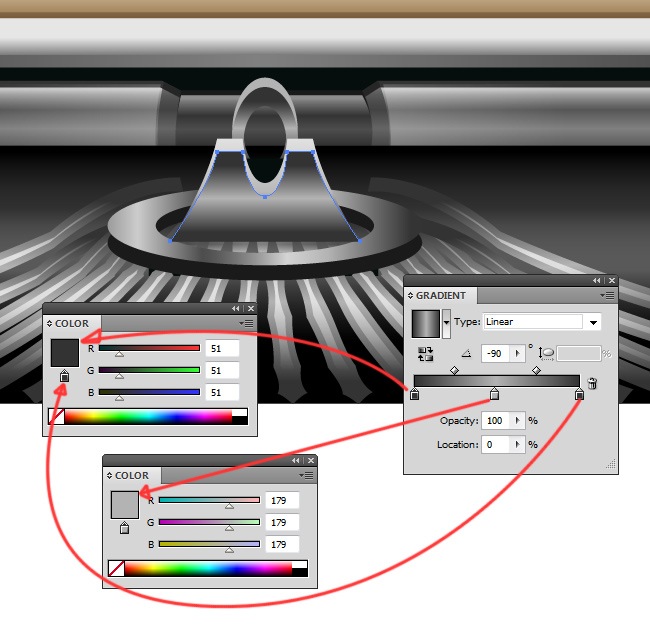
After doing this, we proceed with the next piece of our typewriter, so grab your pen tool.
We won’t make you waste time reading this short lines, so instead of that, just pay attention to each one of the following screenshots and you will be able to make this next part of our machine with ease.

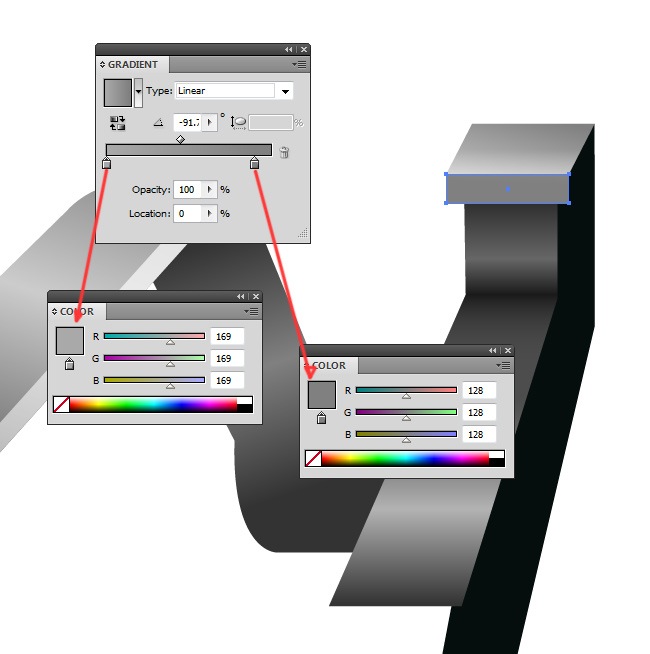
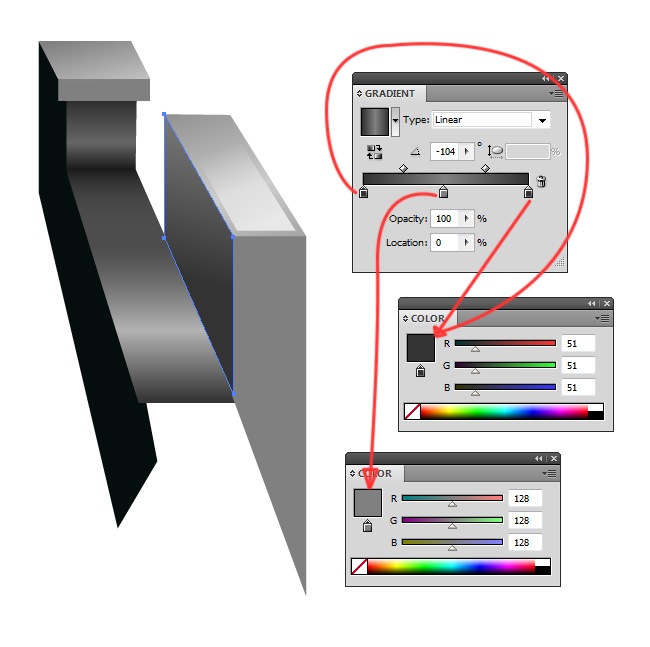
Duplicate this object and then adjust its fill parameters for the following:
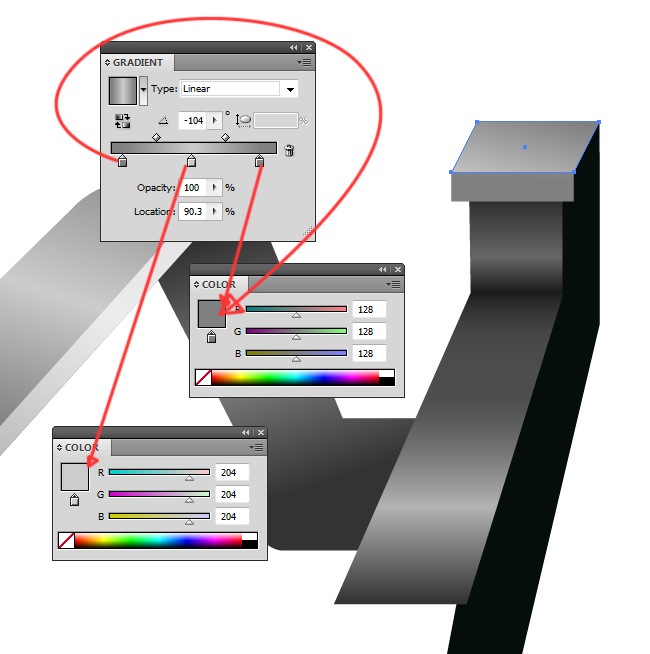
Finally, add another duplicate of the object we did a couple of steps ago and adjust its fill values.
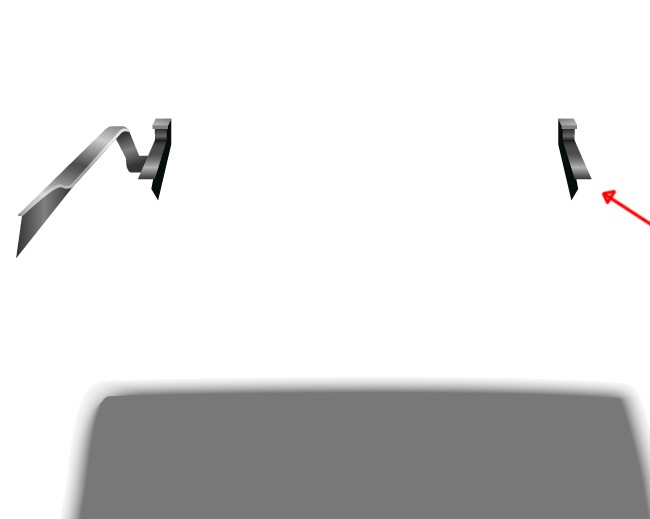
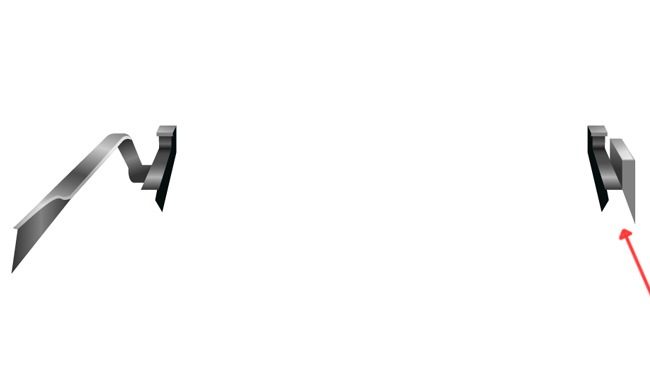
And with that, our lever is ready, check it out.

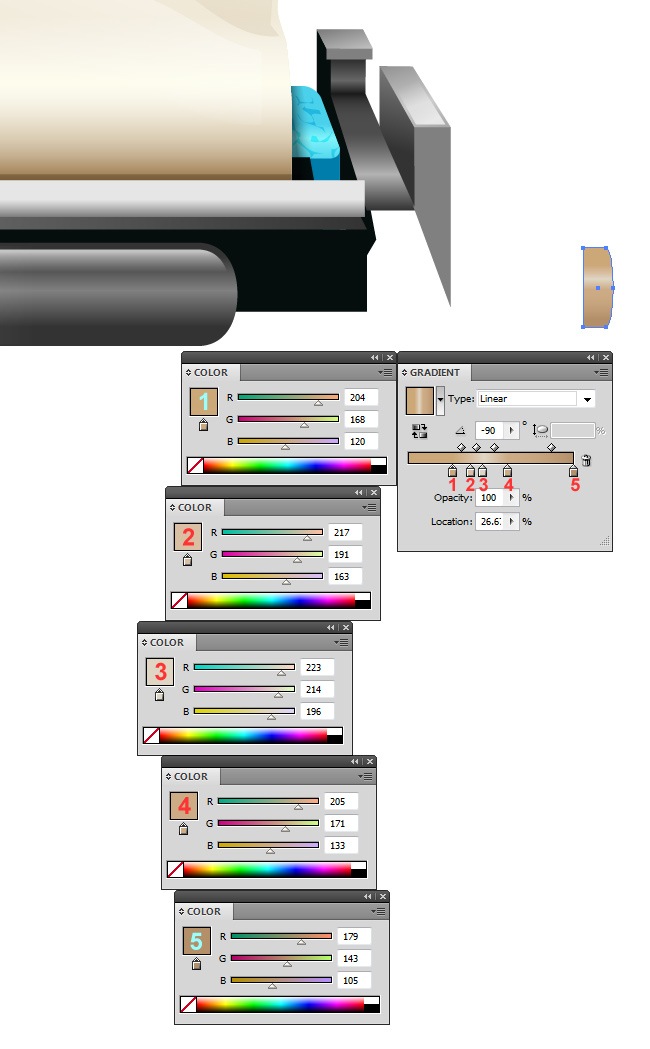
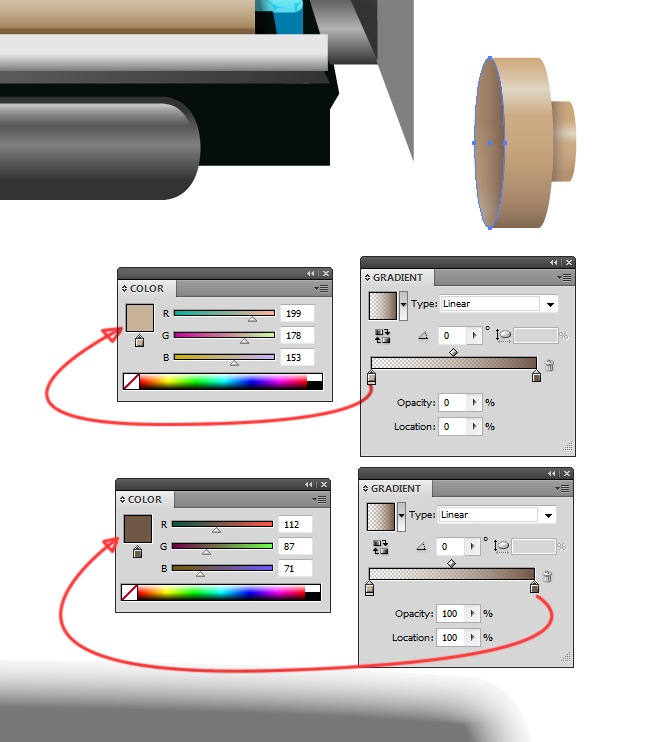
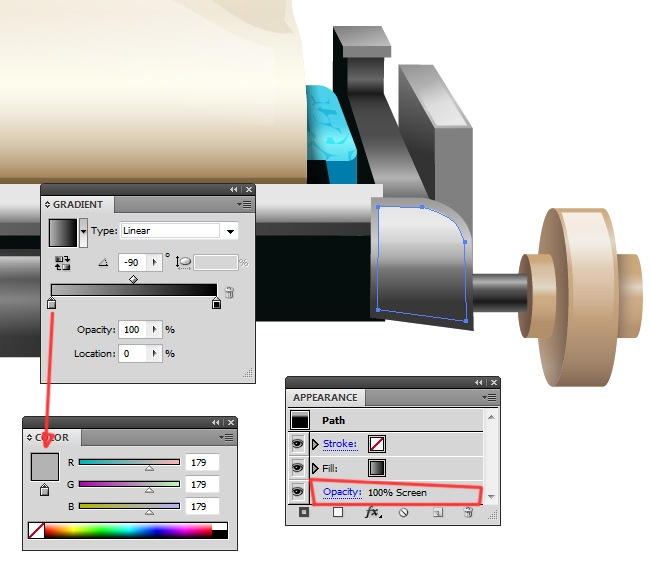
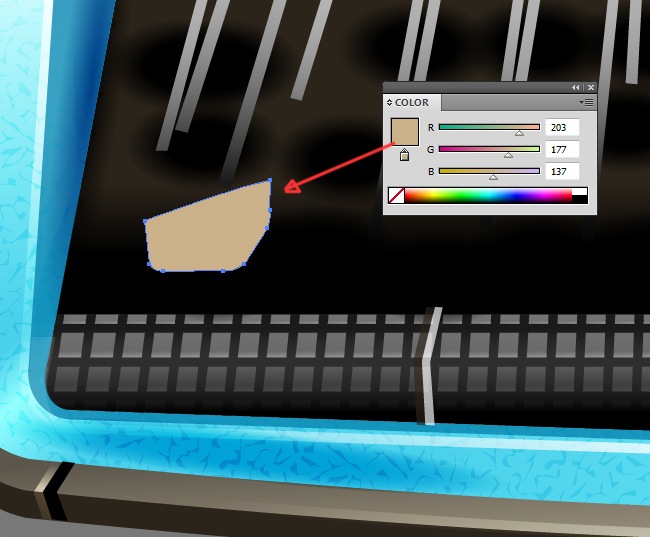
Now we move to the other side of our typewriter to create the next component.

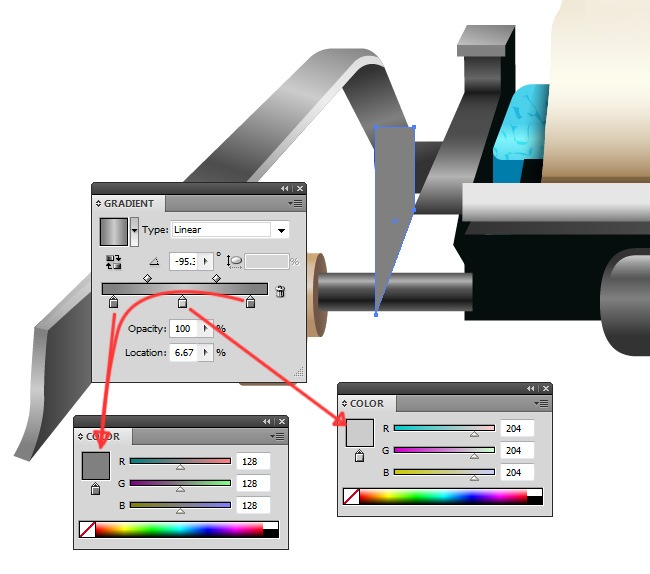
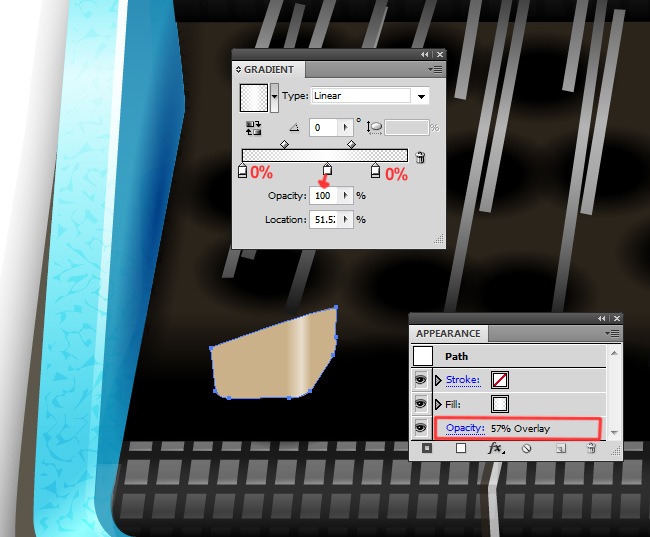
And now just pay attention to the following screenshots so you can understand how these parts were actually done.
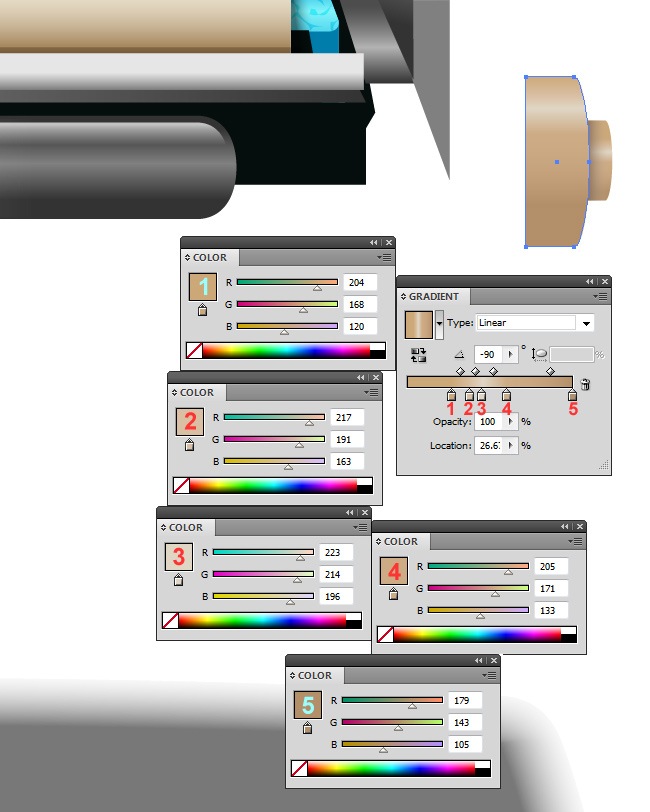
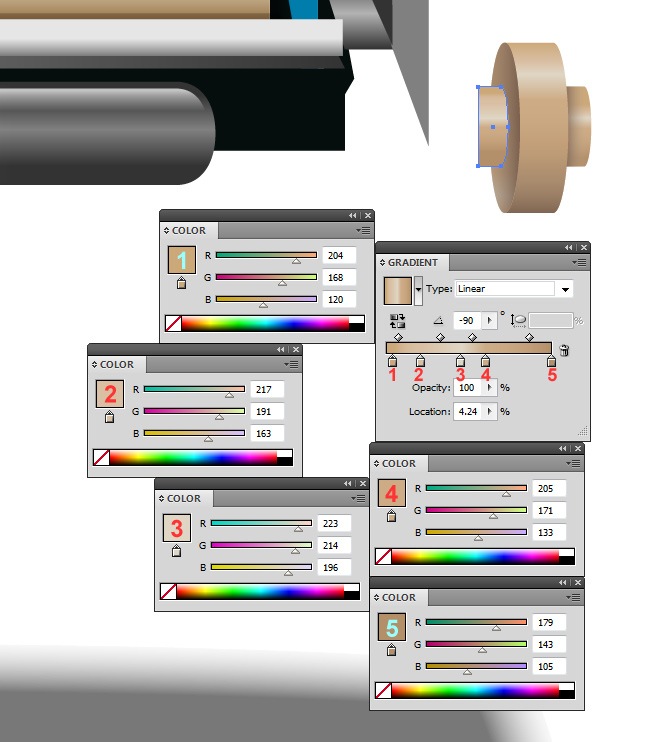
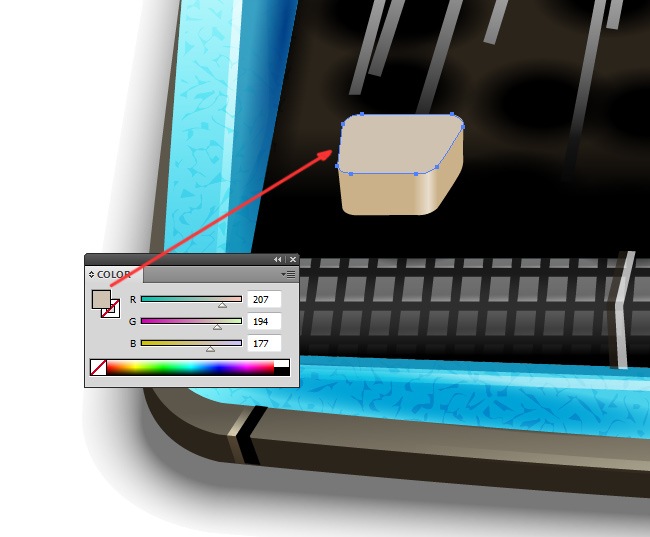
As we did previously, duplicate this element and switch its fill properties.
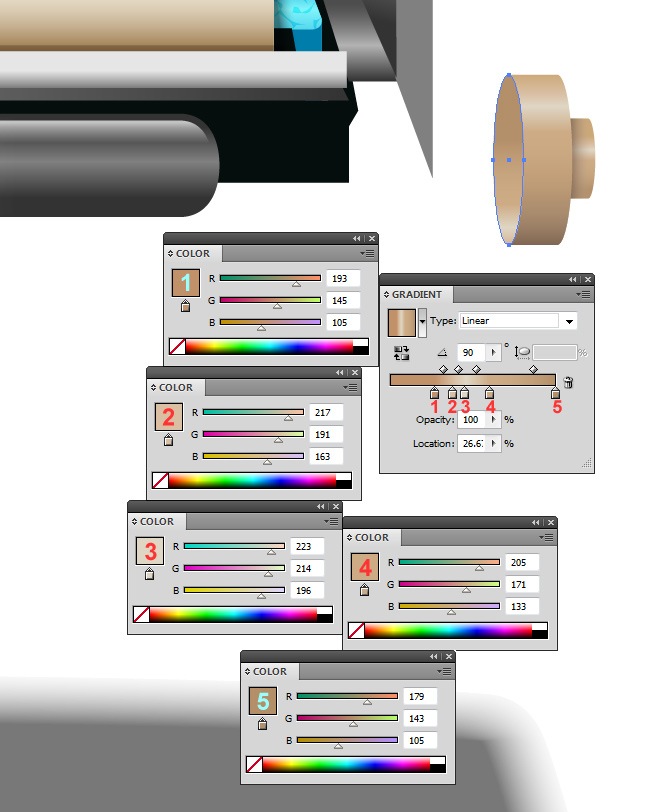
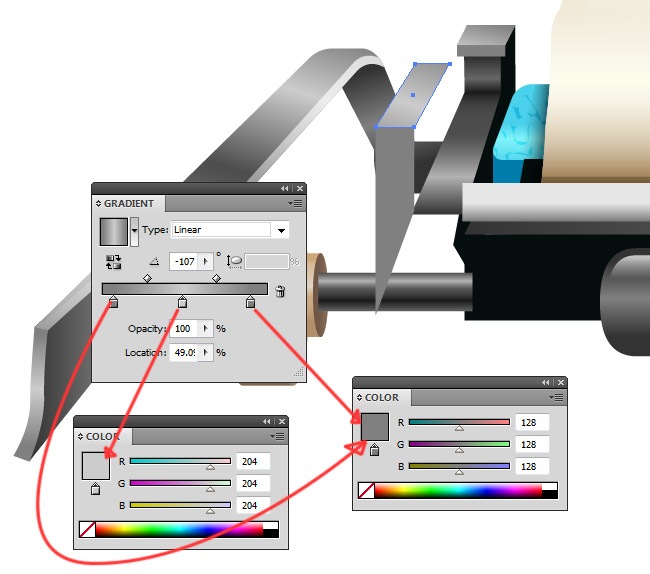
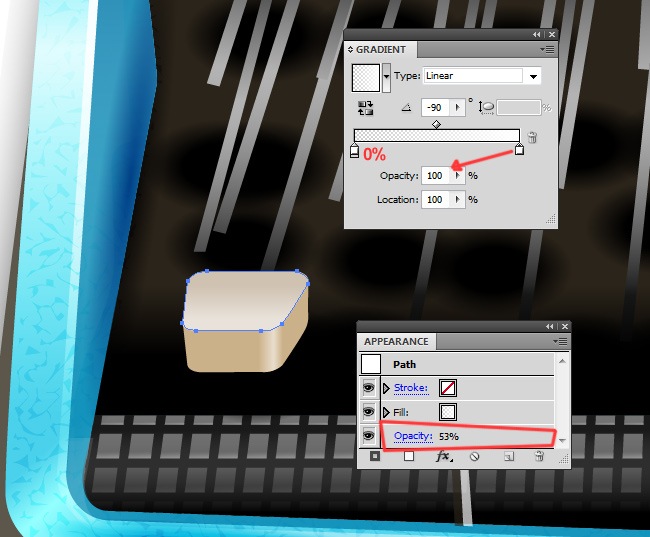
Finally, add another duplicate of the top element and change its fill parameters.
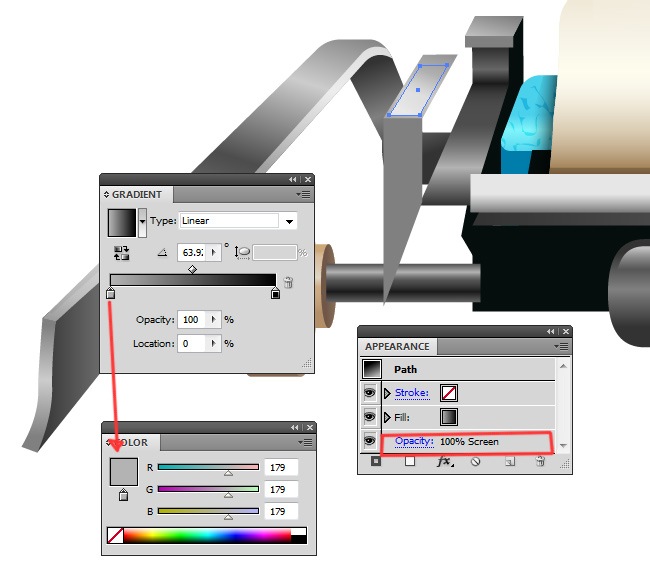
So far this second component is going well, let’s take a look to it.
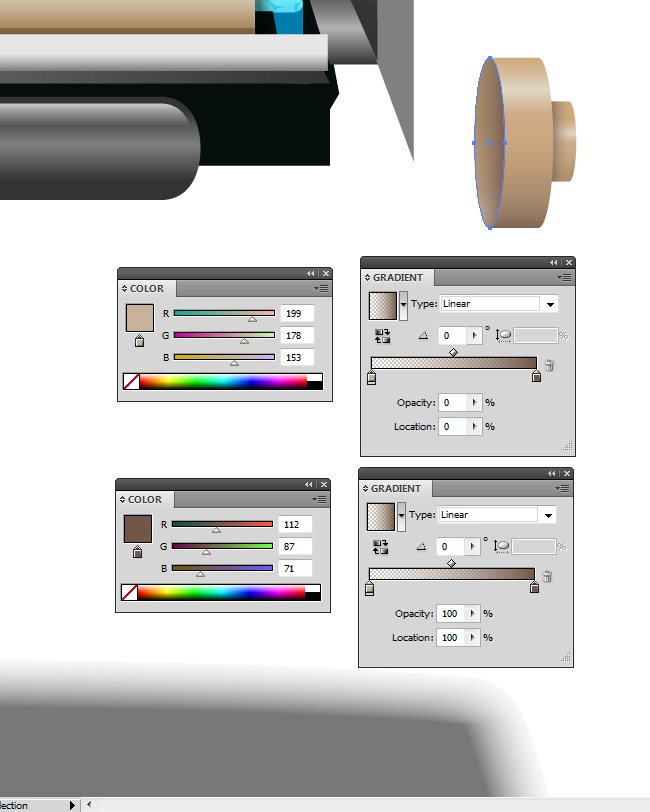
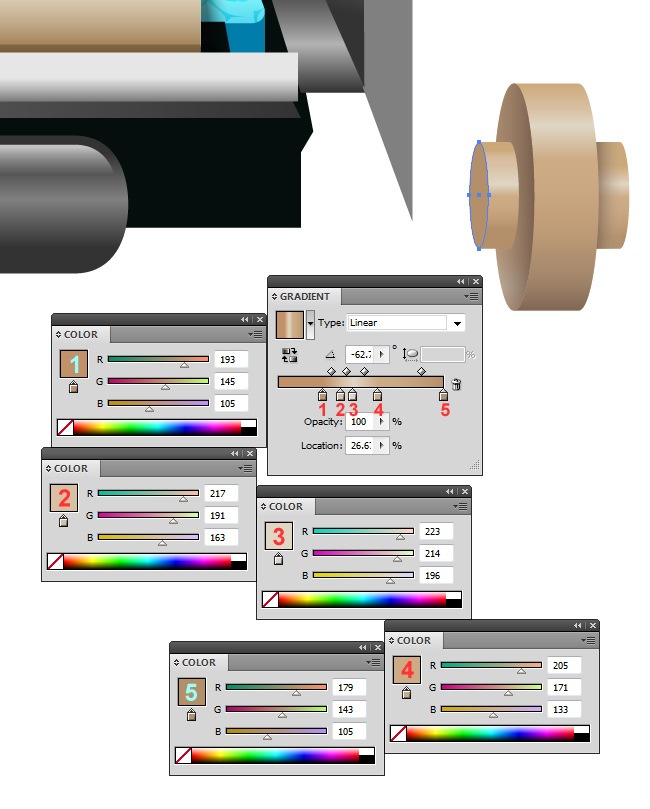
Now we need to add a couple of shapes next to it.
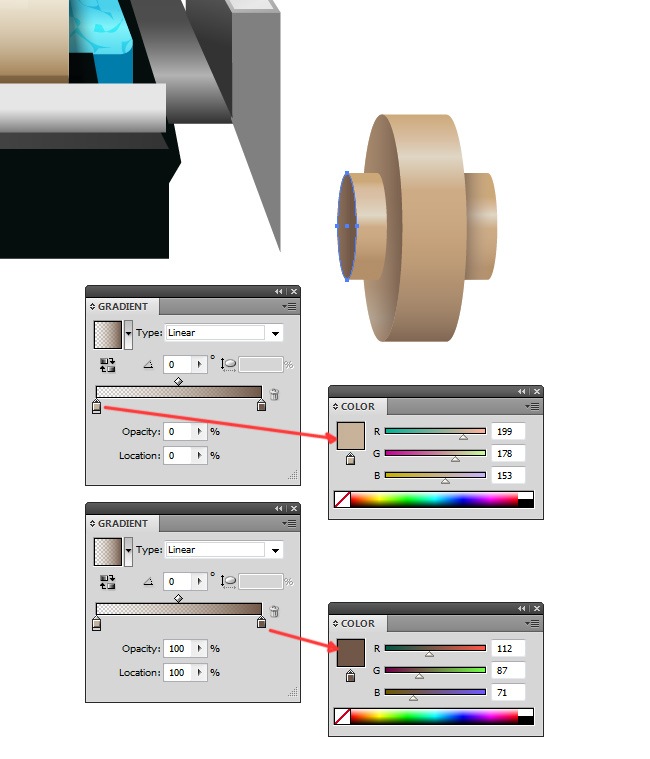
And now the second component of our typewriter is ready, let’s see how it looks.
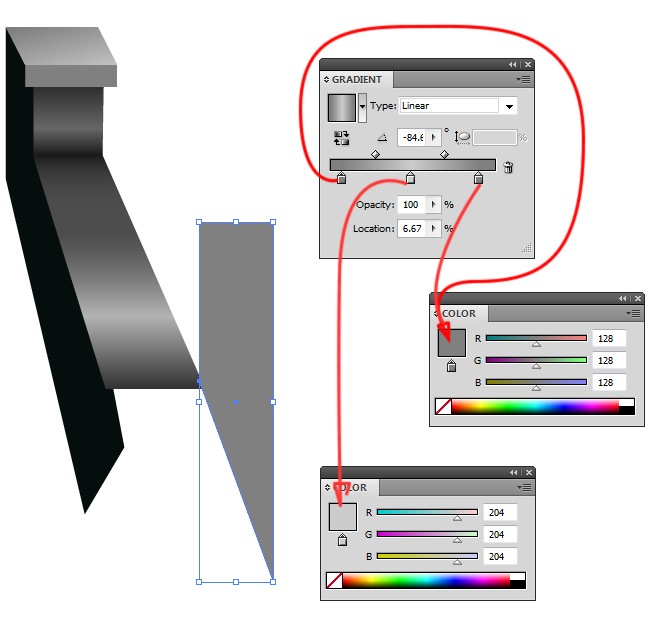
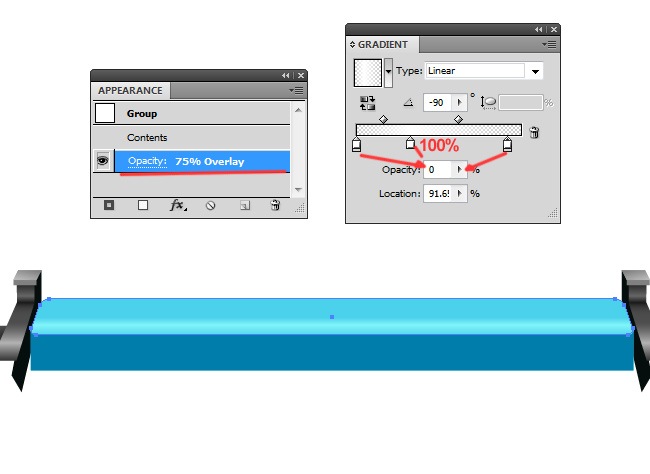
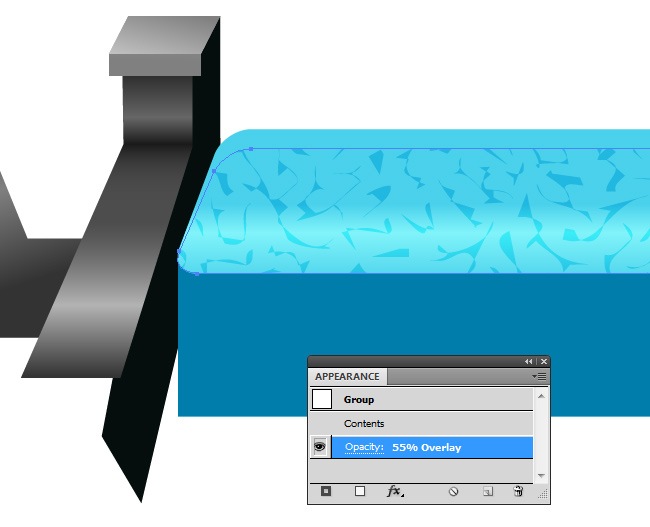
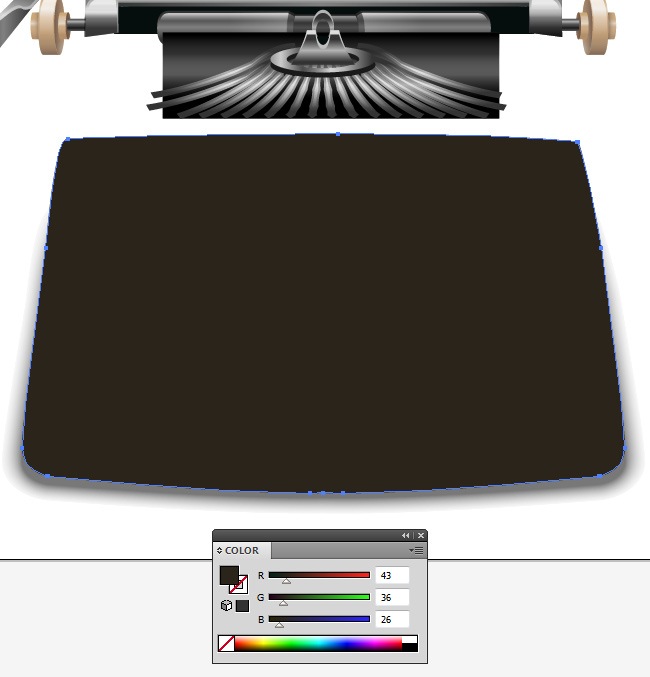
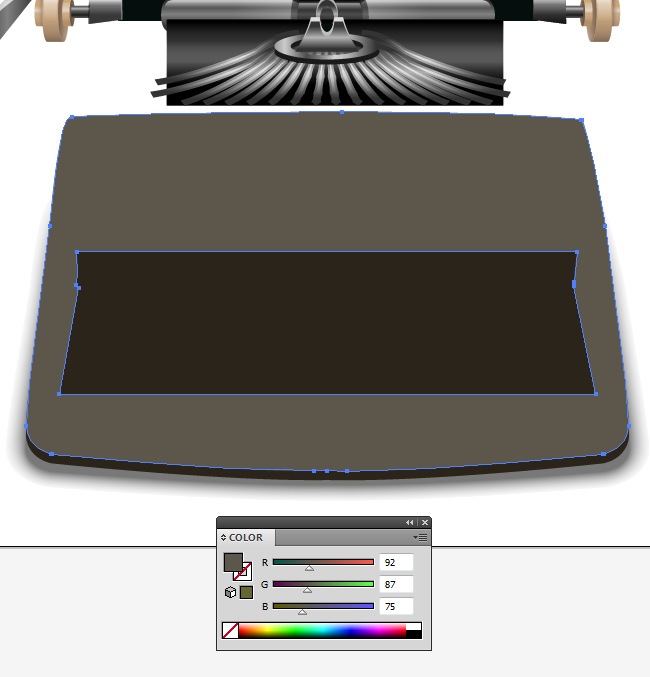
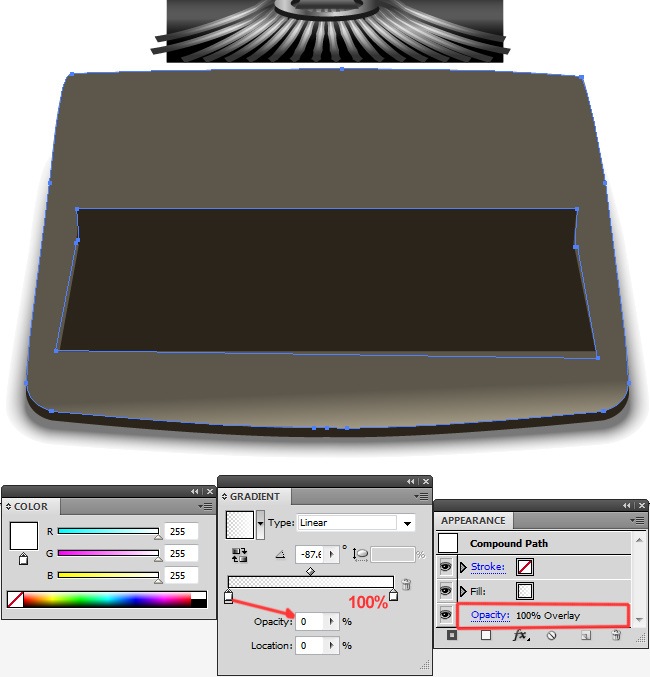
Step 4: First part of the housing
To continue with our tutorial, we’re going to make the first part of our typewriter’s housing. We will make a 3D-like object with a fancy texture on top of it, so pay attention to the upcoming screenshots:
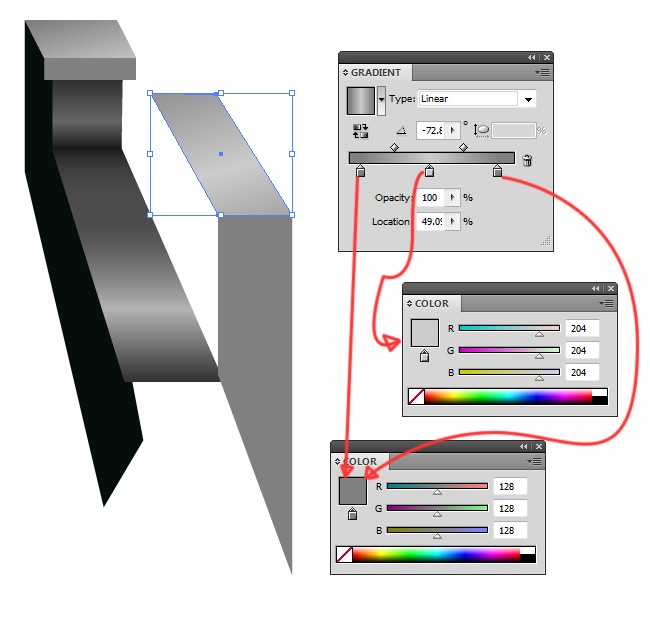
We duplicate this object and then switch its fill properties.
And now we duplicate this object and change its fill properties and also its blending mode.
Finally the texture, it’s made out of several random objects filled with black and a blend mode set to overlay and opacity reduced to 55 %. You can get creative on this part and make your own texture.
Another way of making this texture is adding it directly from Illustrator’s pattern swatches, though if you don’t have one that you like you have to make it manually.
So this is what we have accomplished until this point of our tutorial:
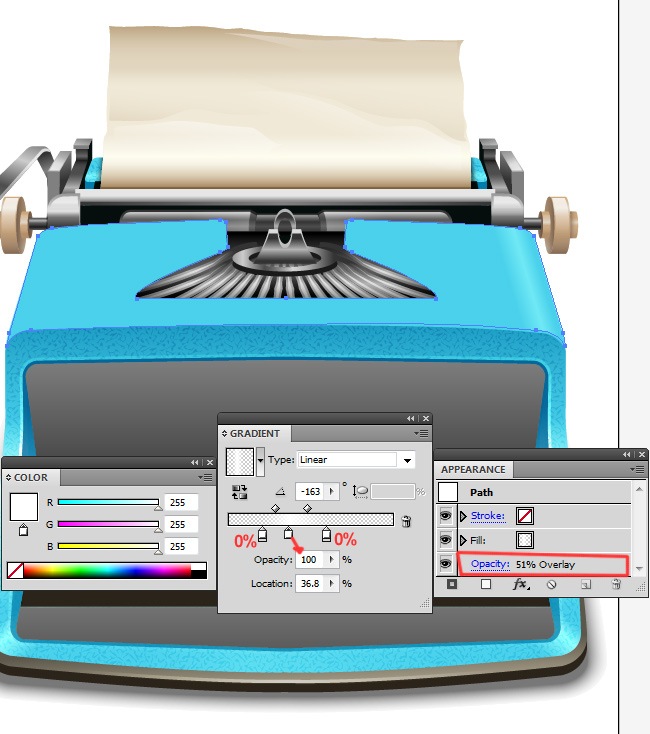
Now we proceed with the insertion of a black element.
And then another black object behind this last one.
Between these two objects, we’re going to insert a tiny gradient object.
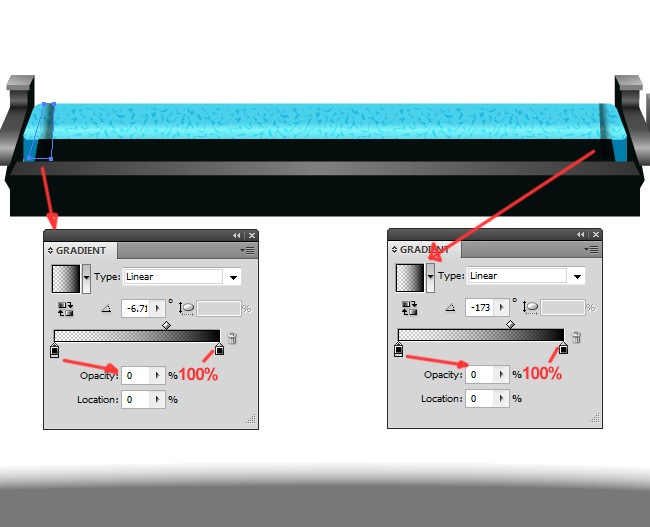
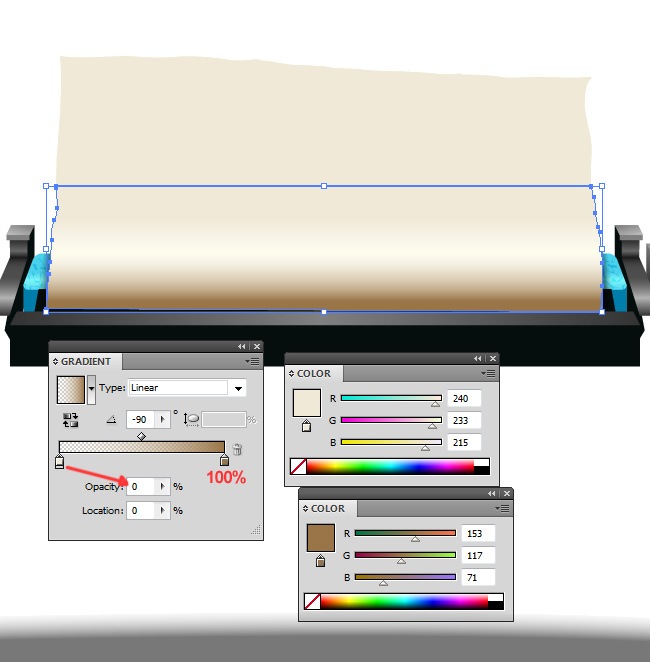
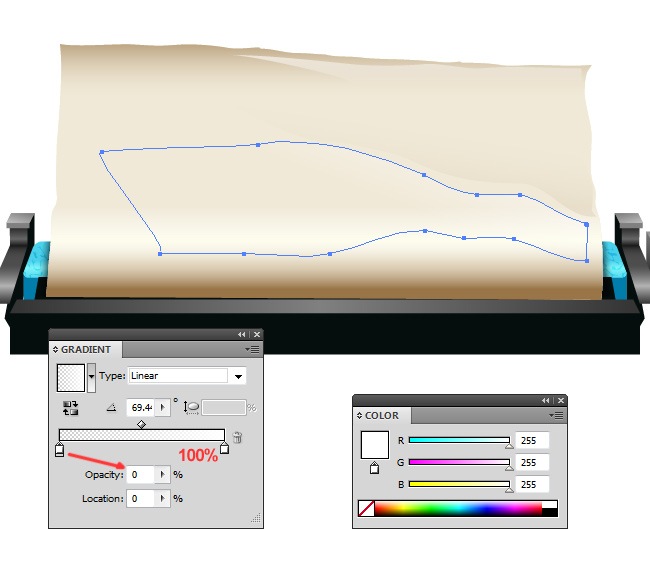
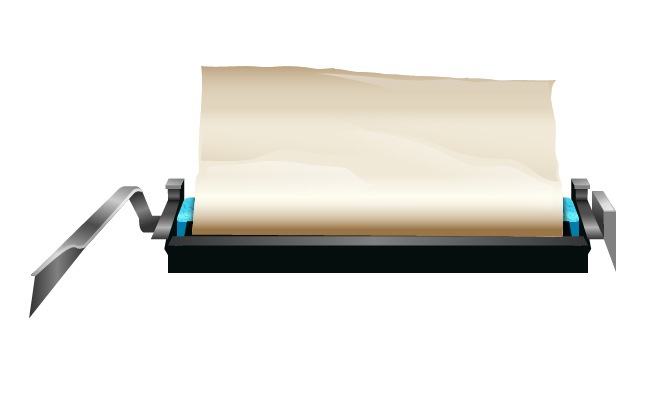
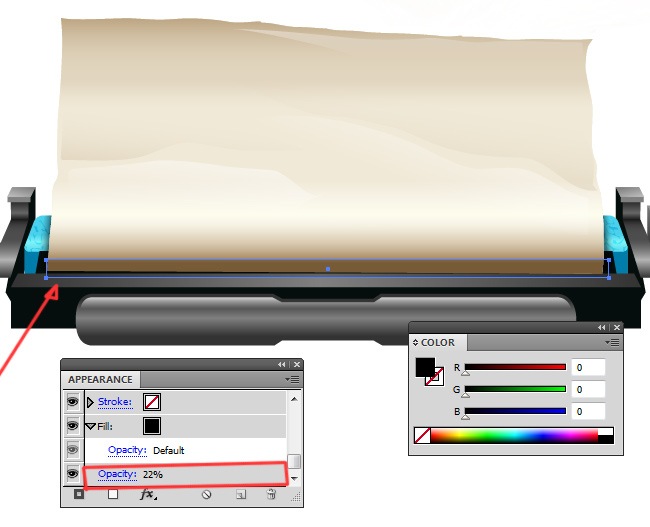
Step 5: The paper
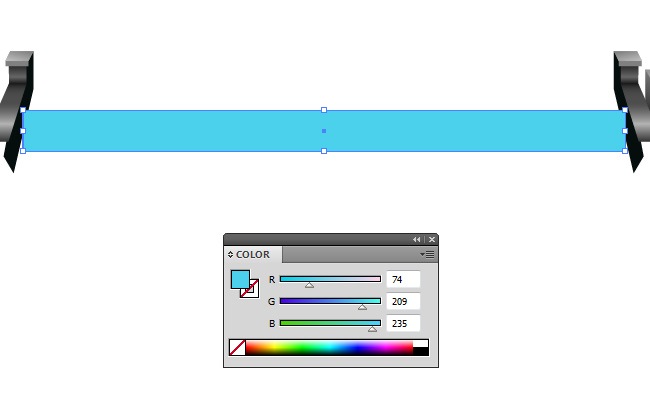
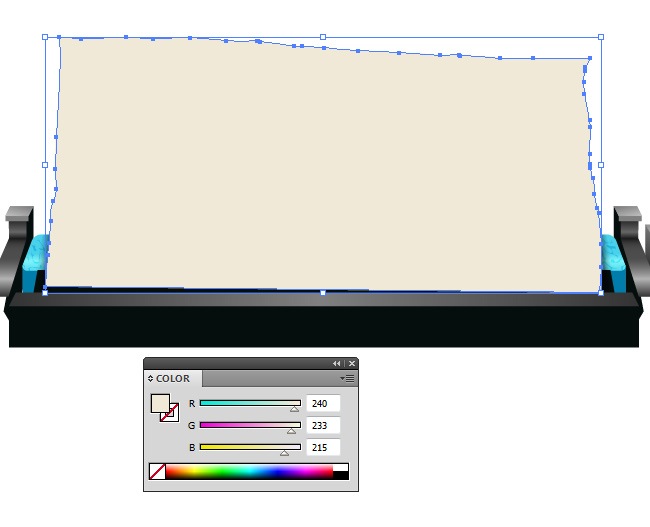
So now that we have the top of our typewriter ready, we can continue with the design of the paper. You can choose many different papers, including regular paper, parchment, photo paper and more; on this opportunity we’re going to work with and old parchment piece of paper, ideal to use with the whole vintage look that we’re looking for. Let’s start by adding a couple of shadows at both sides of our machine.
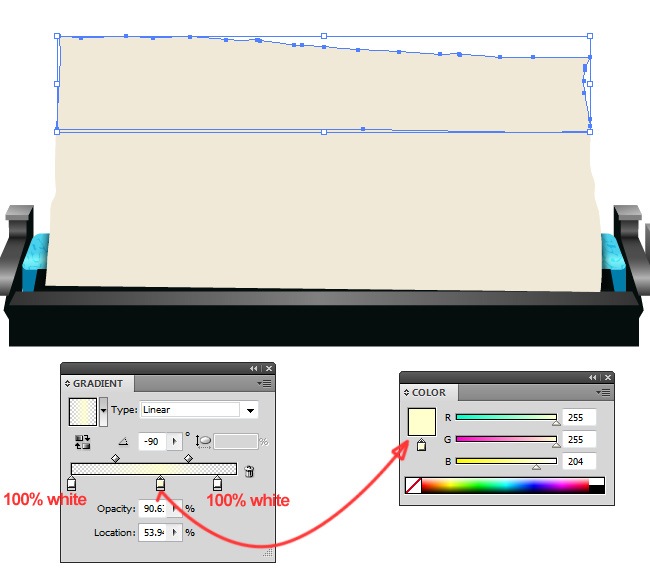
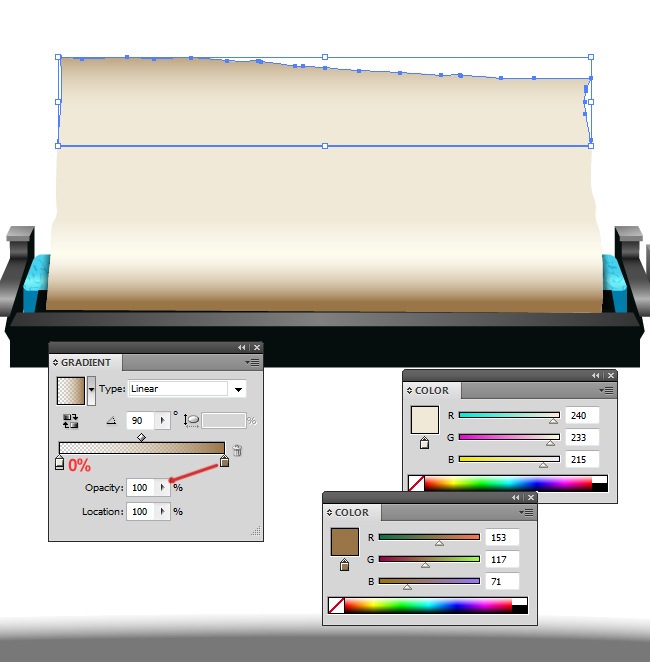
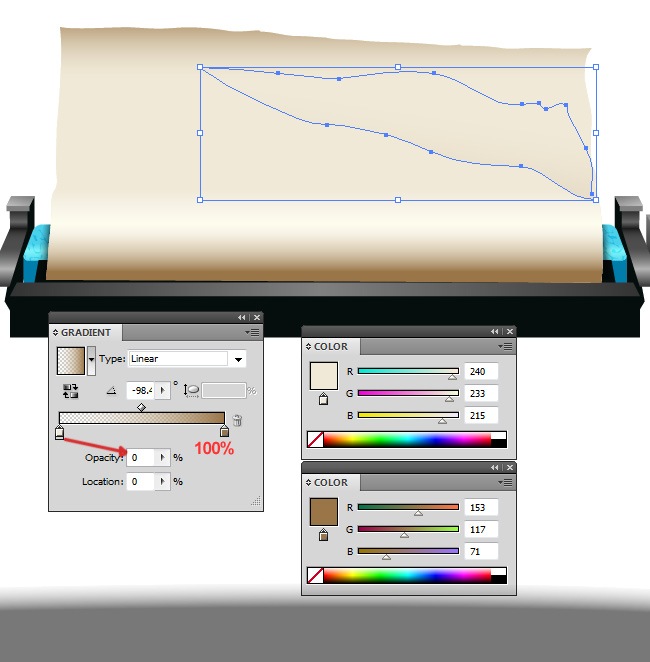
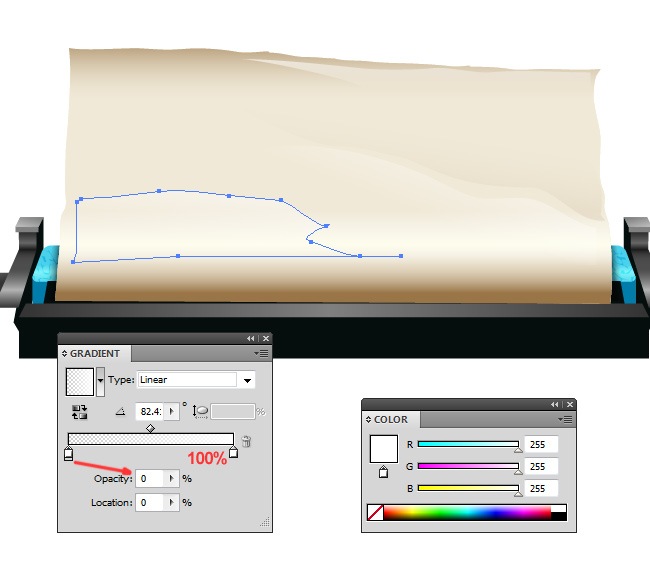
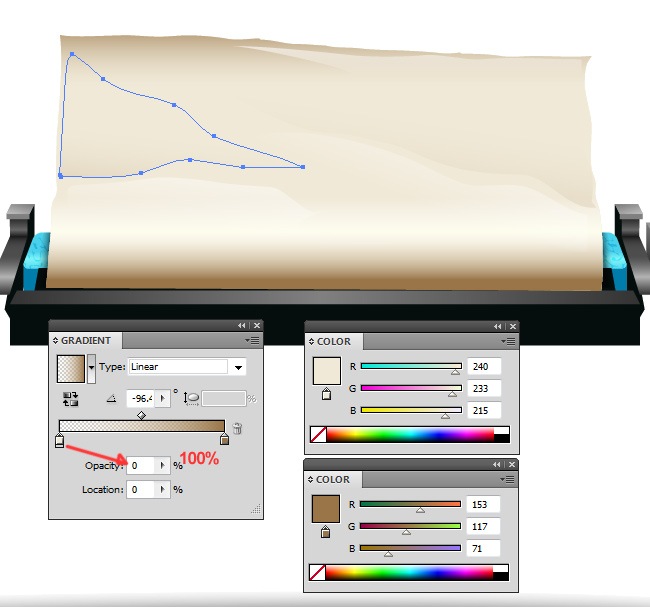
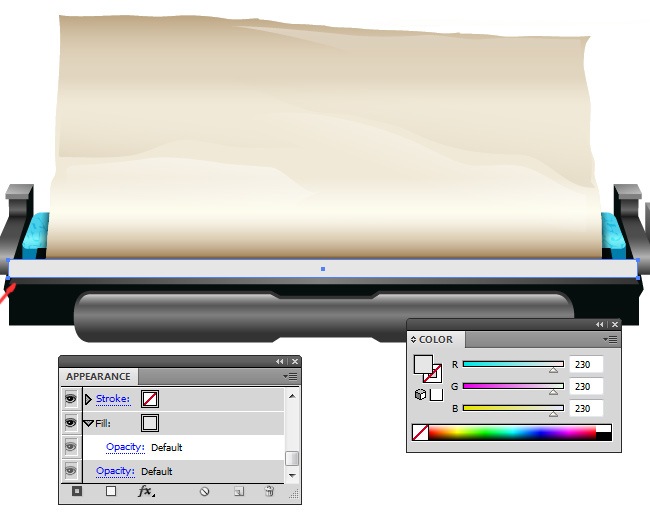
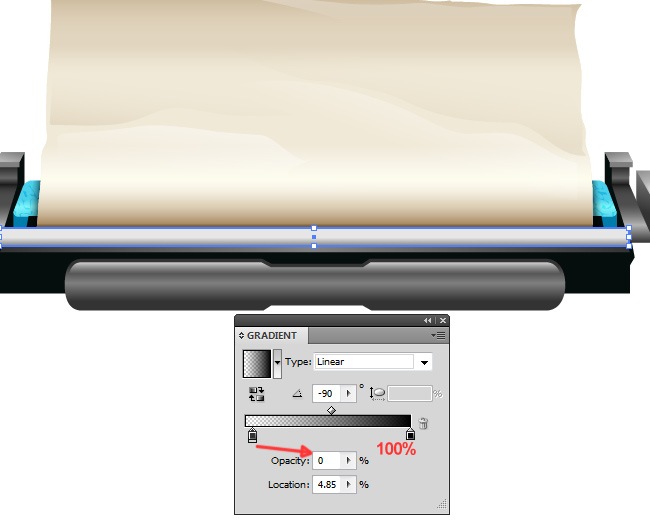
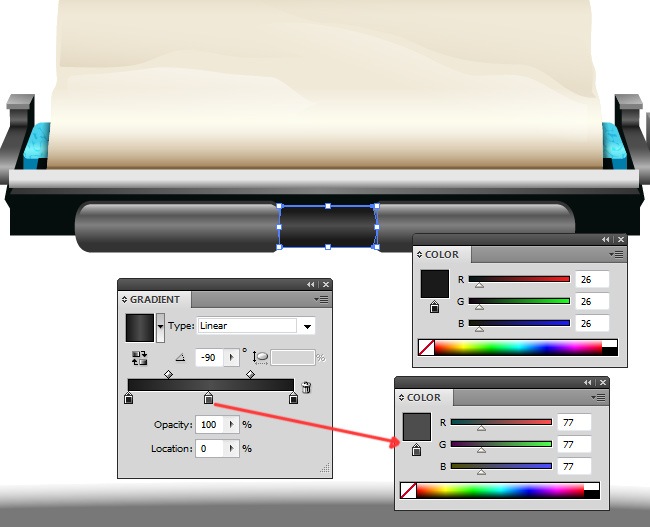
And now we can start with the actual paper design, so pay attention to these following screenshots, we will place little notes when necessary.
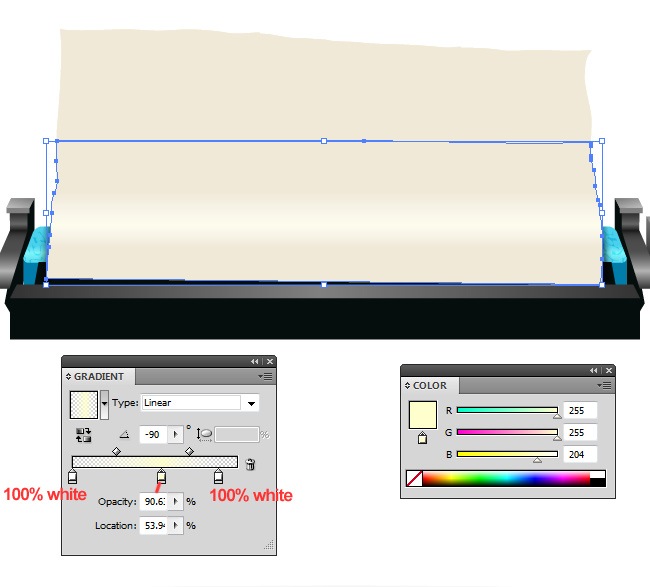
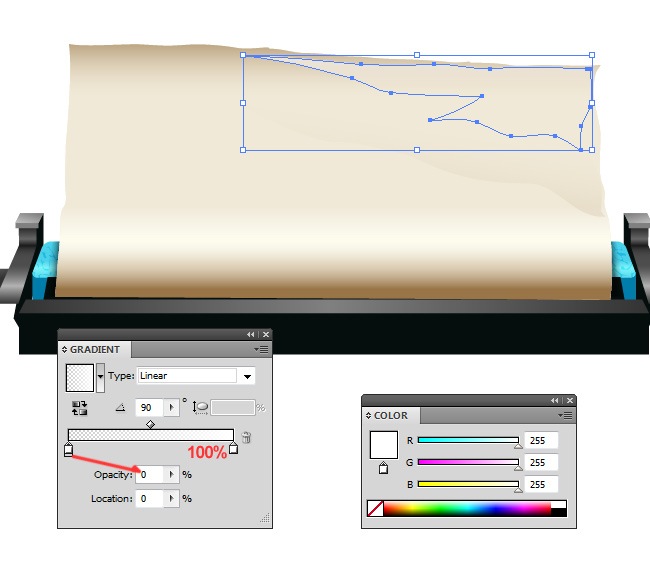
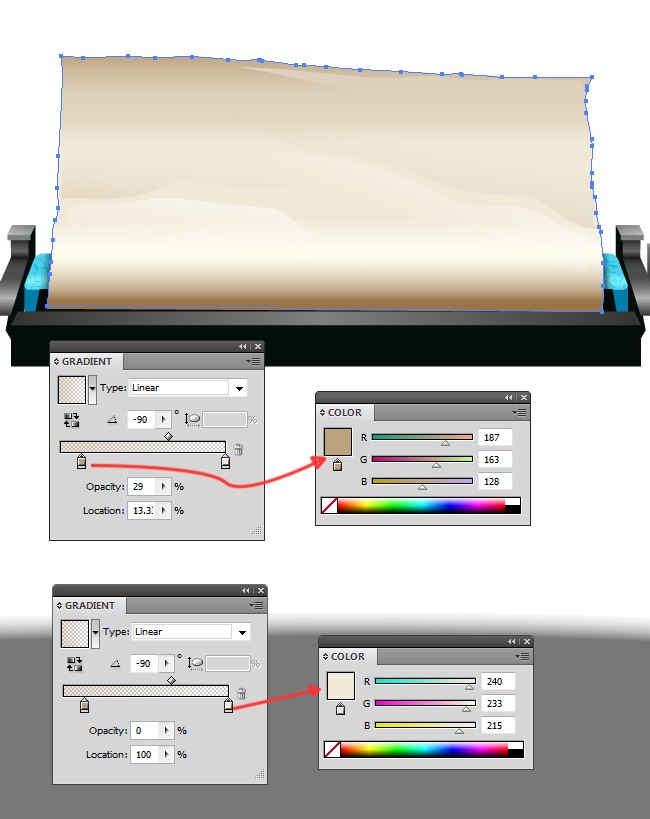
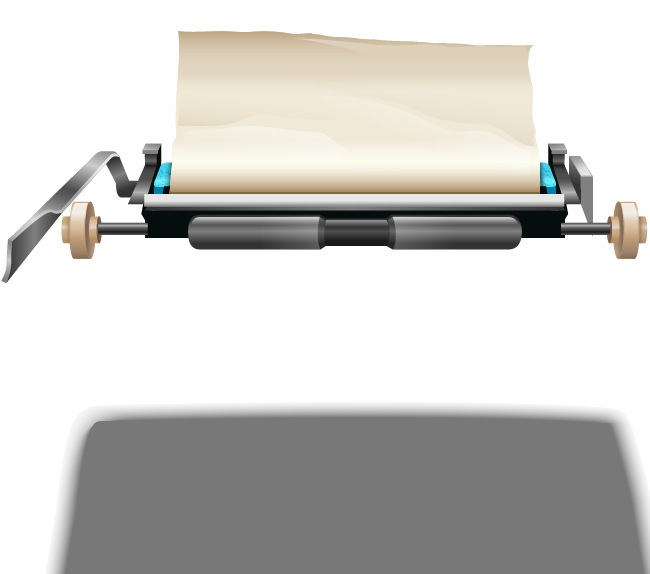
This is how our typewriter is looking after we completed the paper, pretty cool isn’t it?.
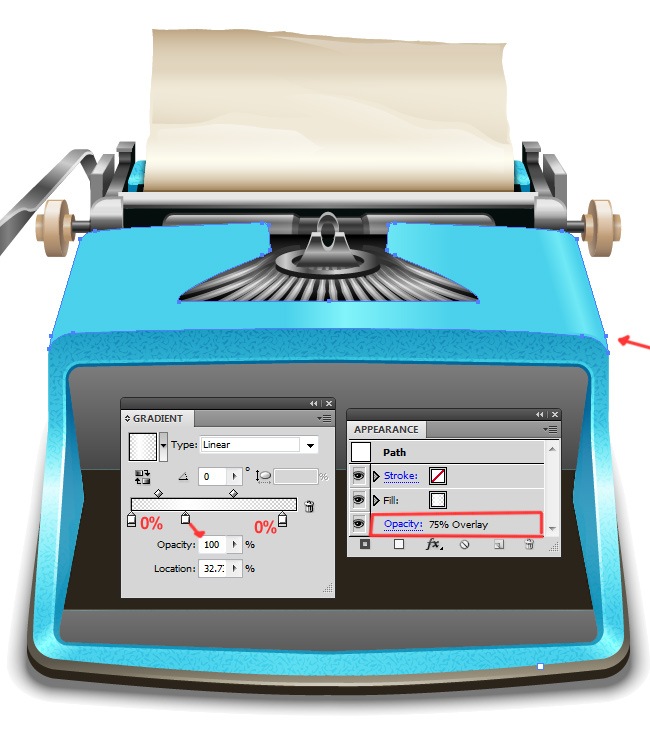
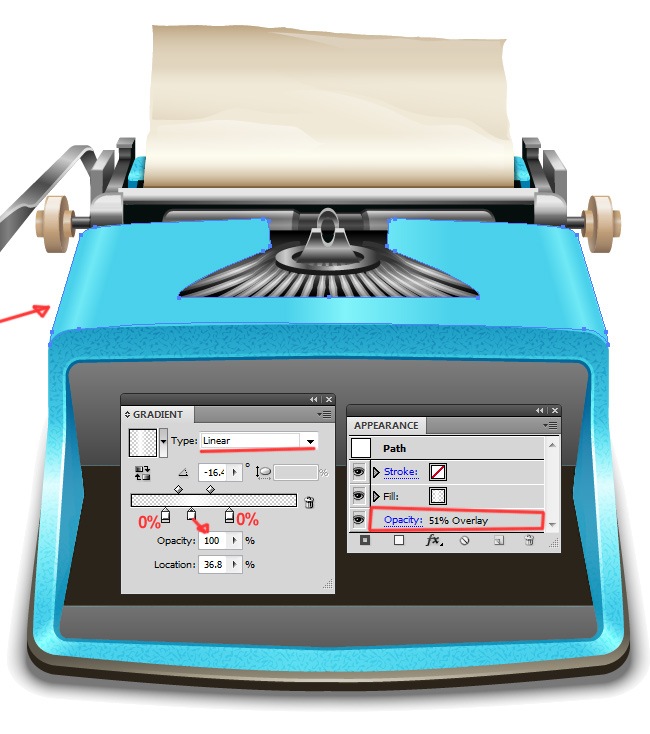
Step 6: More details
During this step we will add some elements that we forgot to illustrate previously as well as some new components to continue with the design of our vintage typewriter. Scroll across the next few screenshots to see what you have to do right now.
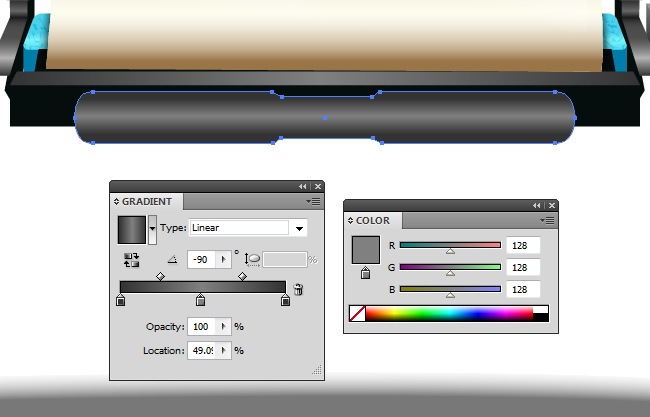
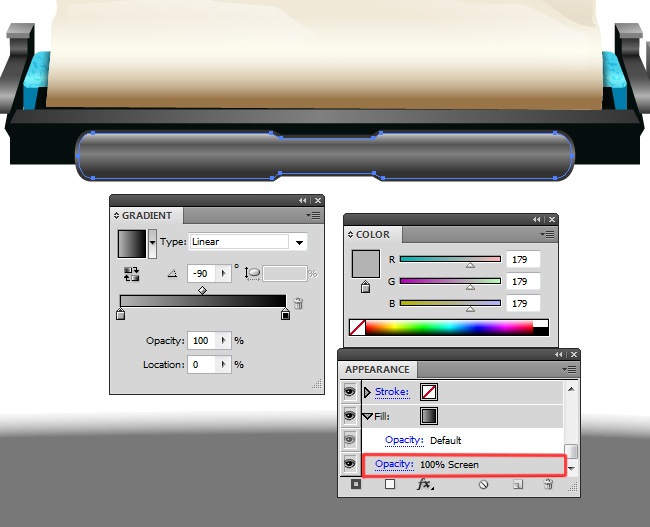
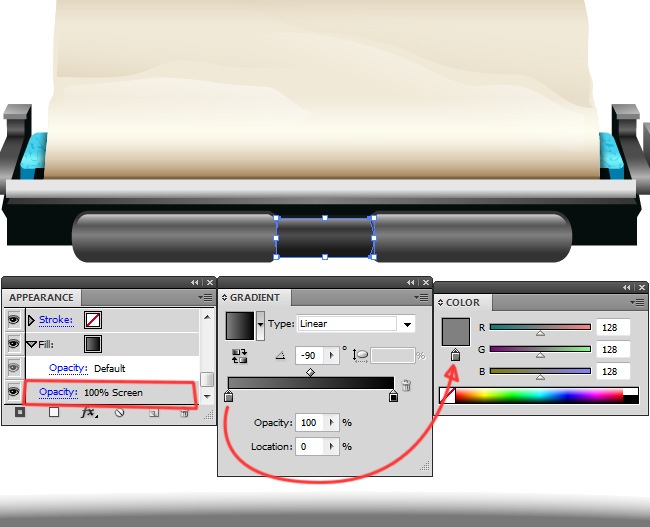
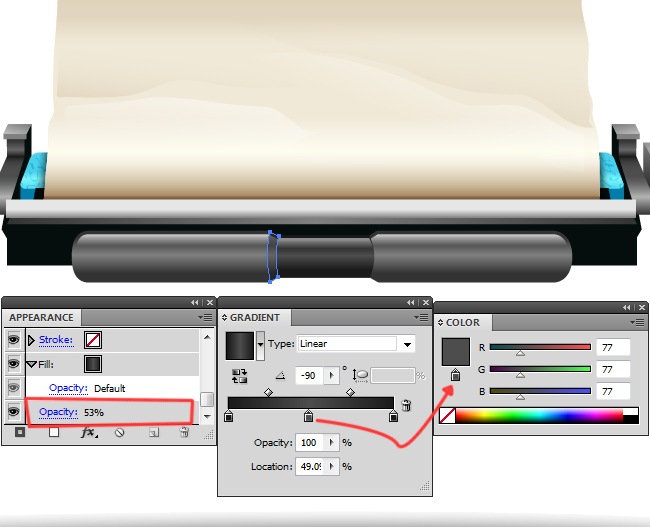
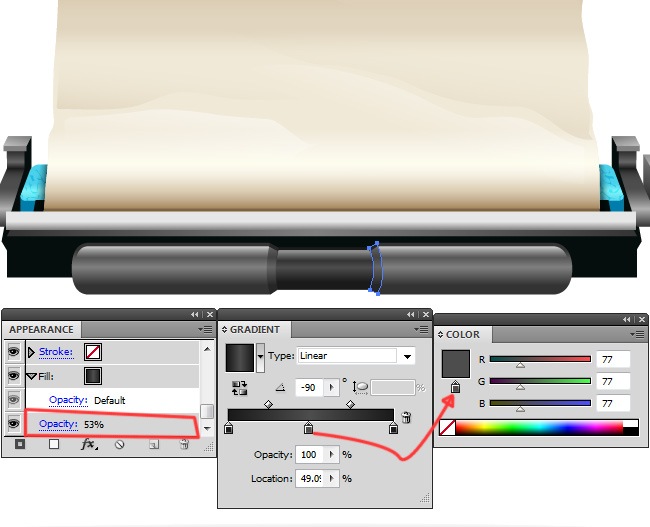

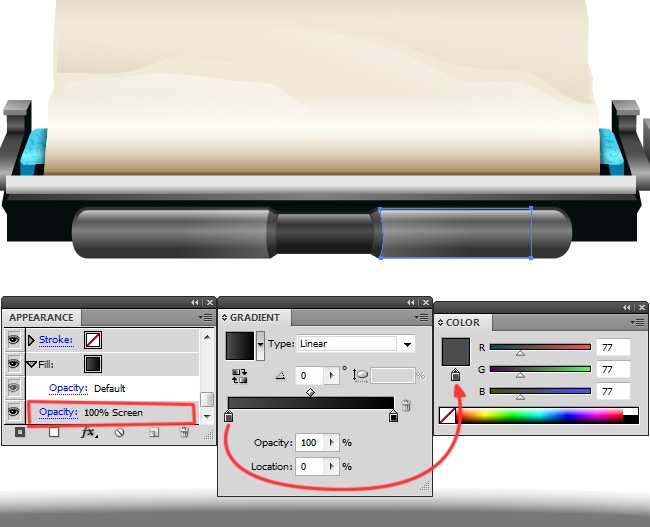
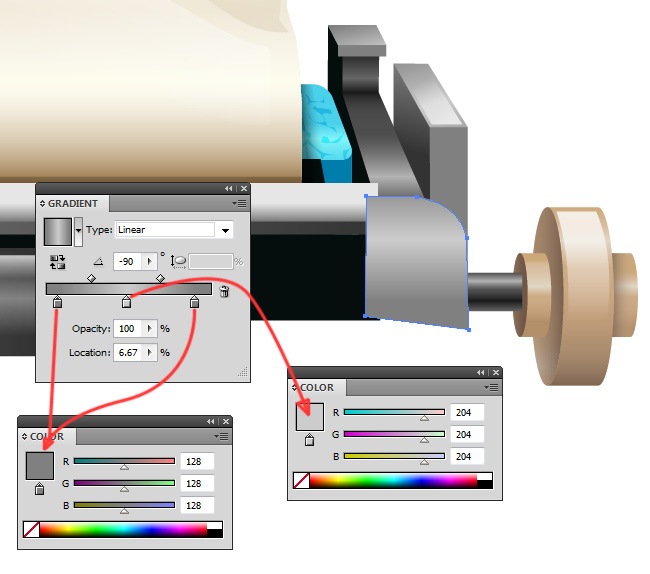
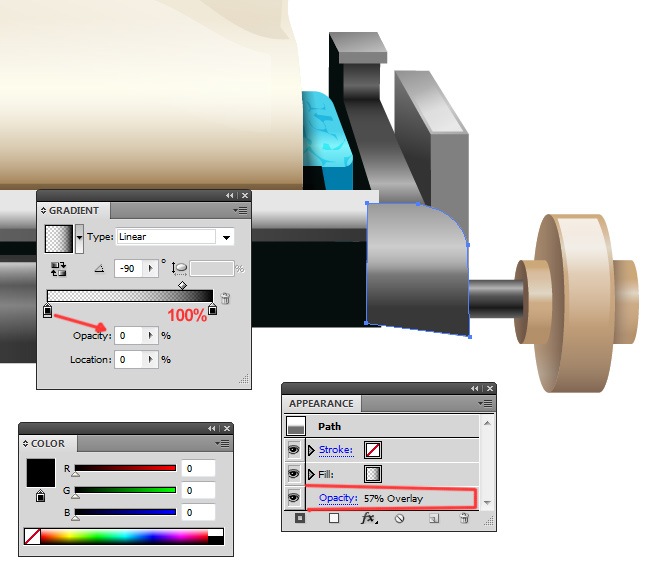
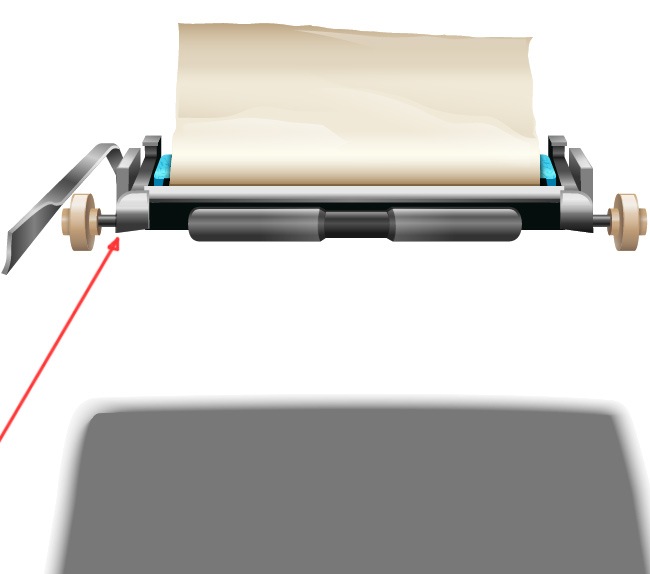
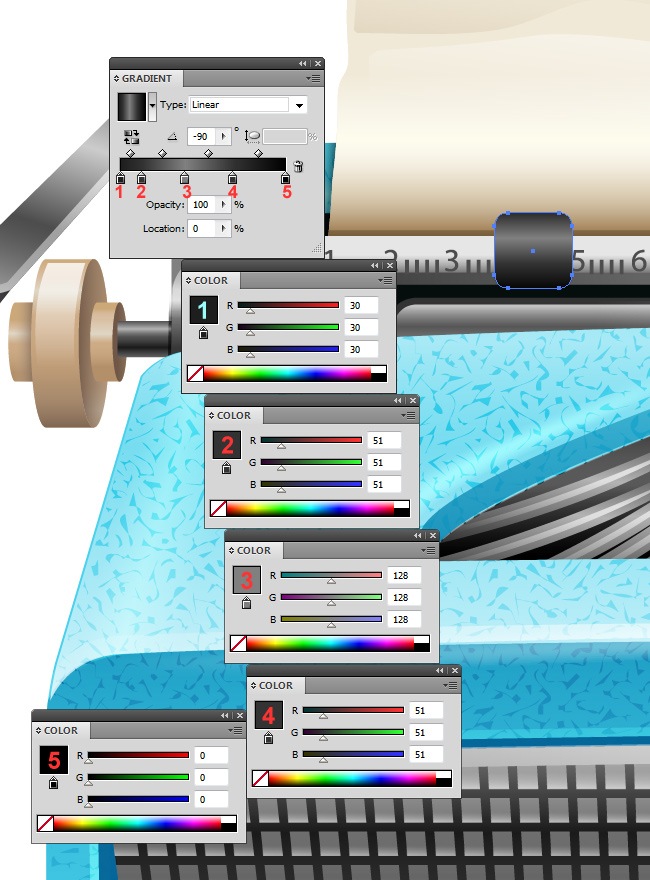
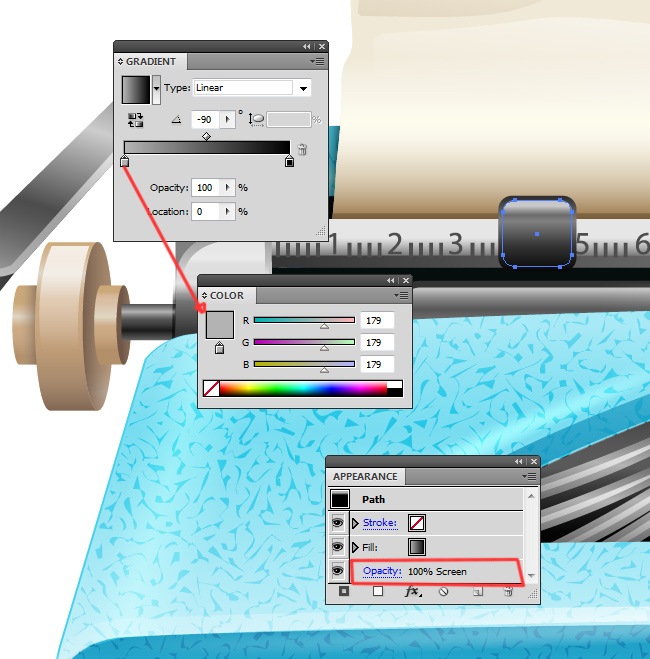
Step 7: Platen knobs and some other parts
Our advance until this point has been successful and the results speak from themselves. Now we’re going to make the platen knobs of our typewriter along with some other parts that we forgot to illustrate once again, pay attention to these next screenshots so you can easily continue the tutorial.


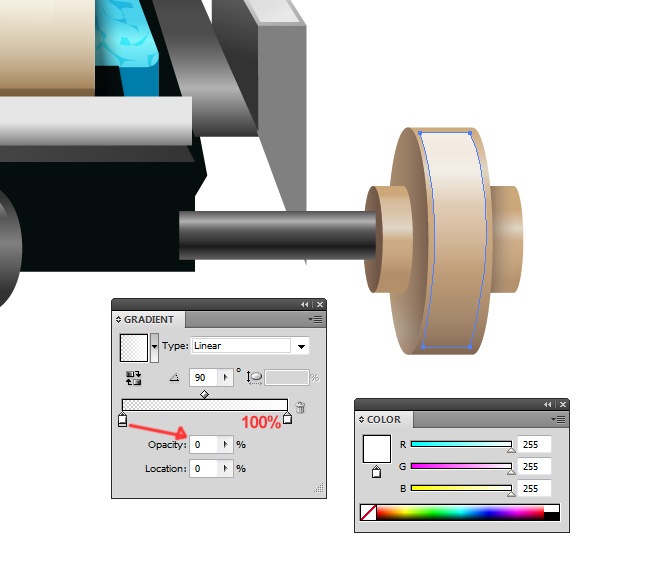
There’s no need to make the other platen knob, just duplicate it and flip it horizontally :).
Now we proceed adding a few more extra elements, take a look to these next screenshots.

Duplicate the object that we created a couple of steps ago, then flip it horizontally and place it where it belongs.
Step 8: Creating the typebars
What’s up guys?, so far we have been doing a terrific job, now we’re going to proceed with the design of our typewriter’s typebars, which are basically those little metal bars that have the characters printed in and move every time we press a key. So sit tight and let’s continue with this next part of our tutorial.

After doing this, it’s time to make the actual typebars. It will be a waste of time if we explain each one of them because they were all made with exactly the same method, so what we’re going to do is show you how we did one typebar and then you will only have to repeat the process.
Easy isn’t it?. just two different shapes and you will complete all the typebars of our machine.

Using the pathfinder tool (choose Minus Front) and two different ellipses, you need to construct the next object:
On top of this element goes and identical replica with a different fill (from solid color to gradient).
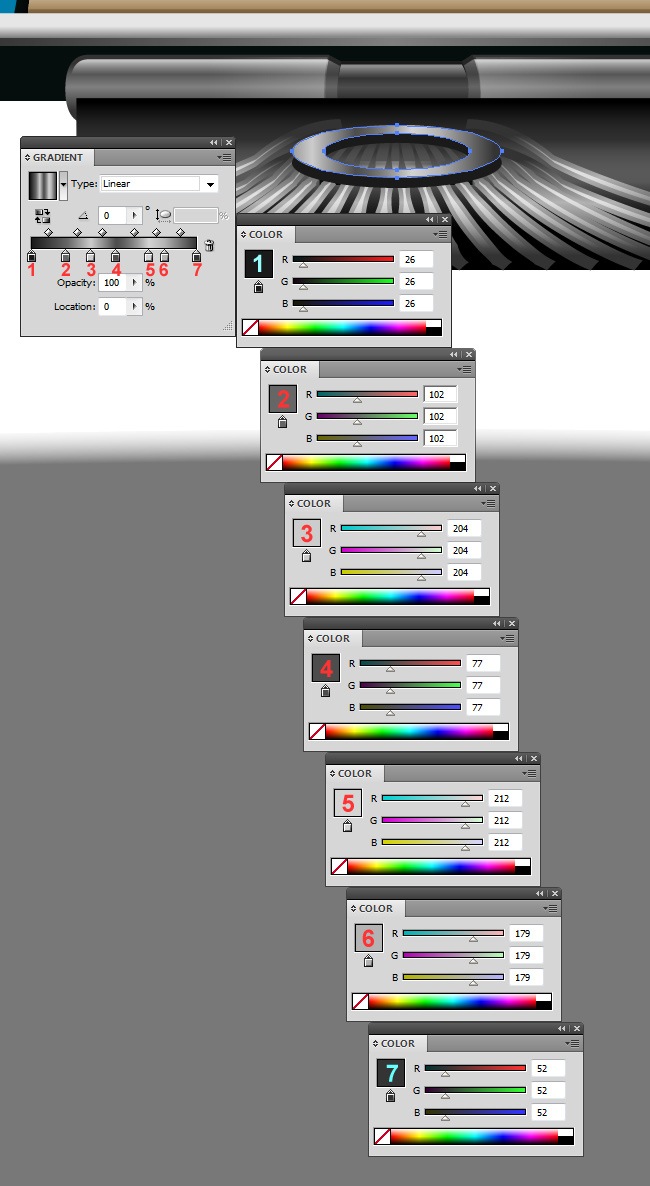
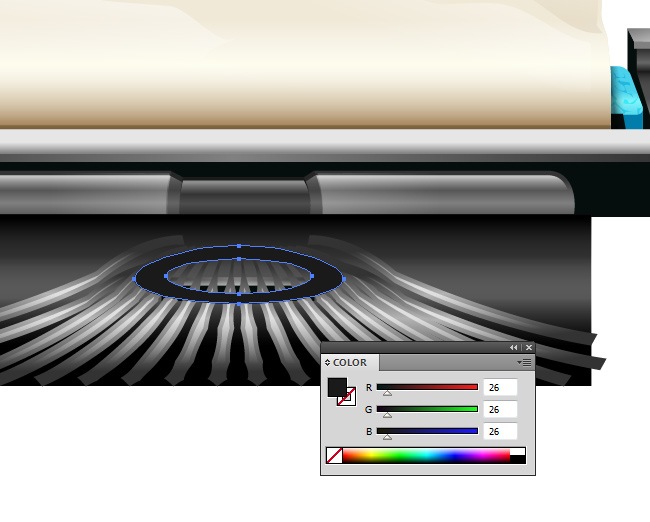
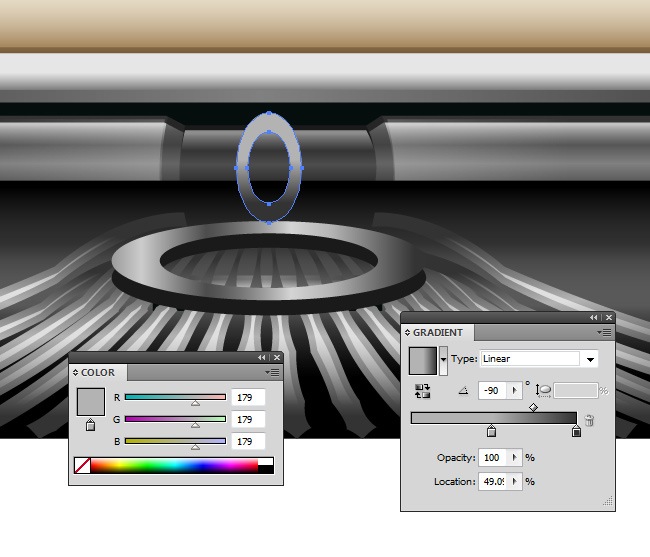
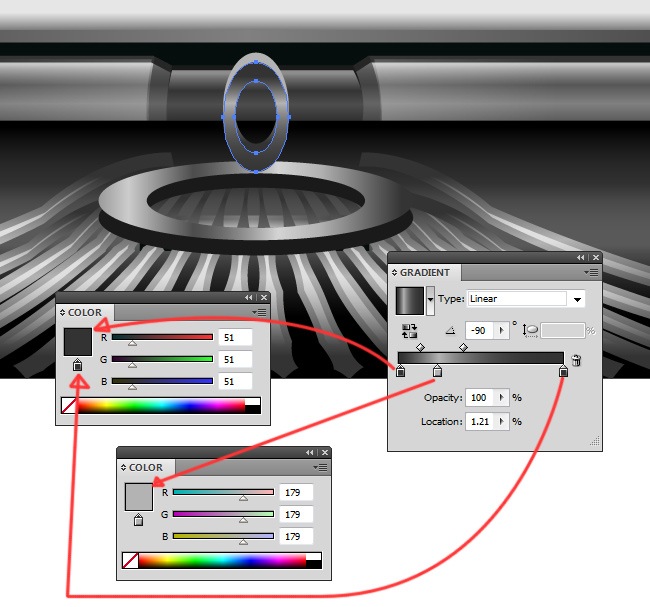
Step 9: Type guide and ribbon vibrator
This little component of the typewriter is essential because is the one with the mission of align the types and raise / lower the ribbon. Despite of its essential function, designing it on Illustrator requires a little effort from you, so let’s clean this one quickly.
This is going great, let’s take a look to another preview:
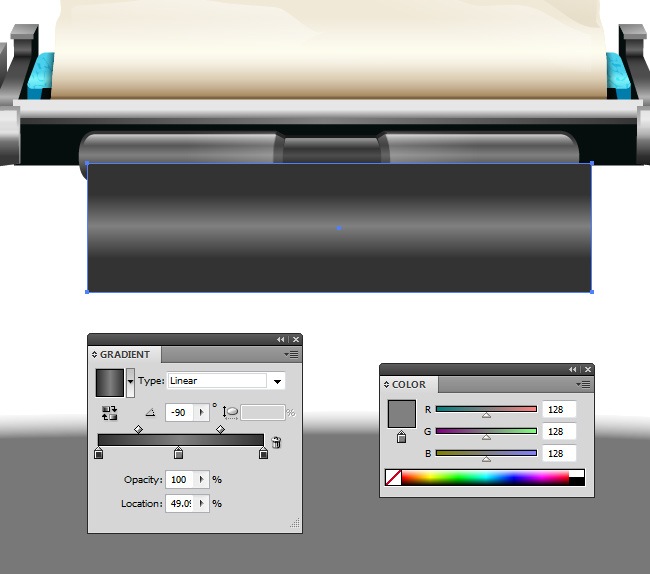
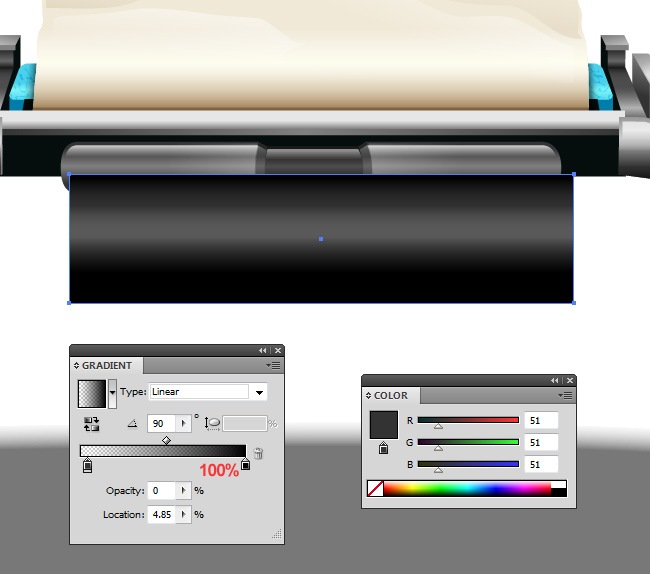
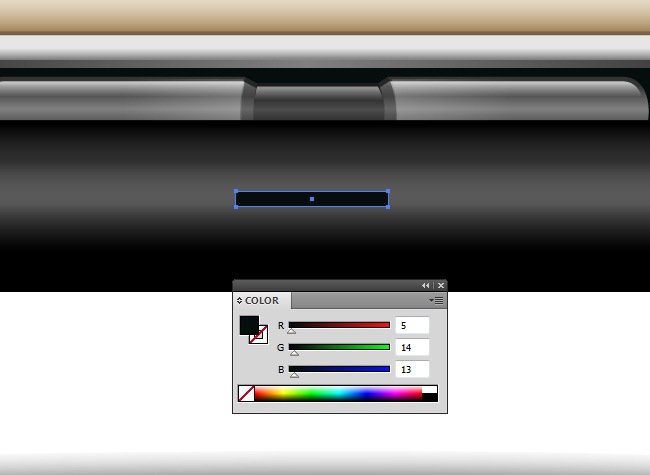
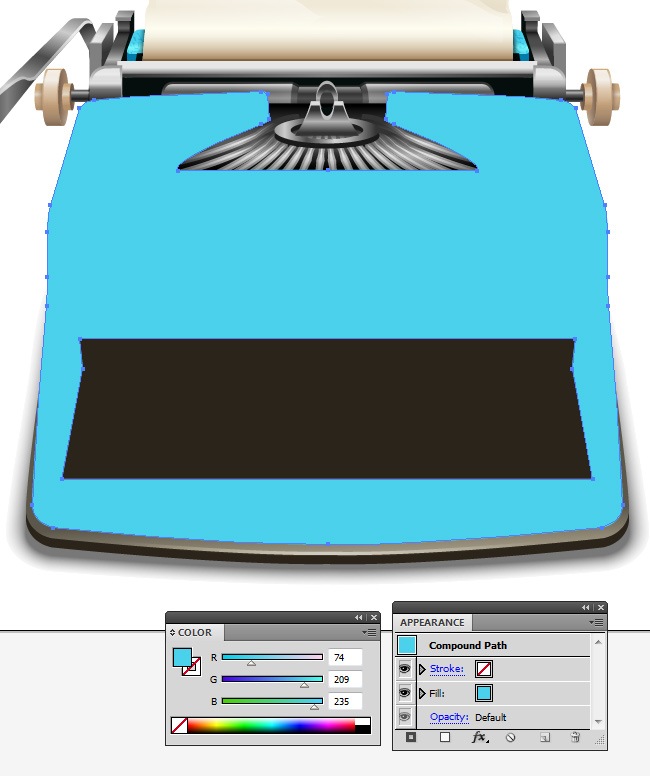
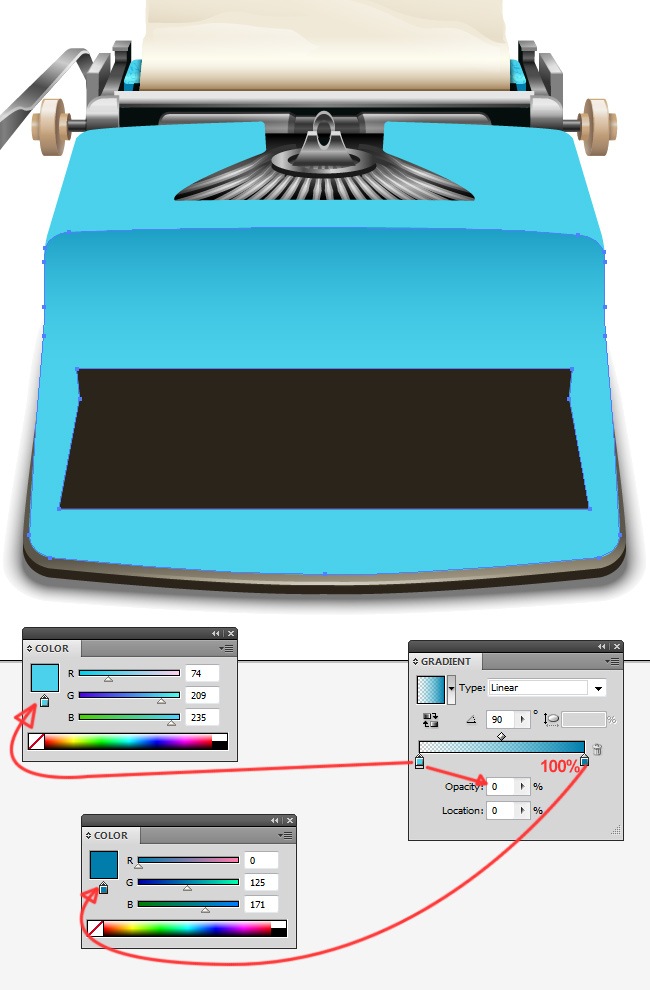
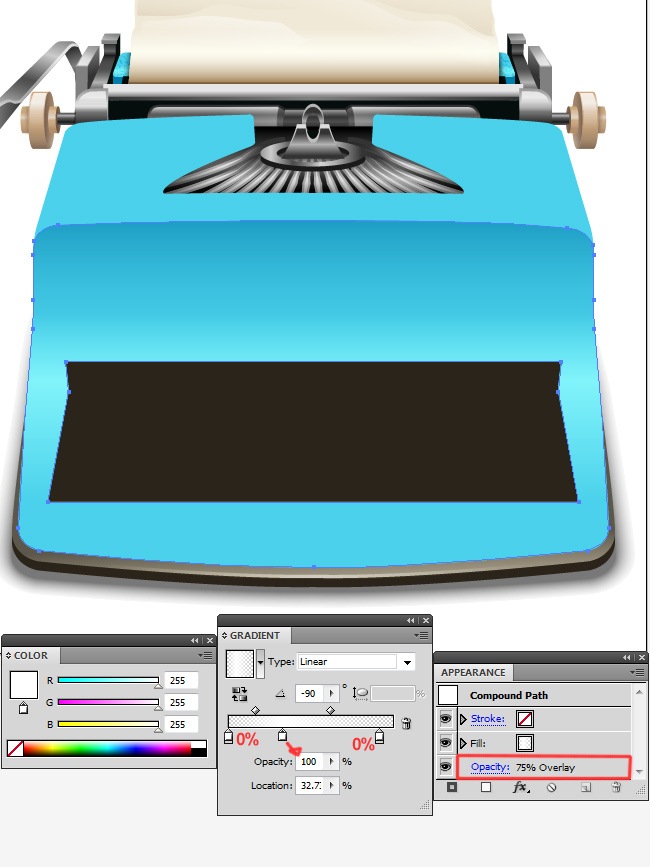
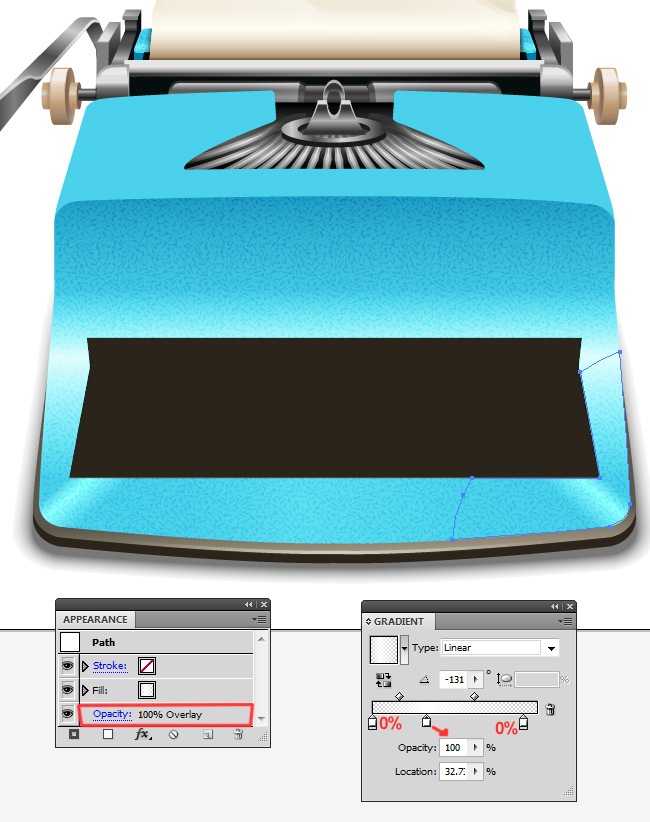
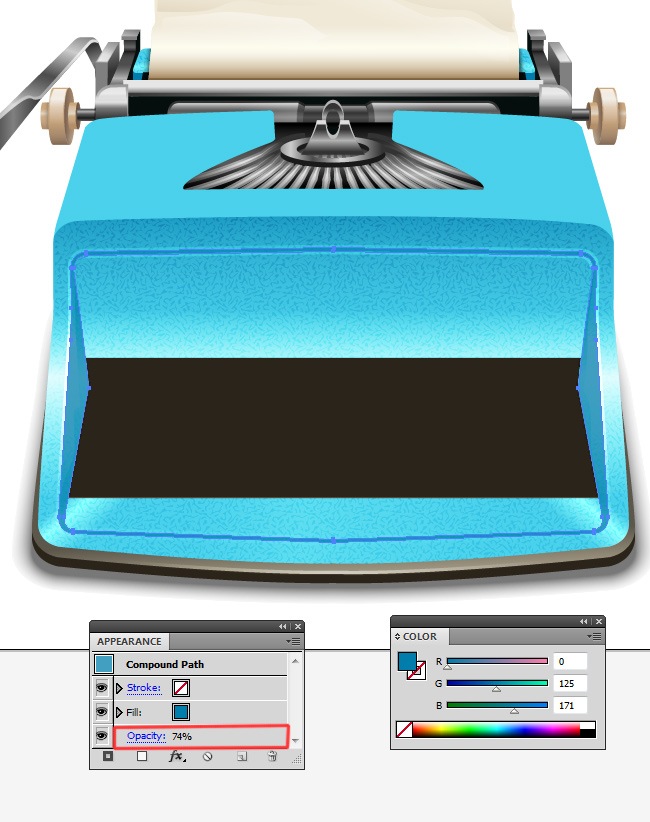
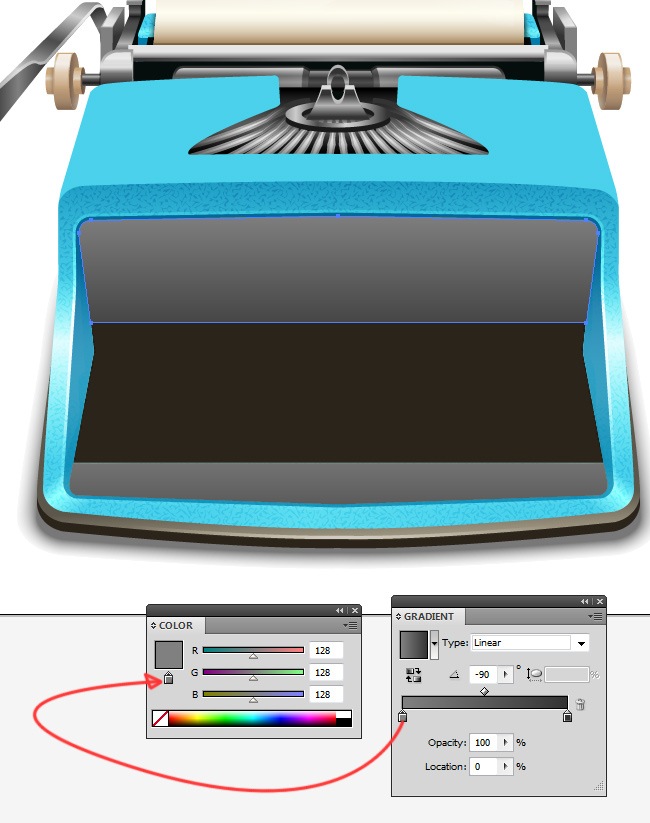
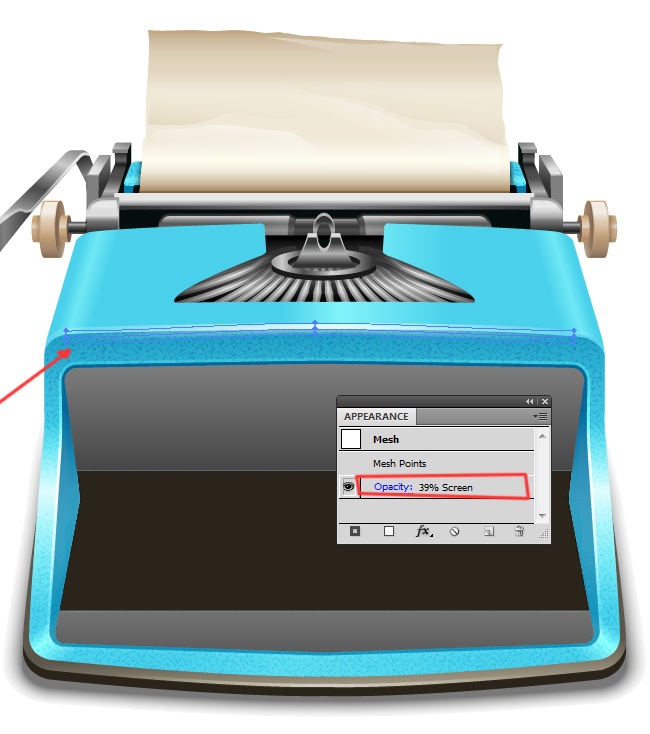
Step 10: The main housing
OK fellas, we are reaching the final part of our tutorial, we’re now about to start with the design of our typewriter’s housing and later the keys. The most detailed elements are already done, remember that everything is little on the inside but rustic on the outside, which means that this should take us a little amount of time, so come on, let’s get it started.
The next object is an exact replica of this last object.
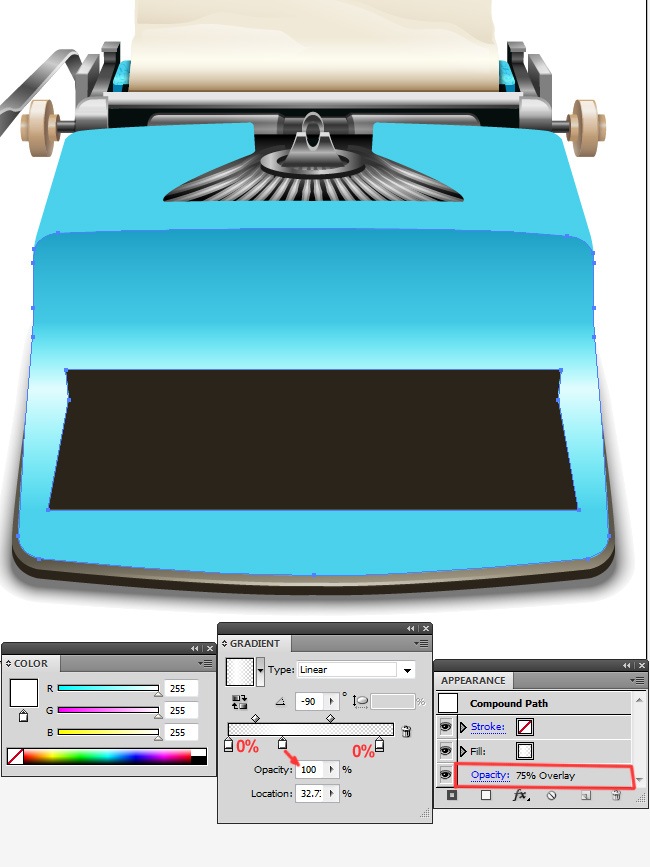
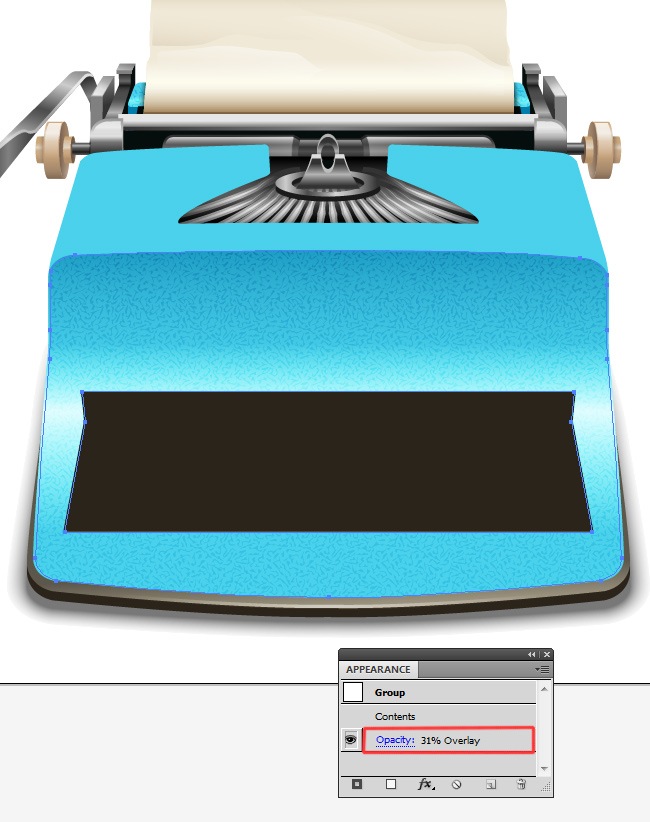
The texture is exactly like the one we did before, a series of random objects filled with black and the blending mode set to overlay with an opacity value of 31 %.
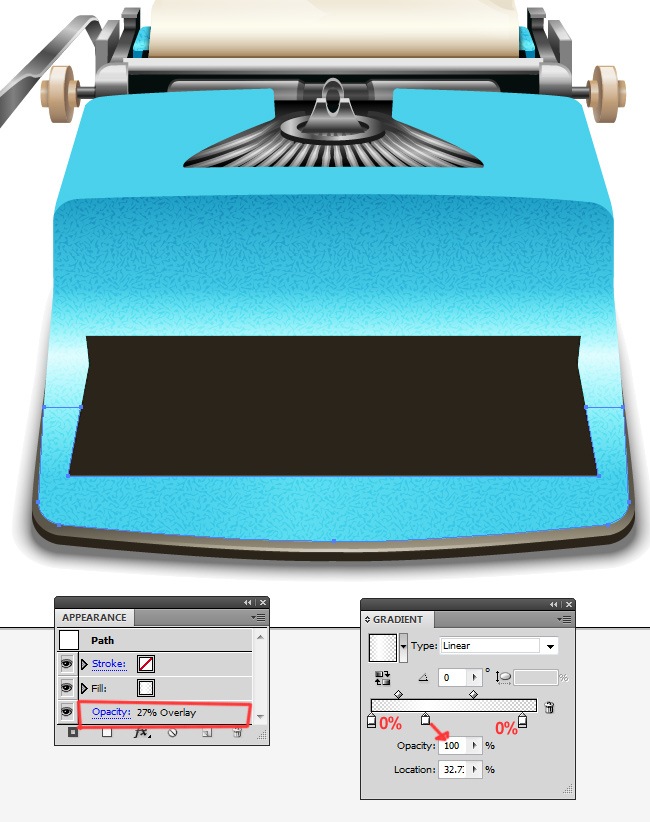
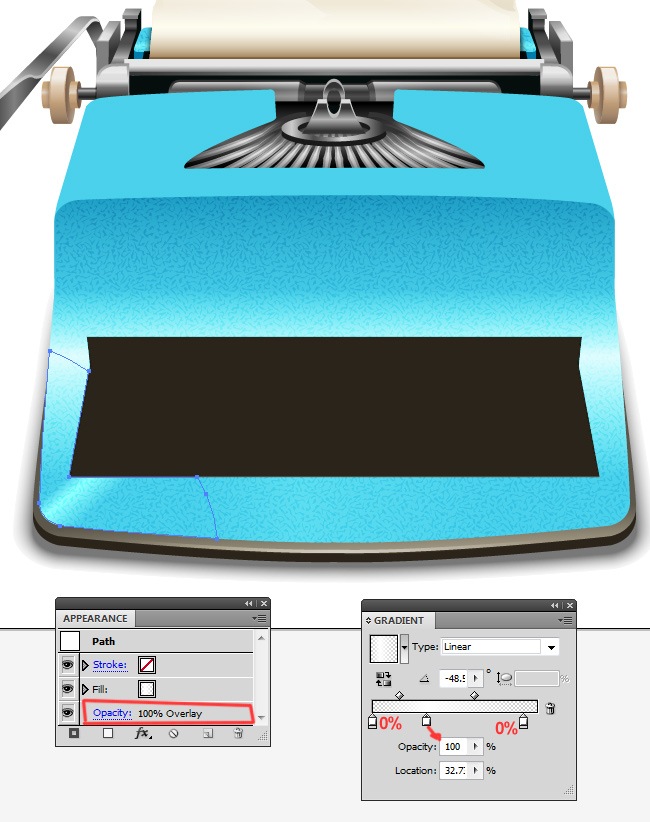

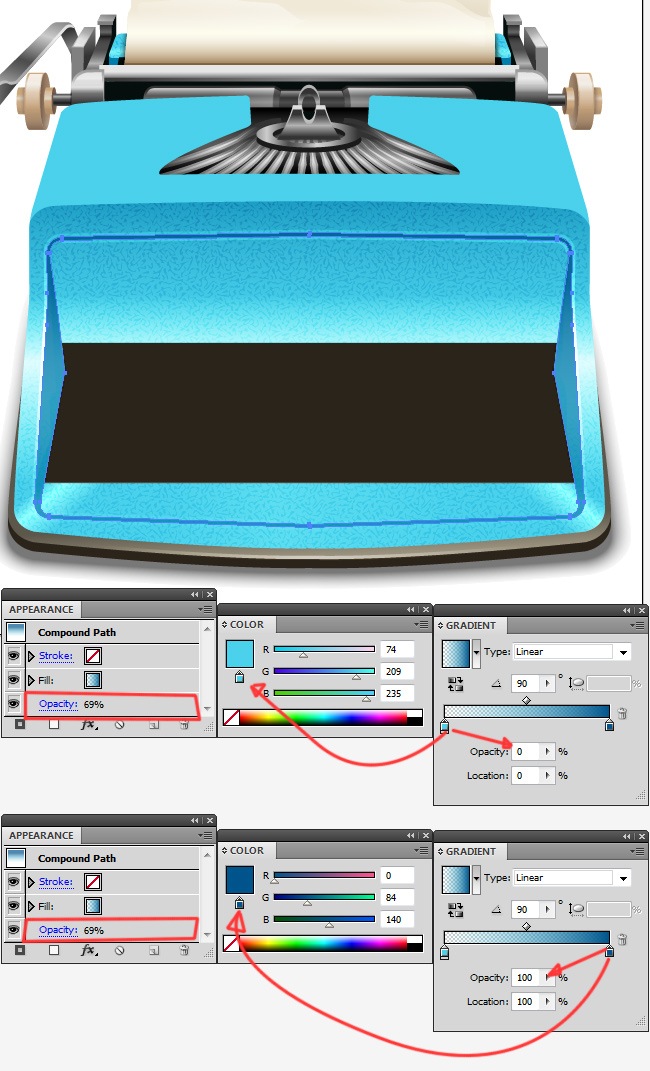

Remember that you can press the G key to see the gradient’s axis and edit it.

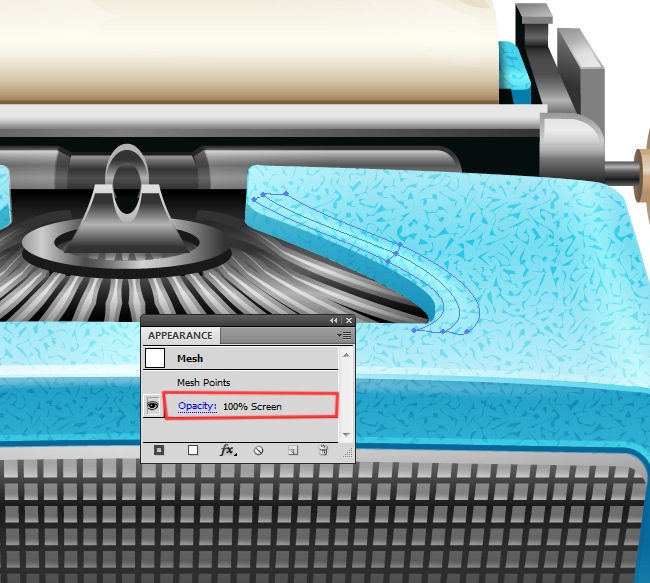
The next object is a 4 point mesh (Mesh Tool) with a reduced opacity value of 39 % and screen blending mode.
So far is doing really great, let’s see a preview before we move on to the next step.
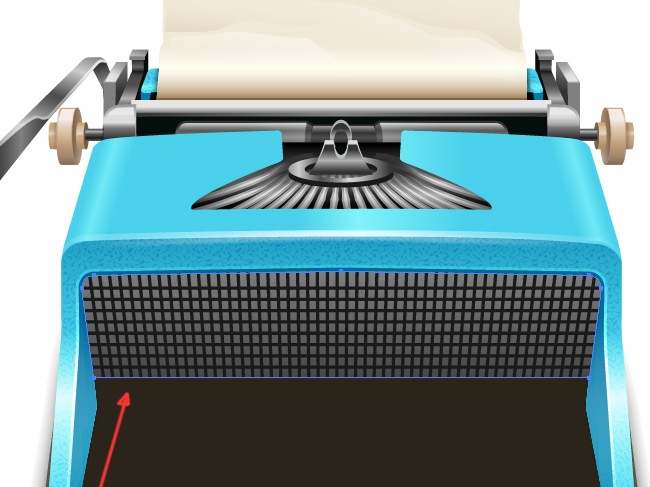
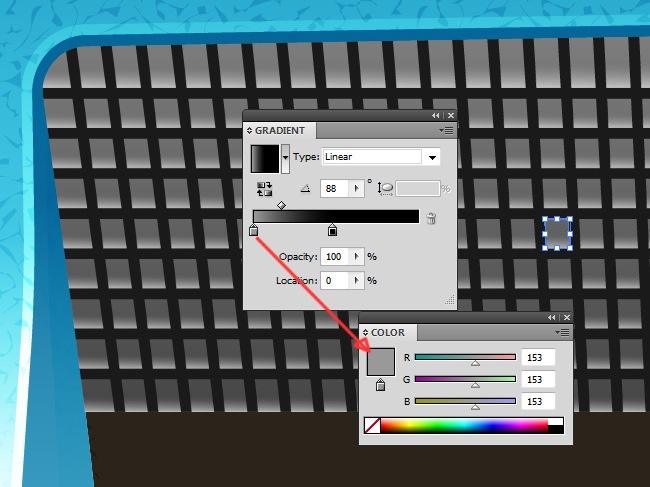
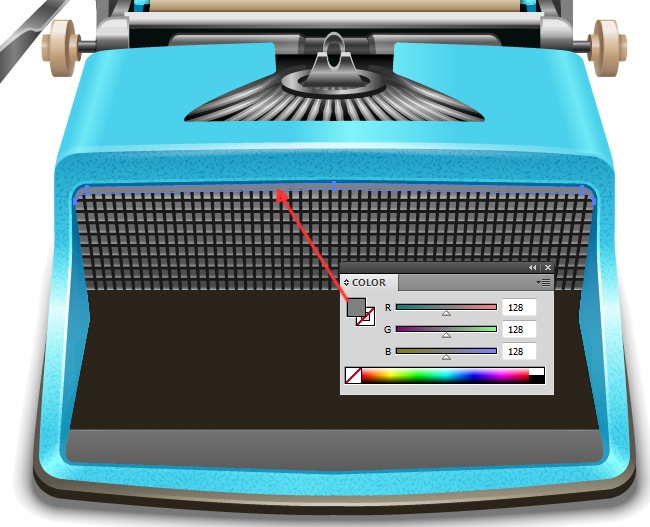
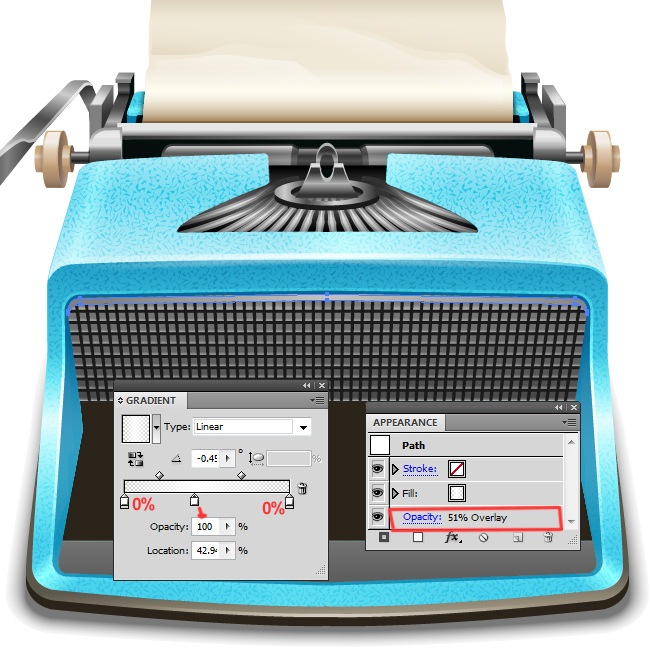
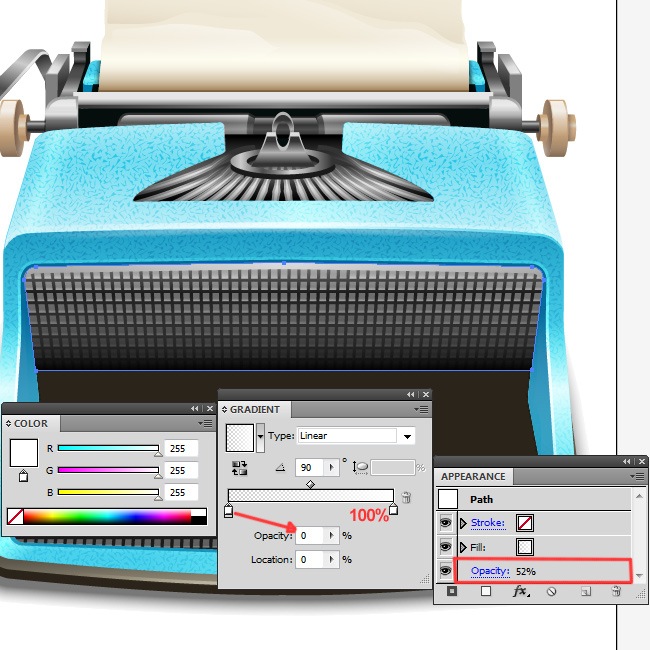
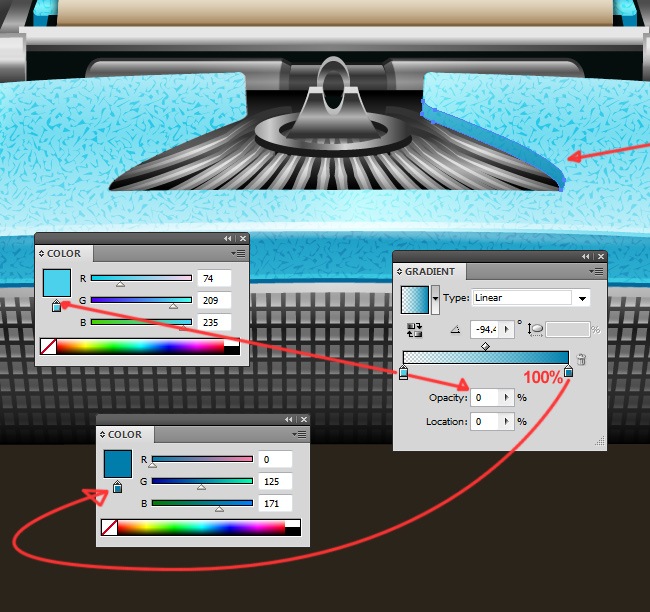
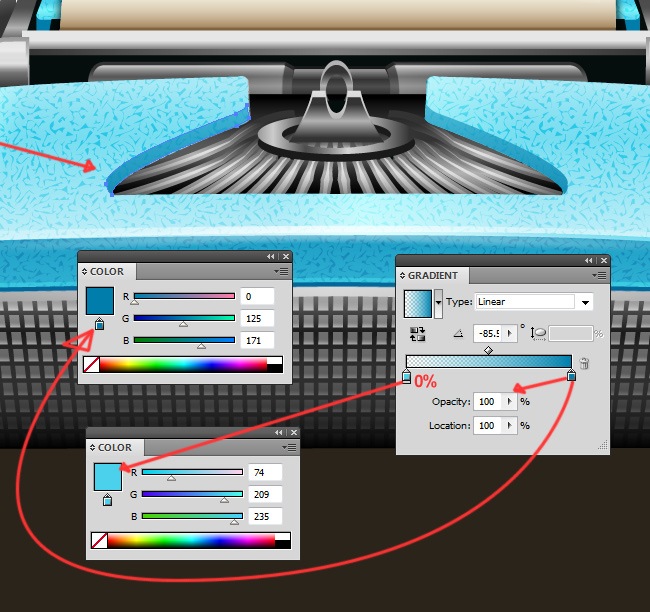
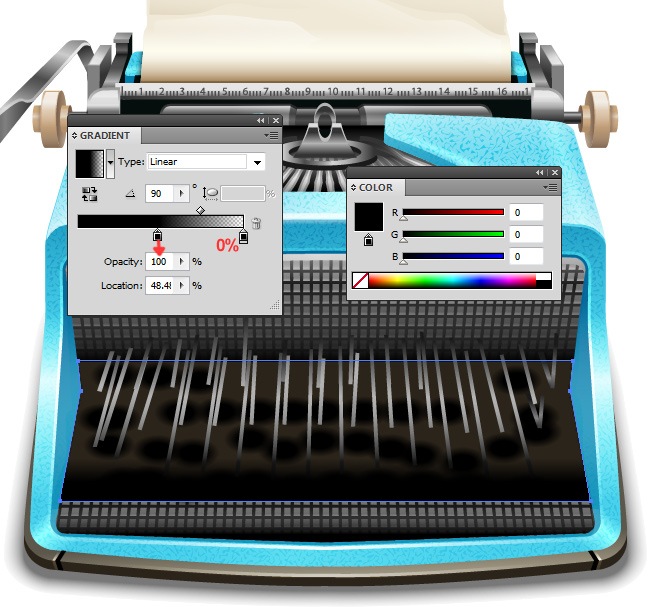
Step 11: Doing the grid and more inner elements
Our typewriter is almost ready, we only need to add a few more elements including the keys and we will be all set. Don’t forget that if at any part of this tutorial you get stranded, you can leave us a comment with your query and we will solve it as soon as we receive it. Now pay attention to these next pictures to see what you need to do, on this case the first part is a big mesh that you can make by combining several elements and a clipping mask.
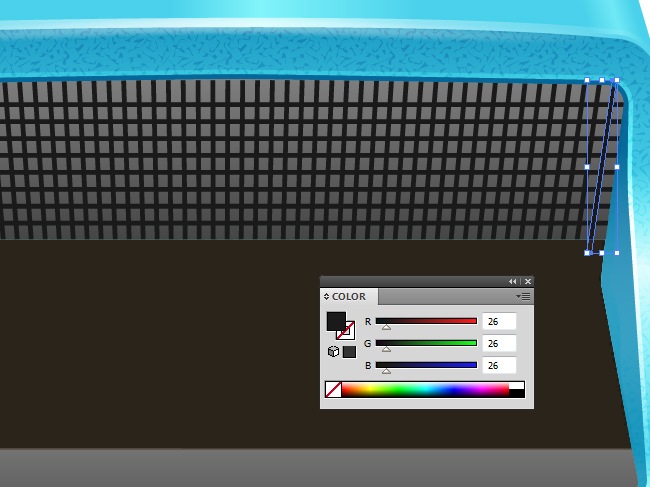
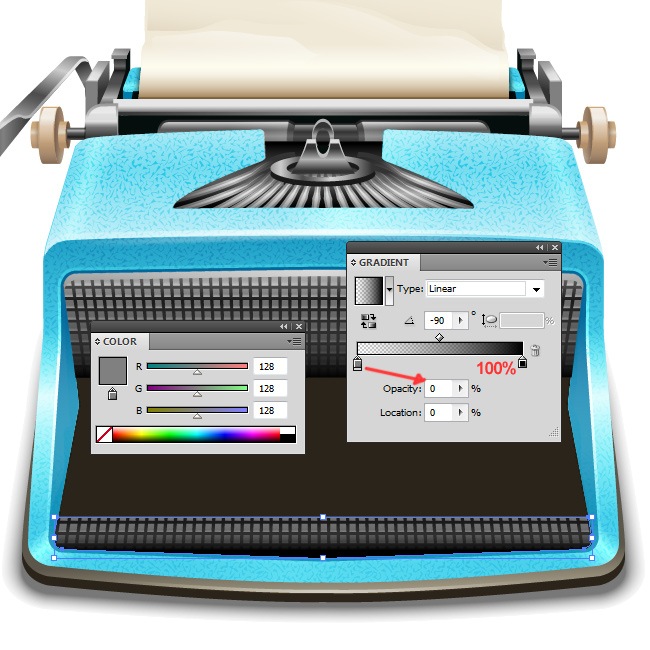
This part may seem a little therapeutic for you but the results worth it, you are going to make a custom shape for every space of the grid and then fill it with the same gradient.
Now we continue with this little element:
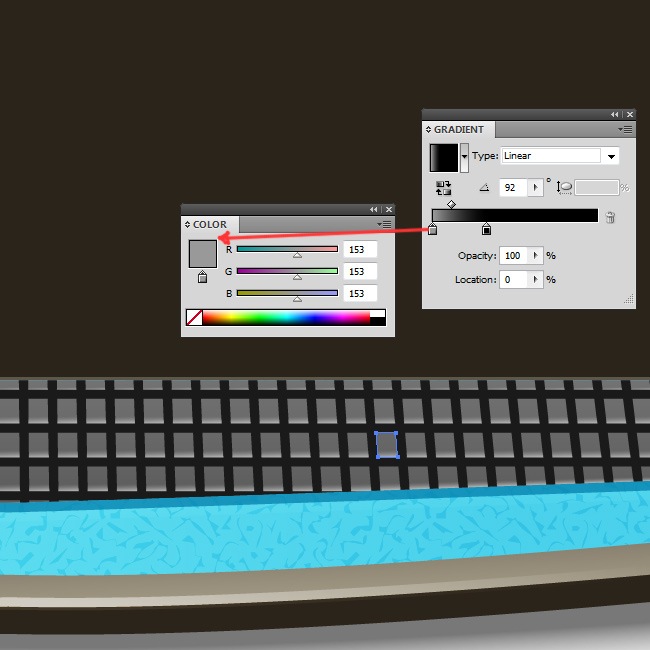
Now cover this part with our texture, you know what to do :).
The next thing to do is make another grid just like the one we did before combining several vector objects and a clipping mask.
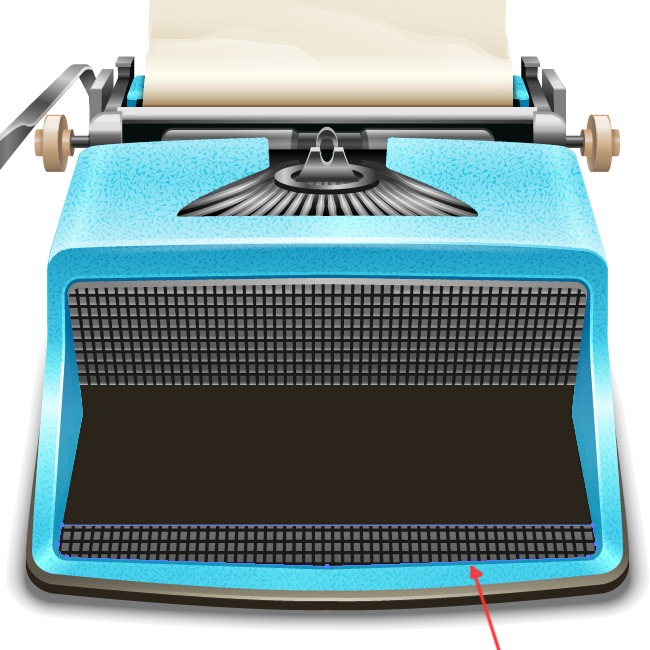
And then we repeat the same therapeutic process, one by one you have to insert the figures between each area of the grid.
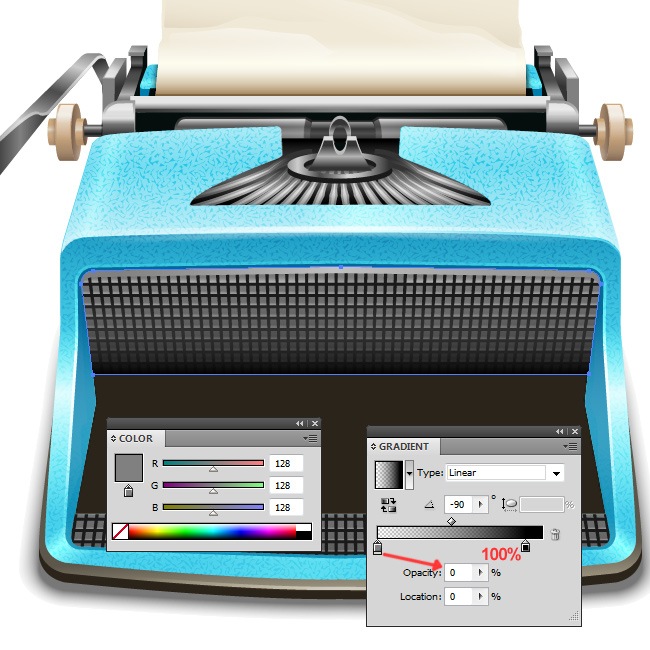
OK, let’s continue with this next inner shape:
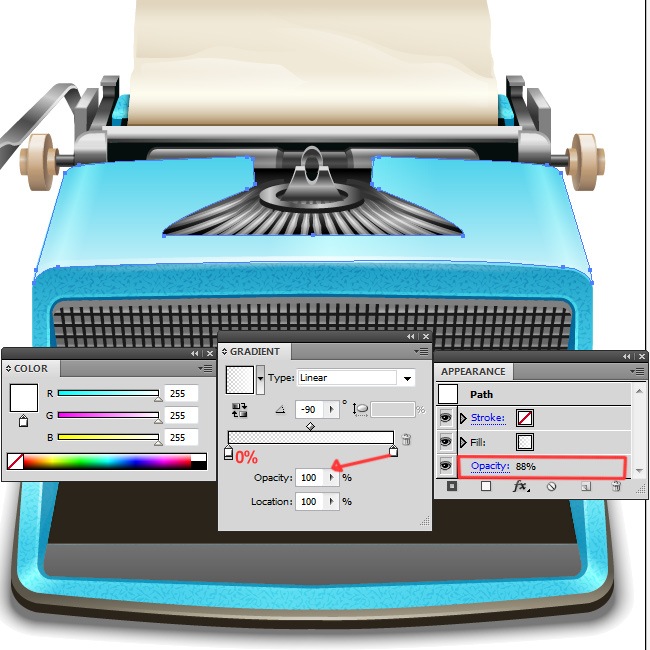
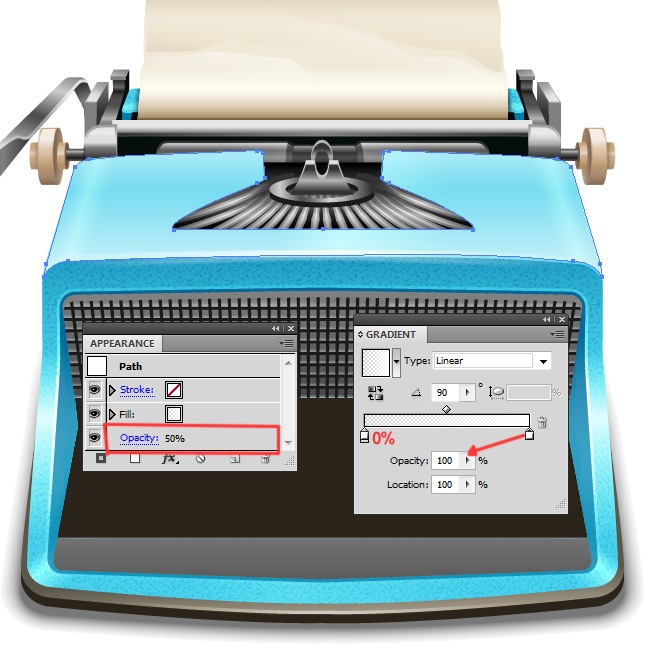
And now we’re going to add a couple of subtle elements that despite their size will add a nice detail to our vintage typewriter.
Now simply duplicate these two objects and flip them horizontally in order to place them at the other side of the typewriter.
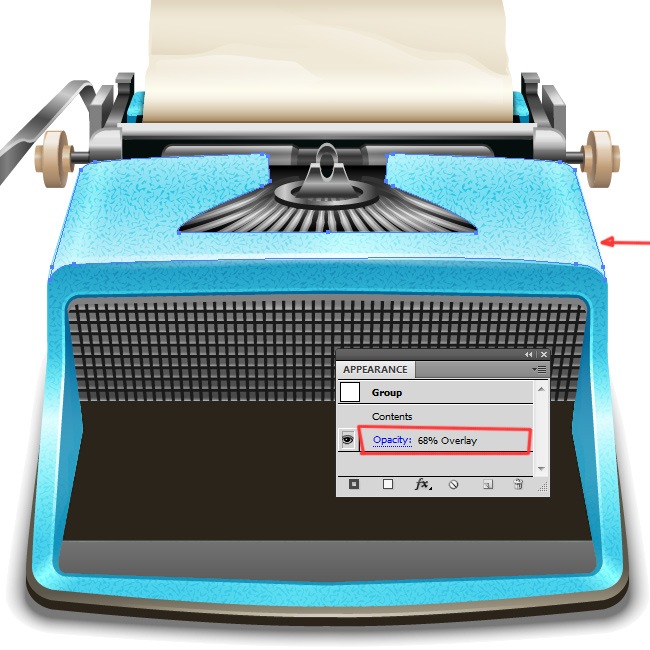
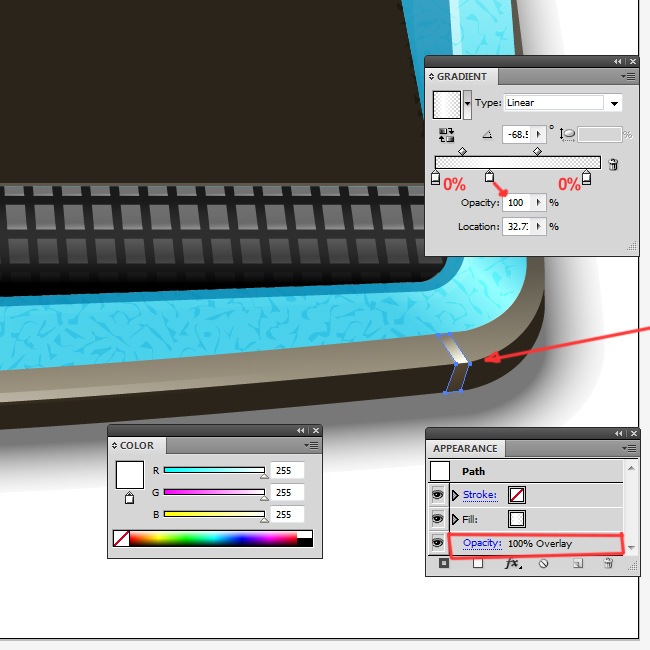
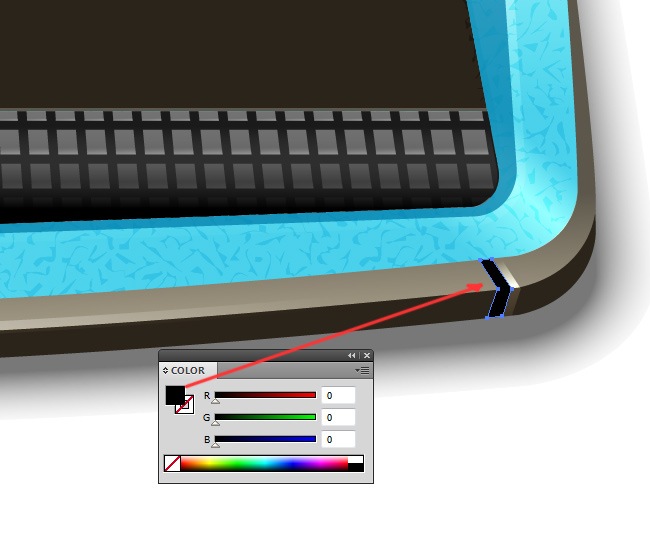
The next two objects are going to add volume to the housing, let’s see how they go.
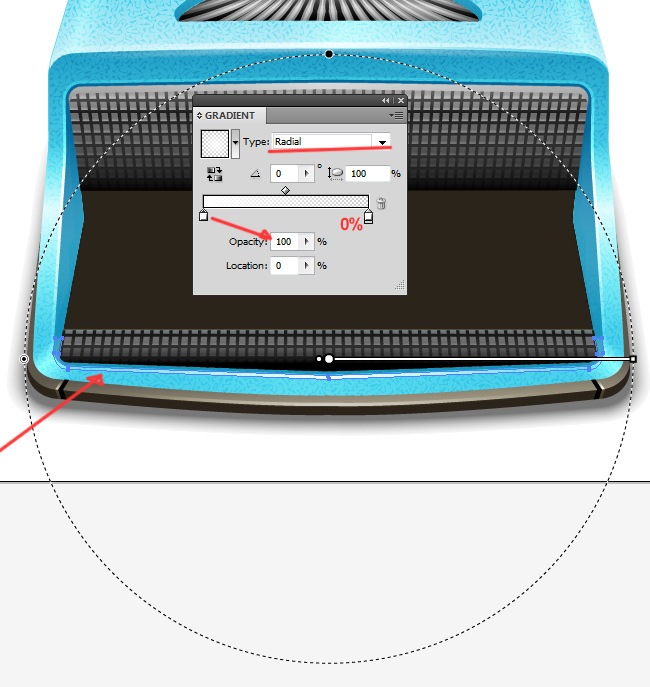
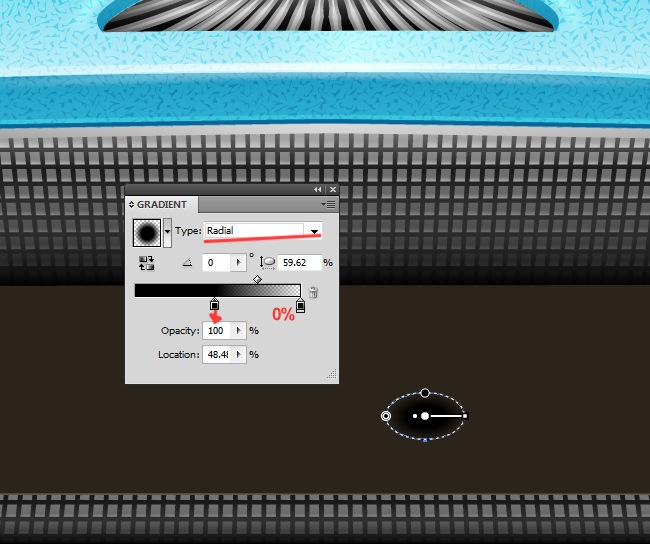
And now a subtle highlight at the bottom with a radial fill, remember that the G key lets you see and adjust the gradient’s axis.
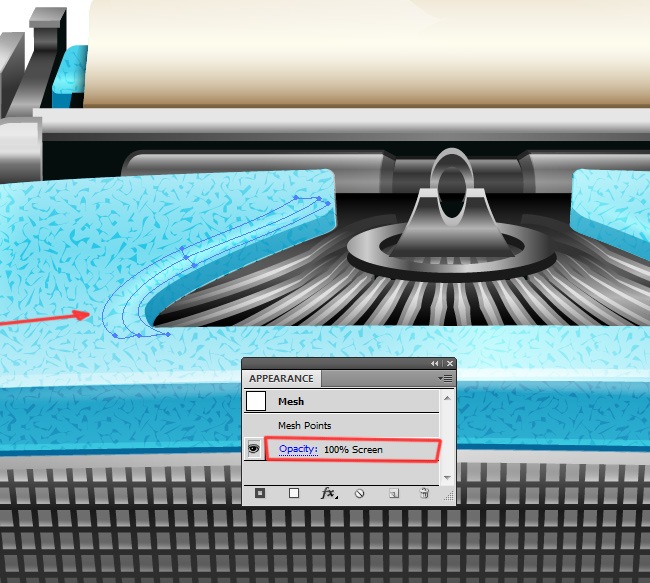
Now a couple of white meshes with screen blending mode, the great thing about the Mesh Tool (U) is that it help us to insert realistic volumes and light effects.
And on the other side we place the same white mesh with screen blending mode.
To finish this part of highlights and shadows, we are going to insert the bottom shadows that will later will be under the fancy vintage keys of our typewriter.
Duplicate this element as many times as keys the typewriter has and you will be done with this part.

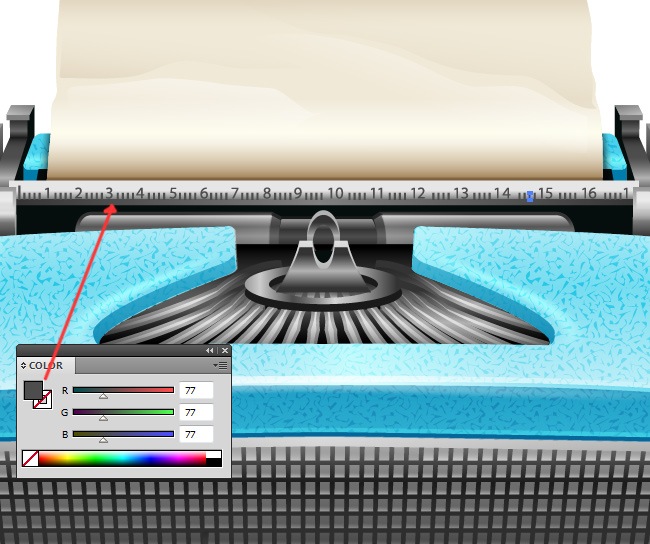
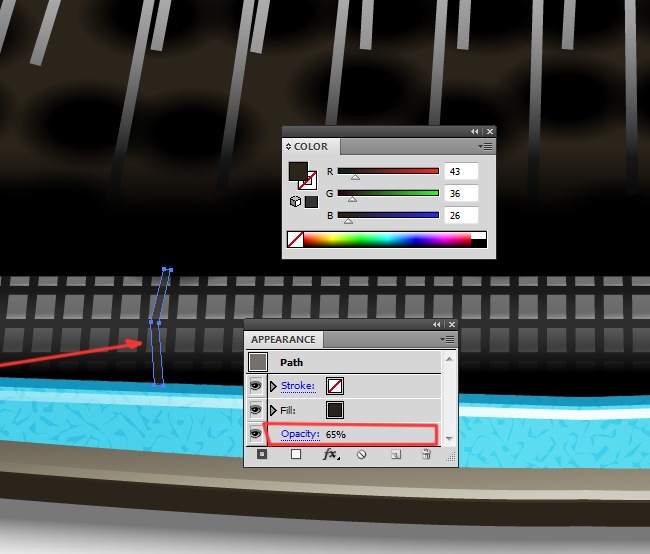
Step 12: Type levers, ruler details and lights
OK, we’re getting closer to the end with every new element that we create, now it’s time for the type levers, which are easy to do and will contribute to the realism of our typewriter. The levers are nothing more than basic vector shapes filled with a gradient, let’s see how they are made.
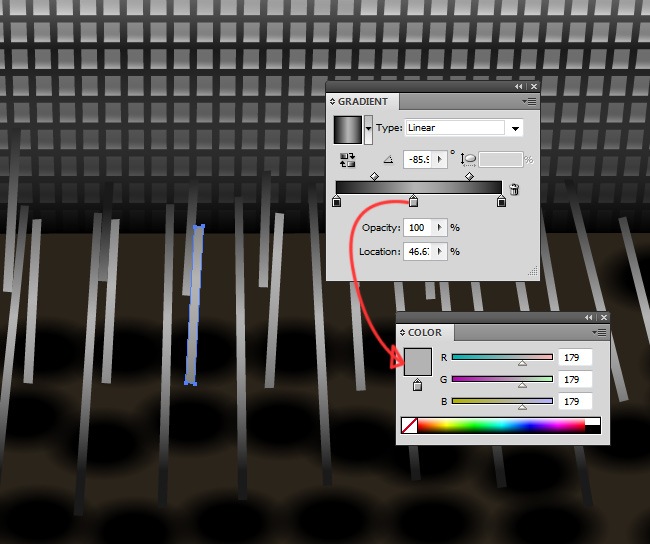
The only thing that changes between one and other lever is the size, because the fill parameters are always the same.

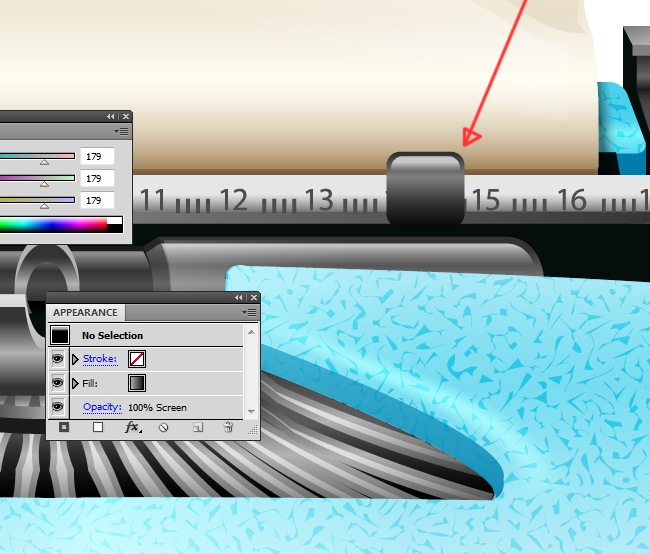
For the rules we suggest you to utilize a Sans Serif font (Arial, Gill Sans, Helvetica) because it’s easier to read and design with.
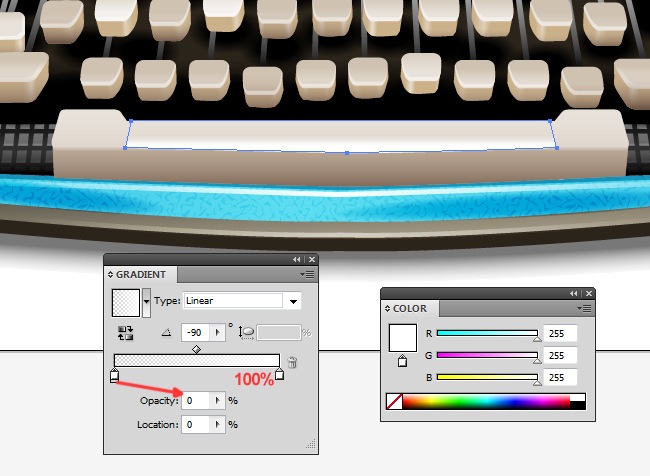
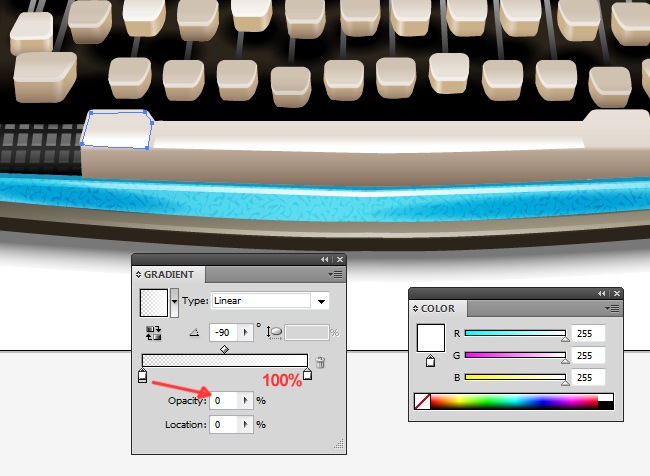
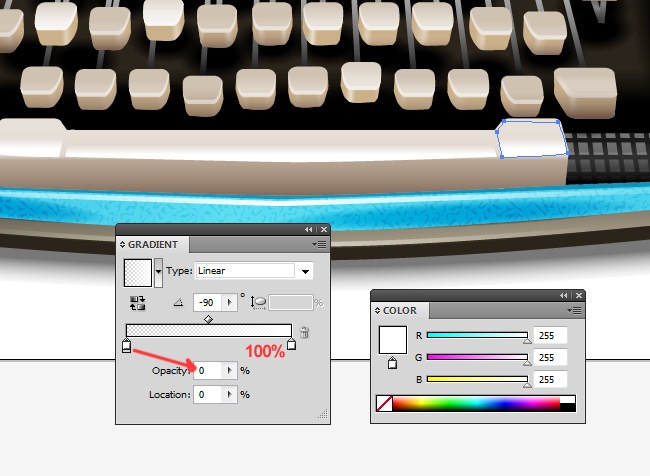
Now we must insert a subtle shadow on the keys’ region.
And now the paper fingers, these ones though they are small are necessary if we truly want to make a realistic vintage typewriter.
Then duplicate this element and place it on the other side of the ruler.
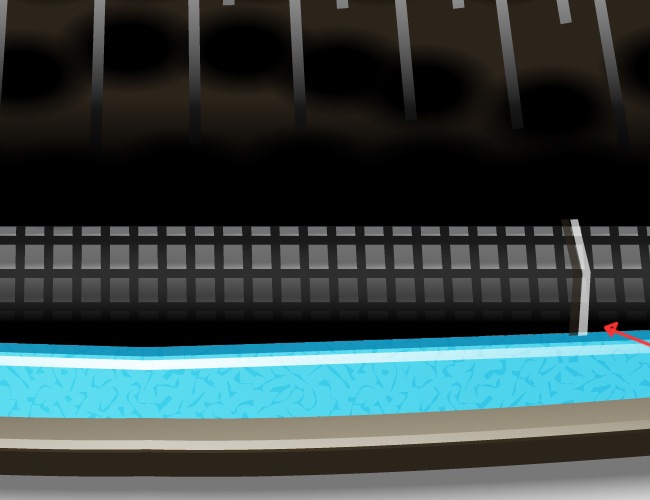
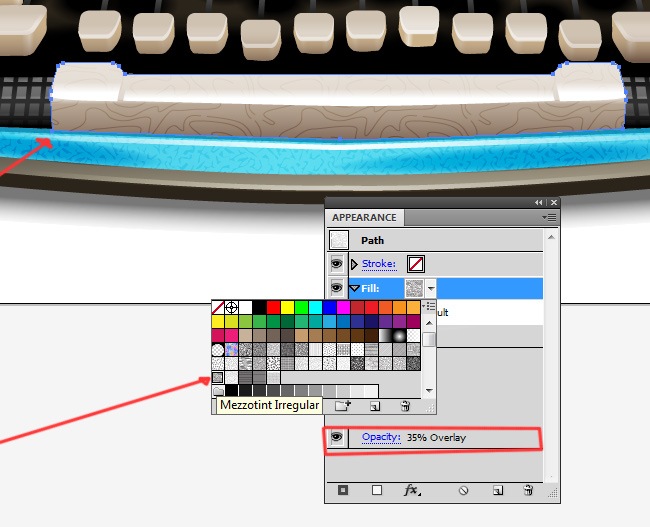
From this point until we begin with the keys, we will be focusing only on lights and little details that will prettify our typewriter’s design, so let’s continue.
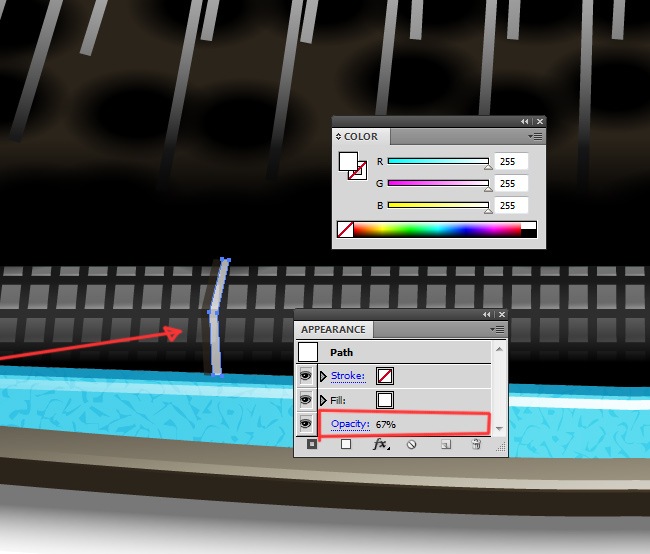
Grab these two objects and duplicate them, then flip them horizontally and place them on their corresponding position.
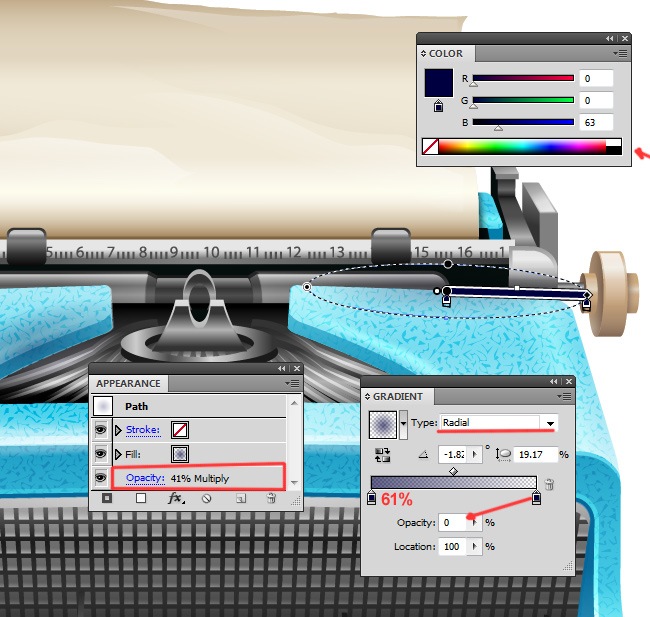
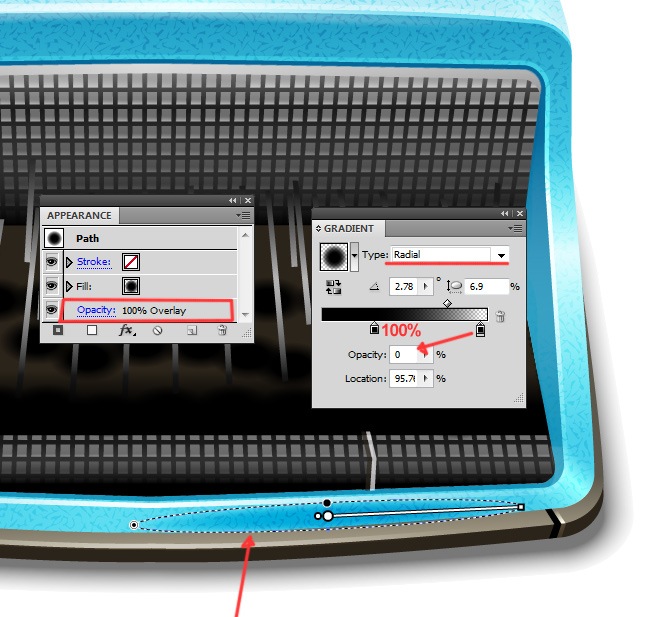
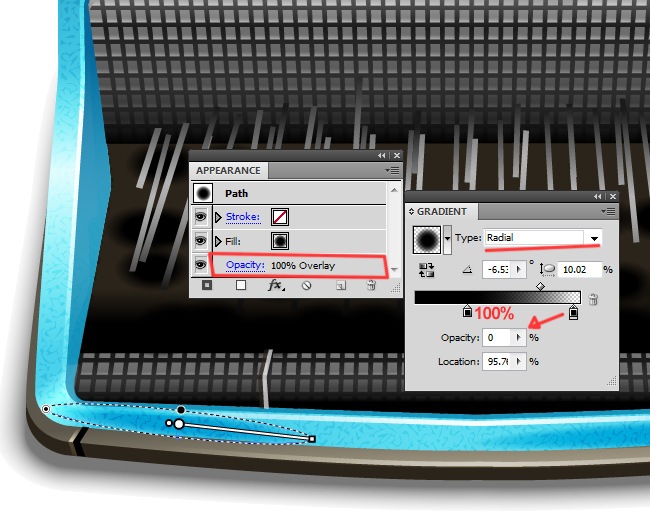
And now we continue with the implementation of a subtle radial shadow on top of our typewriter’s housing.
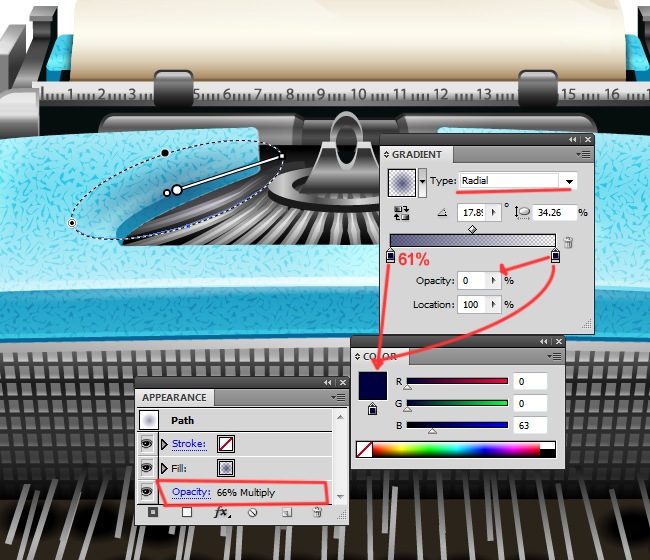
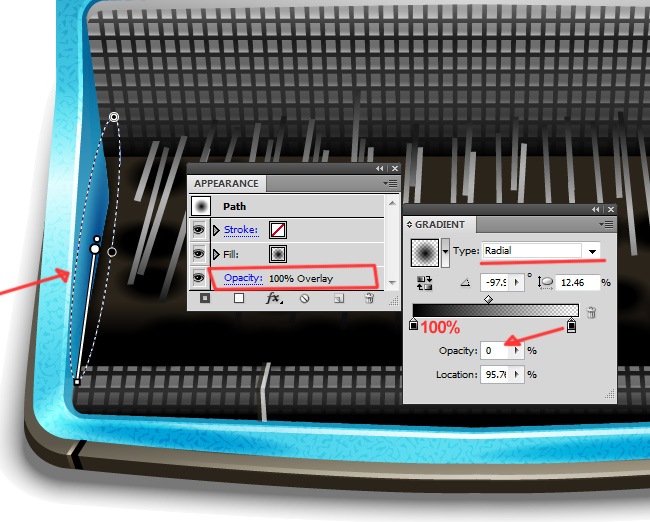
Now another shadow to continue with the beautifying process of our machine.
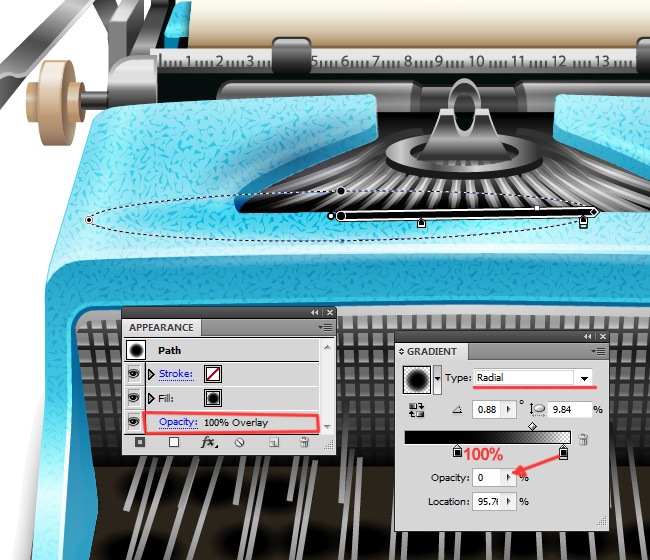
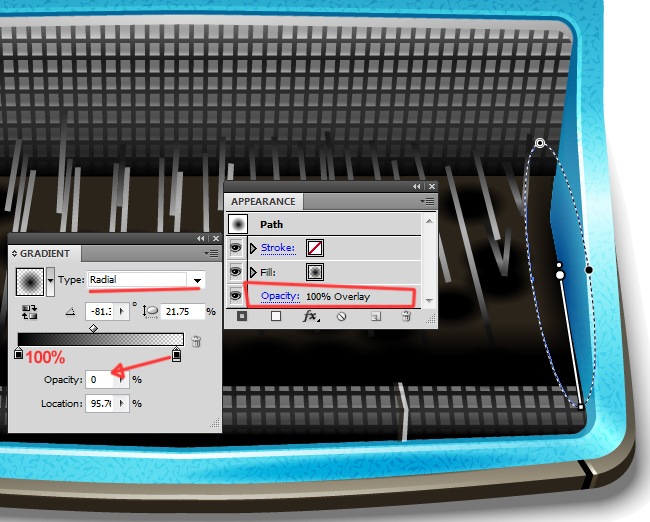
And more shadows to come, let’s dispatch them quickly.
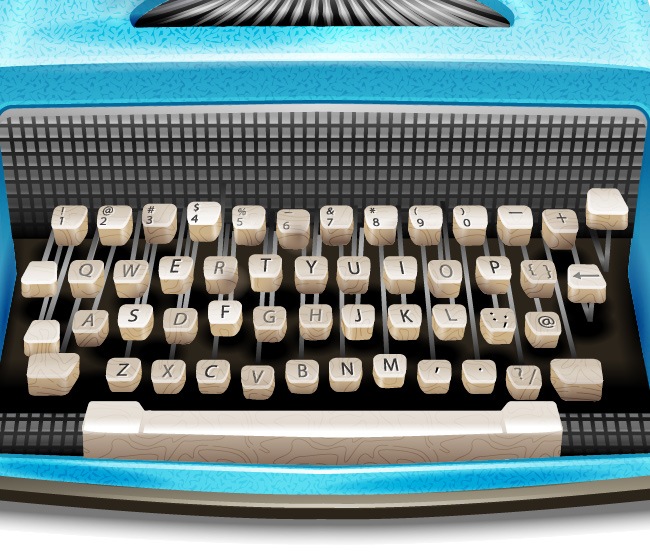
Awesome, we’re officially done with everything besides the keys, so let’s see how our design is looking until this point.
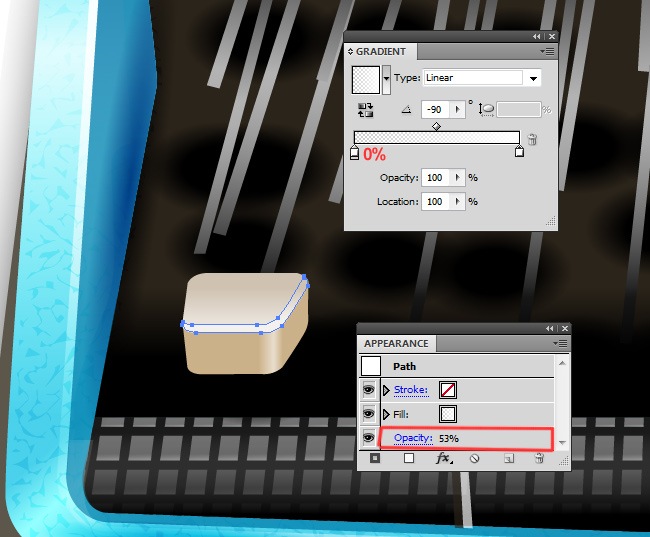
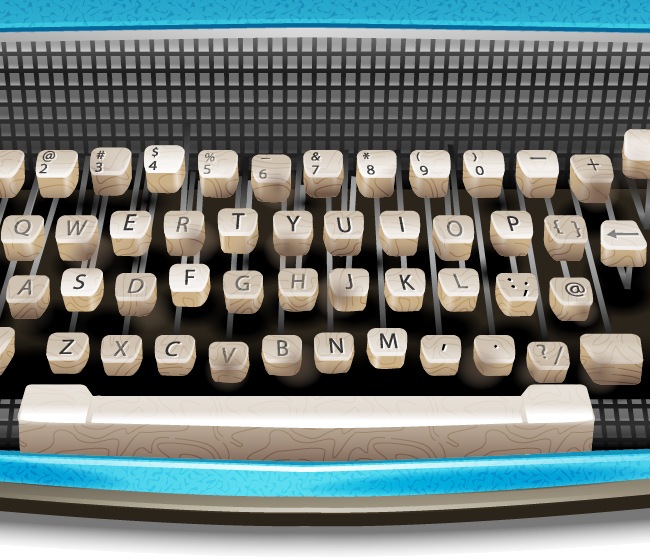
Final step: Designing the keys
Congratulations team, now we’re officially in the final step of this design tutorial, it’s been a fun road where we showed you guys all the things that our design team did in order to create this beautiful vintage typewriter. Now the only thing that remains is designing the keys, we will show you how to do the space key and another one, the rest can be done following exactly the same process, so we’re absolutely sure that you will be able to nail it easily.
The rest of the keys are made exactly like this, the only thing that changes is the size and perspective of some of them, besides that it’s a piece of cake.

Let’s focus on the Space key for a while, the next series of pictures will show you what you need to do next, so pay attention.
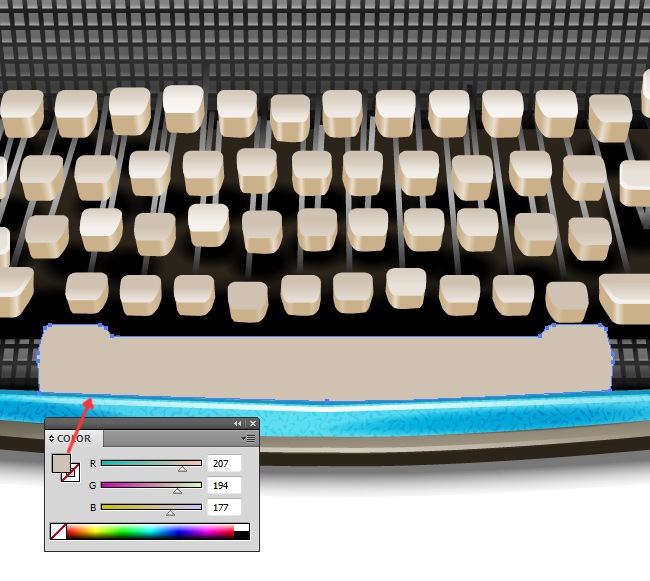
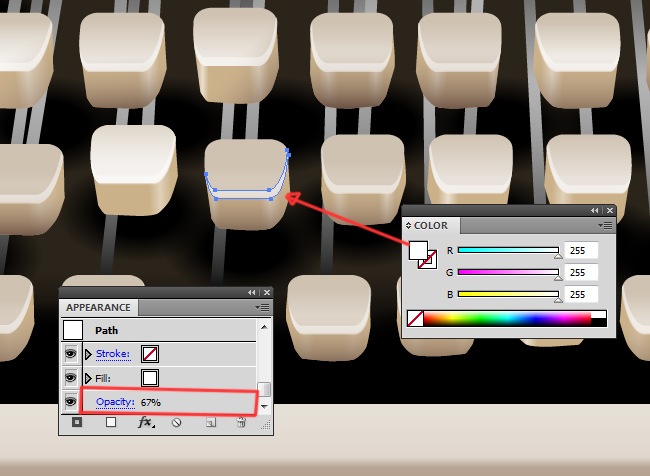
Let’s leave the Space key like that for the moment and switch to the rest of the keys because now we need to add a subtle shadow to each one of them. The easy way to do this is duplicate the entire layer where you leave the standard keys and then adjust the fill properties.
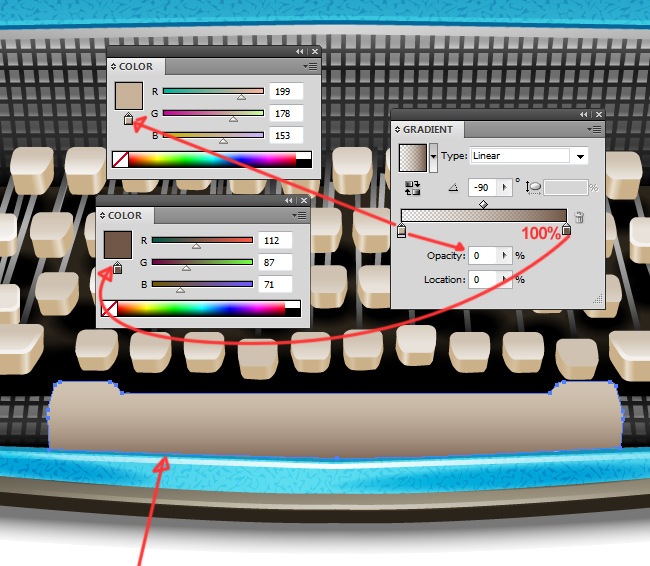
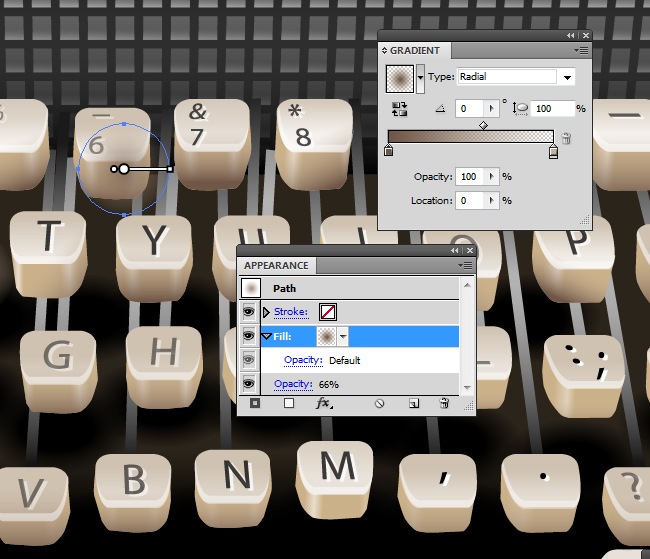
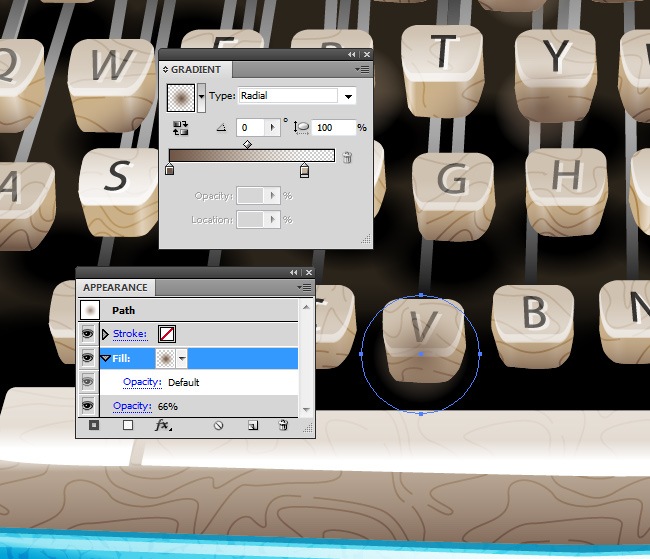
This is something that though is quite subtle, at the same time adds a lovely touch to the keys. You can play with the gradient’s values from one key to the other so they don’t look excessively plain.

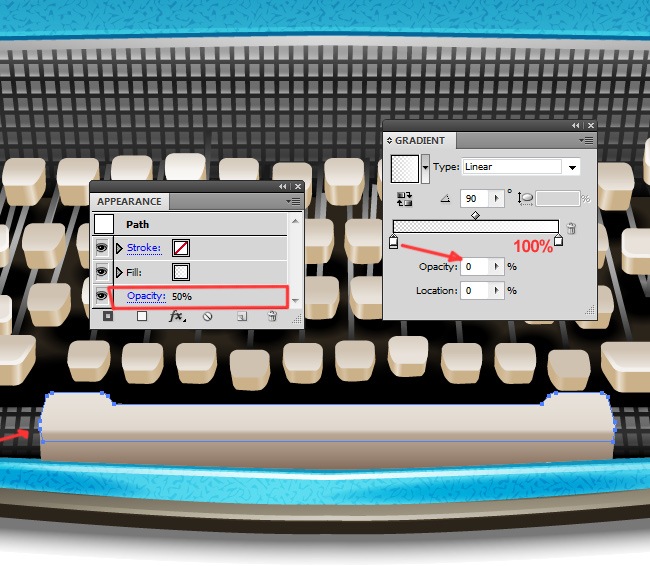
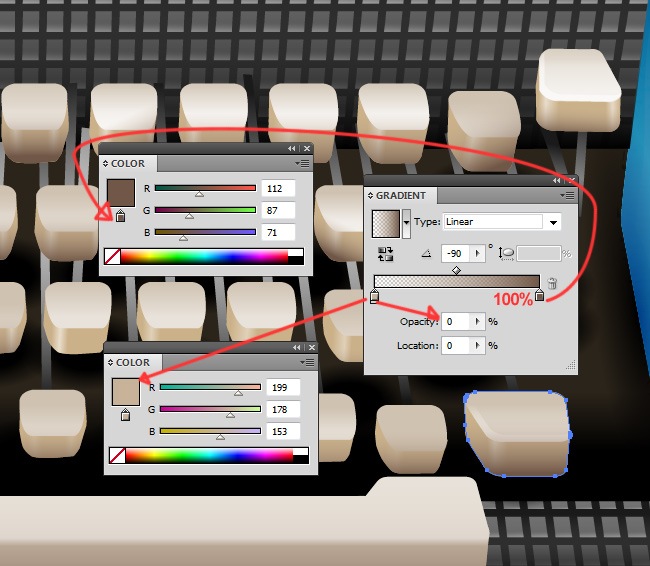
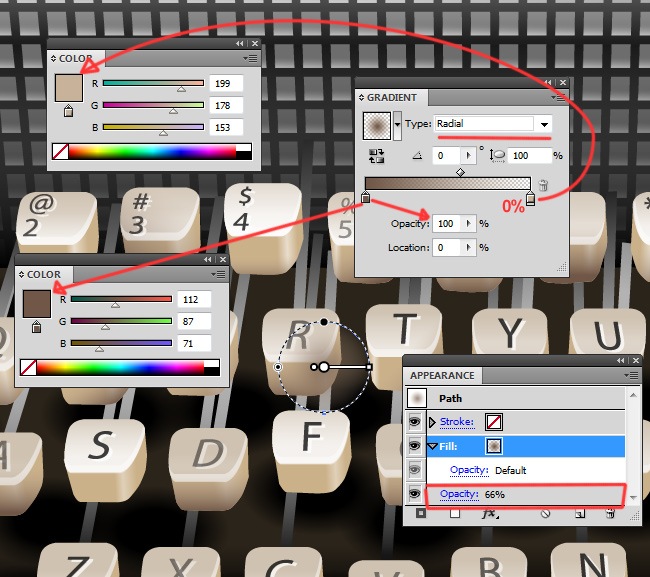
Maybe some extra highlight will look good on top of our keys. As we said before, play a little bit with opacity and gradient values to make the keys look more natural.
Now we can go back to the Space key and add a few highlights to it.
We’re about to use something new, textures. Make the following shape and fill it with the next pattern, if you don’t see it on your screen then use any other pattern that you like :).
Remember that if you don’t have that specific texture on your Illustrator’s version you can always make it manually.
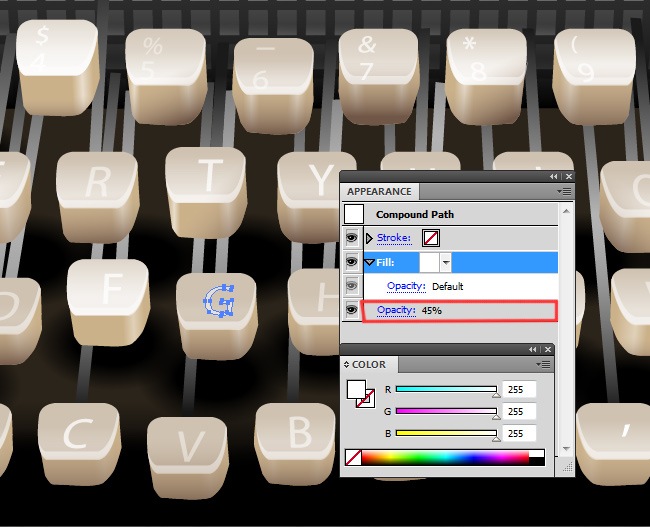
And now we are going to start adding characters, they were all added using the same Sans Serif font (you can choose whatever font you want) and filled with white at 45 % of opacity.
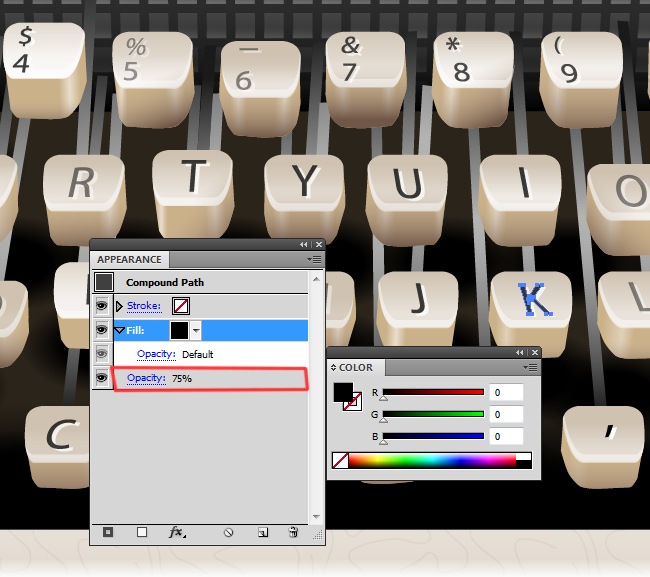
Duplicate the layer and switch the fill from white to black, remember to play with opacity values to always give a more natural appearance to the keys.
Add some little shadows to a few keys to give them a pressed-like appearance.
The texture that we used on the Space key, we should use it on all the other keys, let’s go with that.
Finally, add some extra shadows to the keys in order to increase the realism of them.
Go as far as you want with the shadows, you can place more or less than the amount of shadows that we decided to insert in our design.
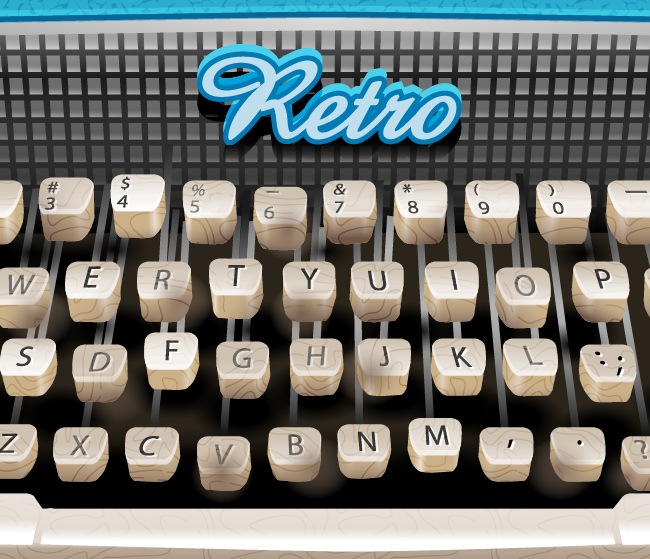
And for the final touch we added a beautiful logo as our typewriter’s trademark using a retro font inspired in one of our previous tutorials where we showed you how to make a fancy stylish text effect.
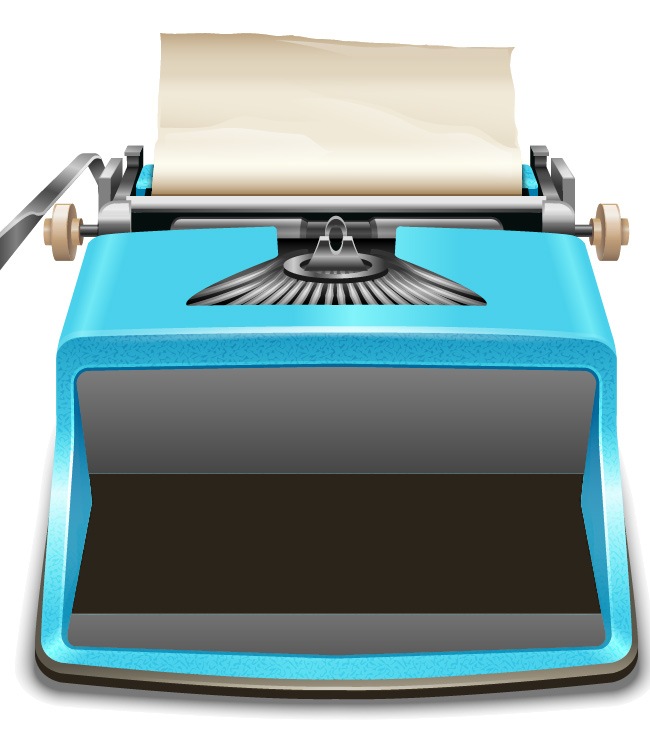
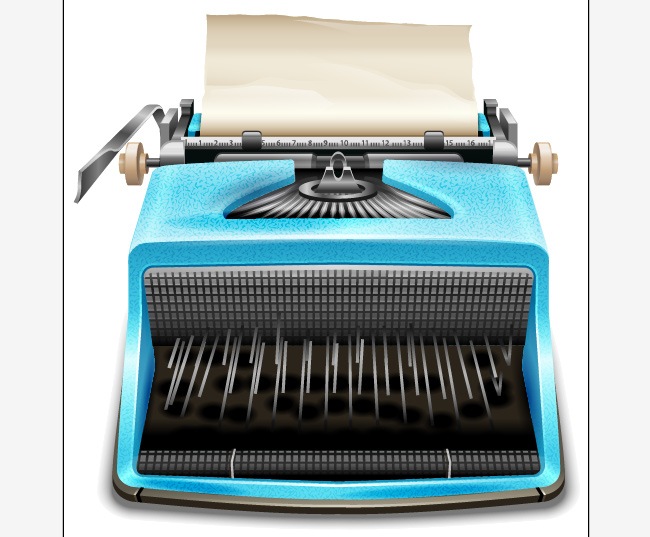
Ladies and gentlemen, boys and girls, we’re pleased to inform you that our vintage typewriter has been officially completed. It’s been a tough job that at the end has delivered some astounding results that you will definitely enjoy, you can make your own vintage designs, what about an old school telephone or a TV?, the sky is the limit when we talk about design. Leave us a comment so we can read your opinions about this and all our tutorials, we hope that you have enjoyed this tutorial, we put all our best effort in writing this tutorial, we wish you a good rest of the day and well, see you next time.